 Simple block style is easy to carve
by Barry McKenzie
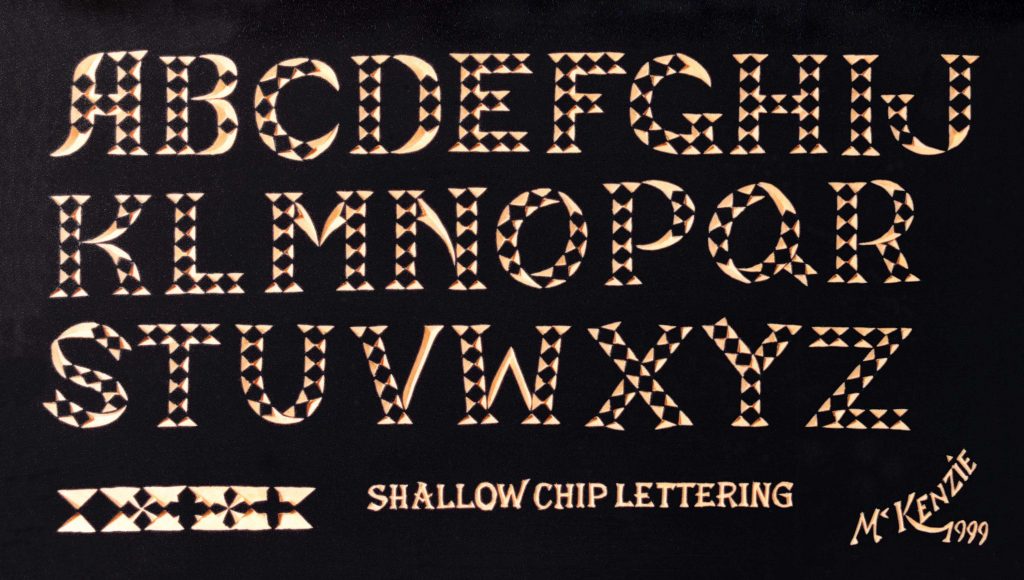
To carve letters, you once had to choose between buying specialized tools or spending a lot of time practicing difficult cuts. These letters are simple to carve. They use standard chip-carving cuts, and they require only one tool.
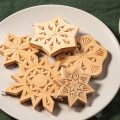
These letters are pretty standard in terms of style. They are similar to either a traditional “Bold Roman” or “Block” font. My letters are filled with “blocks” that stand out, owing to the chips removed from around them.
This technique makes the areas not chip carved the most visible. Among artists, these areas are referred to as negative space.
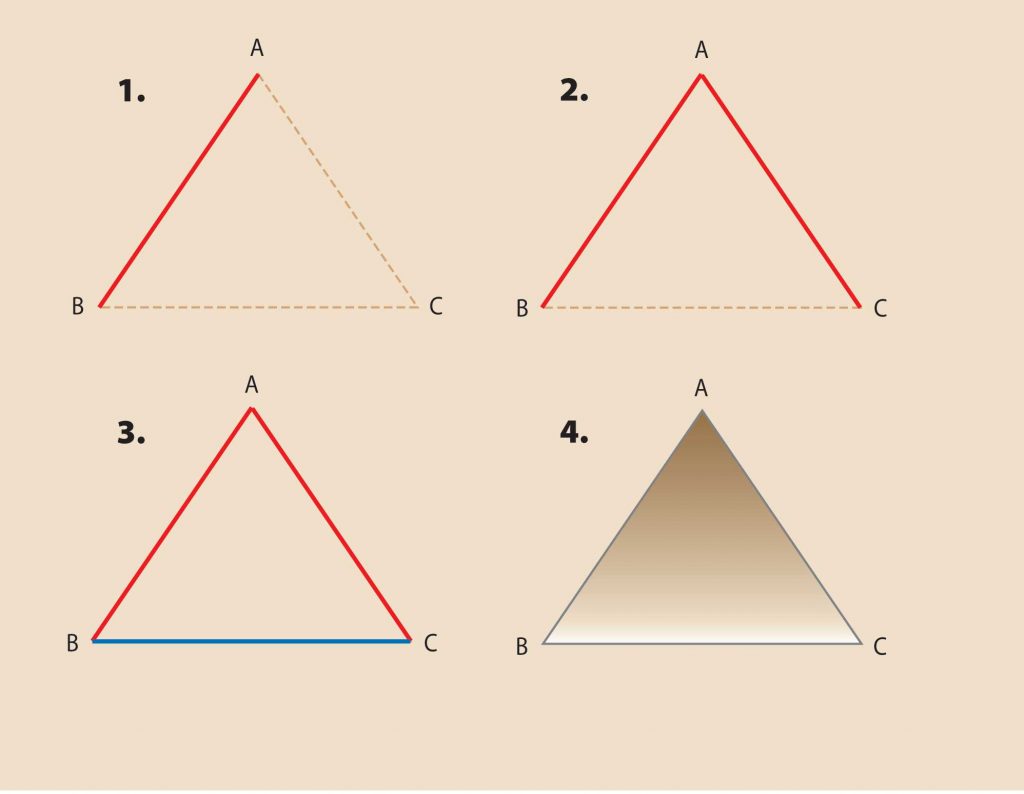
Making a three-sided chip
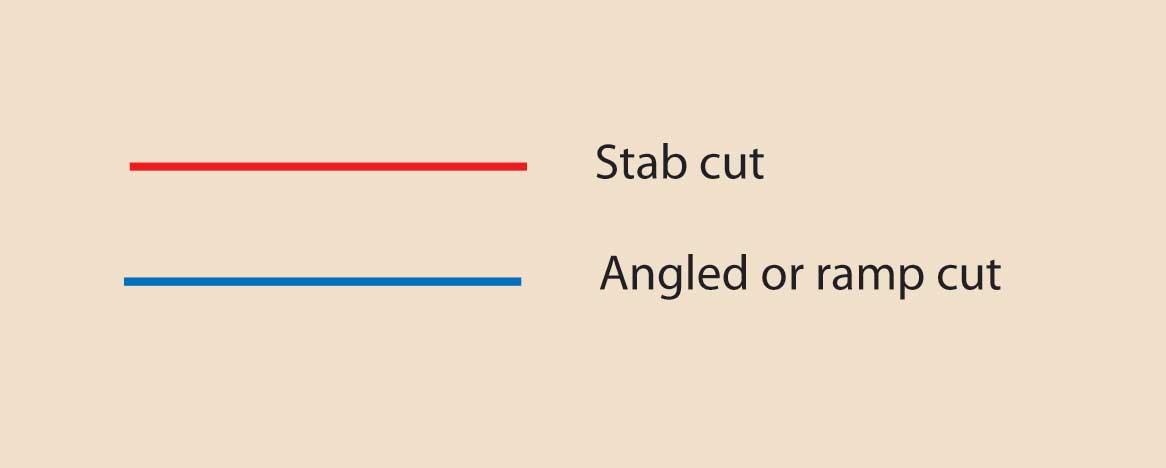
Most of the chips taken out in this approach require shallow-style chip carving. Three-sided in shape, they are executed with two vertical stab cuts and then a shallow slice or “ramp cut” to the front of the chip. The last cut brings together the points of all cuts. The depth of the cuts is relative to the size of the chip. The depth is about 1/2 the width of a chip; so the larger the chip, the deeper the cut.
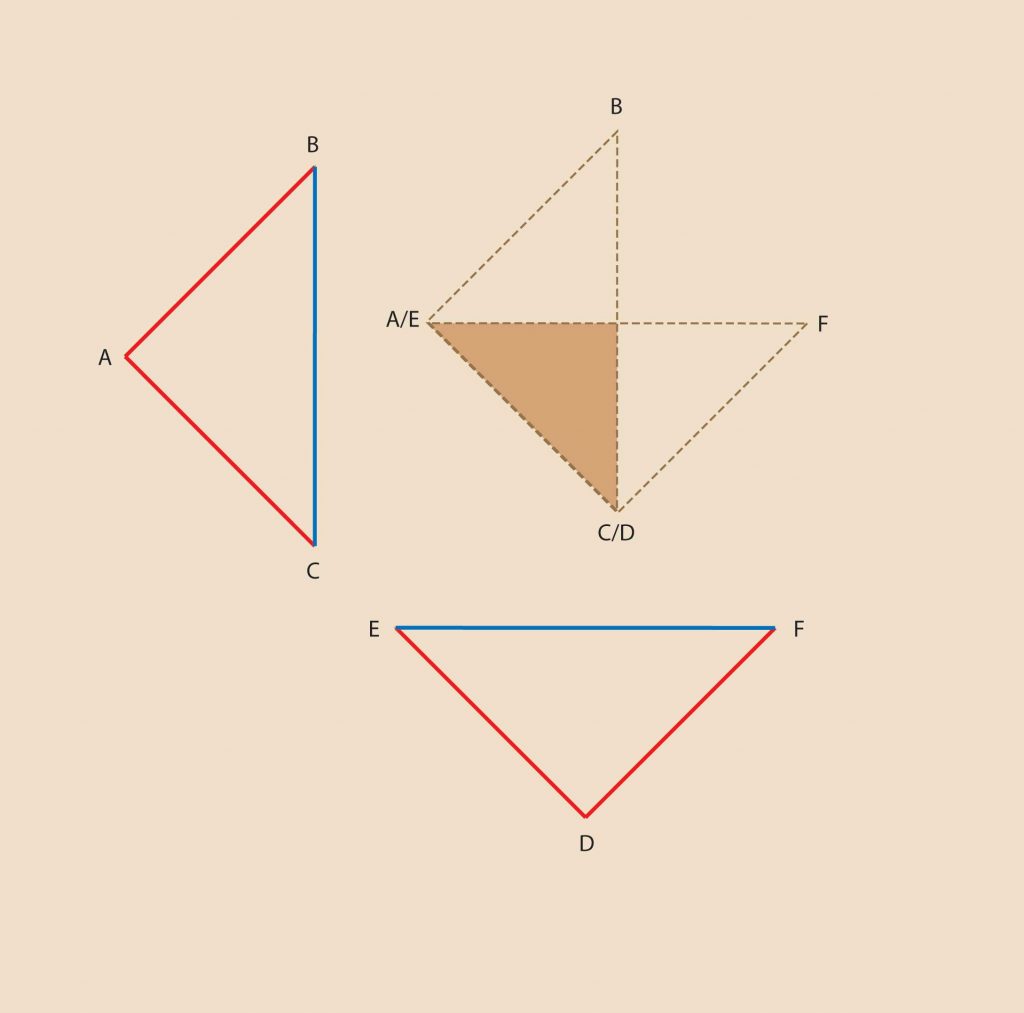
Making overlapping shallow chips
Letters and numbers consist of stems and arms. Look at the letter “T.” The vertical component is the stem and the horizontal is the arm. Since an inside right angle is created where these two parts meet, it is impossible to make a single three-sided chip to define the letter. Instead, two shallow chips are removed at right angles to each other. Think of one shallow chip blending into another shallow chip. Half of each chip takes up the same space. Letters A, E, F, G, H, L, and T, all require overlapping shallow chips.
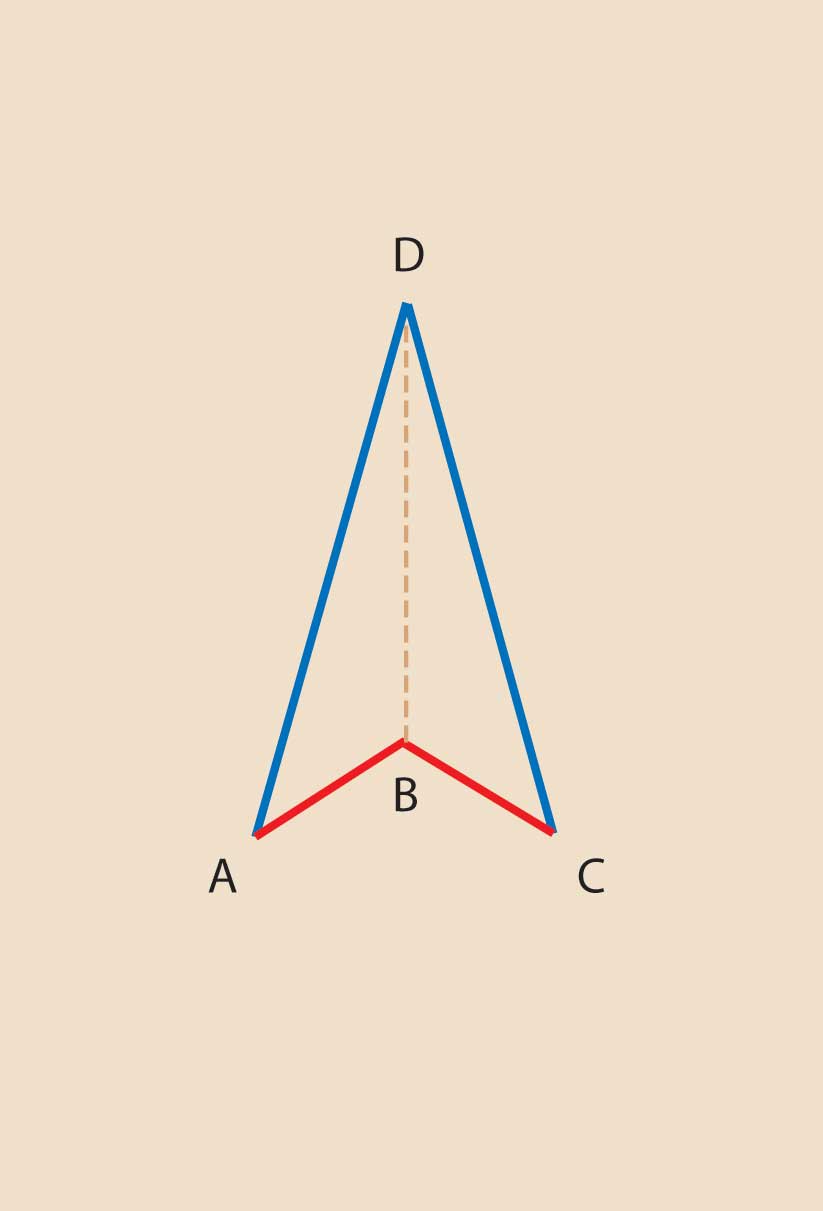
Making Old World-style chips
To make the spear tip-shaped parts of letters A, B, C, D, G, J, K, M, O, P, Q, R, S, U, V, you need to use Old World-style chips. These chips are used where you cannot place blocks surrounded by shallow chips. For an Old World-style chip, make two vertical stab cuts, just as you do with the shallow chip. Then follow up with two angular slice cuts, made to a depth and point where all cuts converge.
Finishing Notes
I use several coats of oil finish to finish many of my pieces. Apply the first two coats carefully, and keep the finish out of the chips. Because these coats absorb into the wood quickly, any oil inside the chips will bleed out into the surrounding areas, which makes the rims of the chips look dull. Rub the third coat over the entire piece. Since the surrounding areas have already received two coats of oil, the third coat is not as likely to bleed out into these areas from the chips.
Use caution when working with oil finishes. Rags or cloths used to apply the finish present a danger of spontaneous combustion. Dispose of wiping cloths in a sealed, water-filled container.
I paint some of my projects prior to carving. Paints work well where there is sufficient background and negative space so that the chip-carved patterns stand out. Carve right through the paint for a contrast between the painted surface and natural wood.
Before painting, seal the wood with a wood sealer or pre-stain wood conditioner, available at most home centers. This prevents the paint from bleeding into the wood. Paint the blank with full-strength acrylic paint straight from the container. Never water down paint or use any that sounds sloshy when you shake the container. The goal is a thick coat on the wood. Then simply carve through the paint.
CLICK HERE to download the Chip Carved Letters Pattern.
 For further information on chip carving read Complete Guide to Chip Carving by Wayne Barton. The book is available from www.foxchapelpublishing.com for $17.95 plus S&H.
 CLICK HERE to read more great articles in Woodcarving Illustrated Fall 2007 (Issue 40).