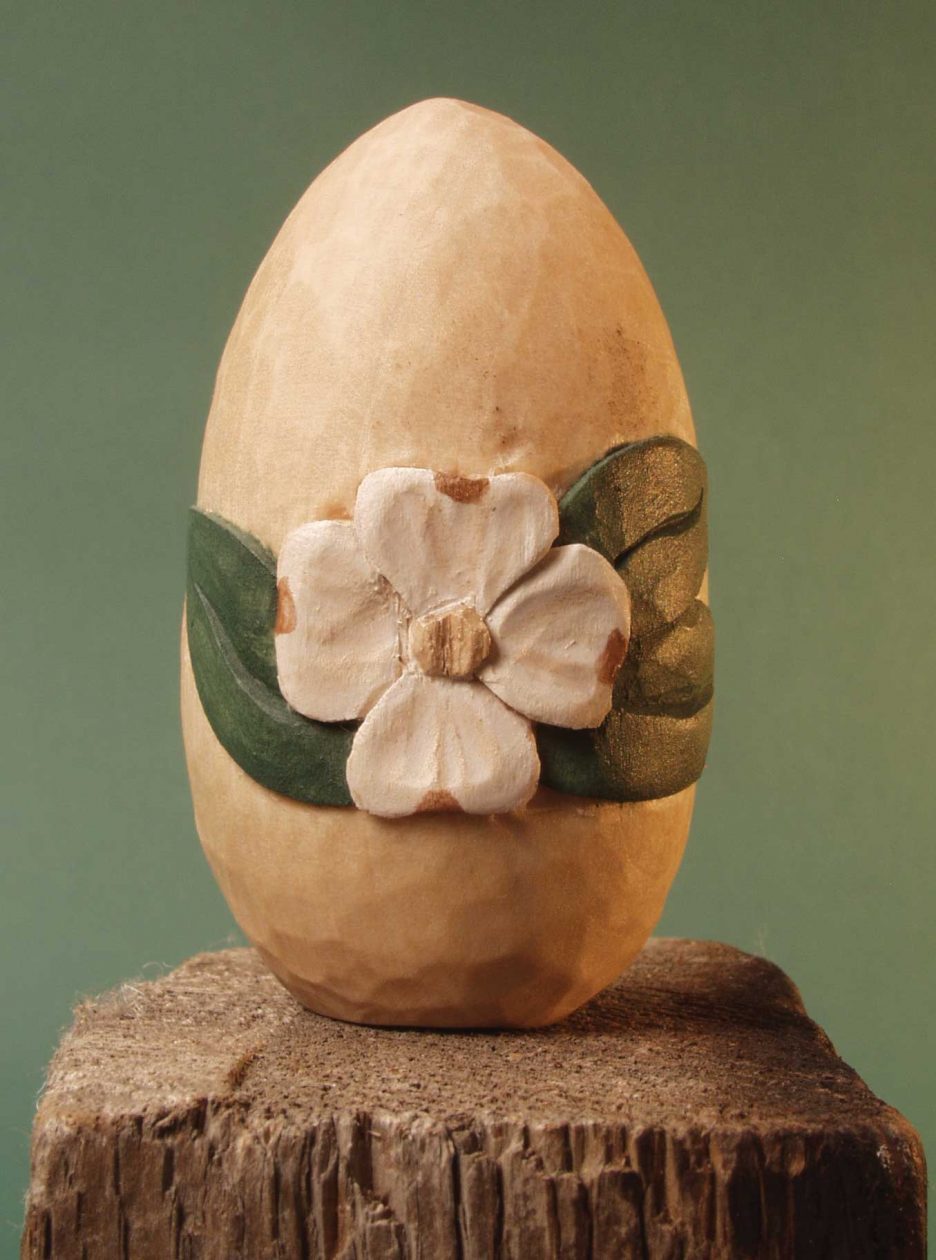
 This practice egg is an ideal first project for beginners and a beneficial exercise for experienced carvers
By Jean Boyd
This practice egg is the first project that I teach my beginning students. While it appears to be simple, and repetitive work is required to get the shape, you also learn about grain direction and some painting and finishing techniques.
Even more experienced carvers can benefit from carving egg shapes. The shape is perfect for getting carving muscles conditioned after a long layoff or preparing for a carving class.
Getting Started
I recommend northern basswood for this project because it is soft and easy to work. Also, the wood readily accepts paint and other finishes. You can use mahogany if you do not want to paint.
When it’s time to carve the wood, you need to find your own comfortable and safe style. I carve toward myself on this project. That’s a major reason for wearing a thumb guard, and I sometimes wear one on my holding hand as well. It helps when you are using a push cut. Hopefully you will master both the pull cut and stop cut before you complete your egg.
A beginner may need six to eight hours to turn his or her block into a nice egg shape. Try to get a feel for the knife, how to hold it and the wood. You may need some extra time to determine what is comfortable.
Tips: The Pull Cut
My personal preference for carving, from years of peeling potatoes, is the pull cut, which is easy to learn. Simply wrap your four fingers—thumb not included—around the handle of your knife so the blade appears above the index finger. Then, introduce the blade to the wood about 1″ above your thumb. Be careful as you pull the knife toward yourself. Do not cut too deep. You might want to try this cut with a piece of scrap wood before beginning the practice egg.
Finishing Tips
As long as you carve cleanly, you don’t have to sand. But keep some sandpaper handy (see Paint and Finishing Materials) just in case ragged edges are left on the egg.
When it comes time to paint, I mix my colors on the bottom of a plastic cup. When I test my color mixes or washes, I use my hand because I can feel how thin or thick I want the paint to be. On your project, be sure the paint is completely dry before moving to the next step. You can let it air dry or use a blow-dryer but don’t set the blow-dryer too hot. For an explanation on how I use motor oil when finishing practice eggs and other projects, see sidebar.
A Slick Trick With Motor Oil
I began using motor oil to finish some of my projects a few years ago because I discovered that it serves the same purpose as linseed oil without the offensive smell.
For the practice egg, simply pour some oil into a small jar lid and brush it over the entire egg, even on the top and bottom. Then, let it sit a few minutes or blow-dry it. Either method of drying enables the oil to seep into the wood. Then, put a second coat of motor oil on the egg.
Dry the egg again. Next, dab it with something absorbent such as an old cotton towel or paper towel. After it dries for a few minutes, push an awl into the bottom and spray the entire piece with Deft.
Be assured that motor oil won’t be harmful if you come into occasional contact with it, but do wear old clothes or a cover up and don disposable gloves. It does not matter what weight the motor oil is so I buy the most inexpensive kind I can find.
Materials:
Acrylic paints: white, green, gold; Apple Barrell: brown
Motor oil
Deft spray lacquer semi-gloss
Tools:
Bench or carving knife
U-shaped gouge
Awl
Pencil
Paintbrushes
Sandpaper: 180, 600 grit
CLICK HERE to download the Dogwood Floral Egg Pattern.
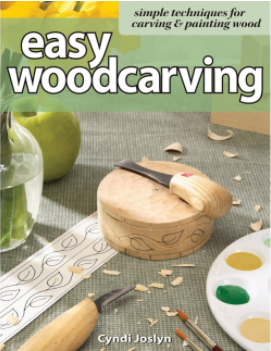 For further information about beginning carving read Cyndi Joslyn’s book Easy Woodcarving. For crafters who want to explore something new! No carving knowledge required. Includes simple techniques, jargon-free instructions, and eight skill-building exercises. The book is available for purchase from www.foxchapelpublishing.com for $14.94 plus S&H.
 CLICK HERE to read more great articles from Woodcarving Illustrated Spring 2004 (Issue 26).