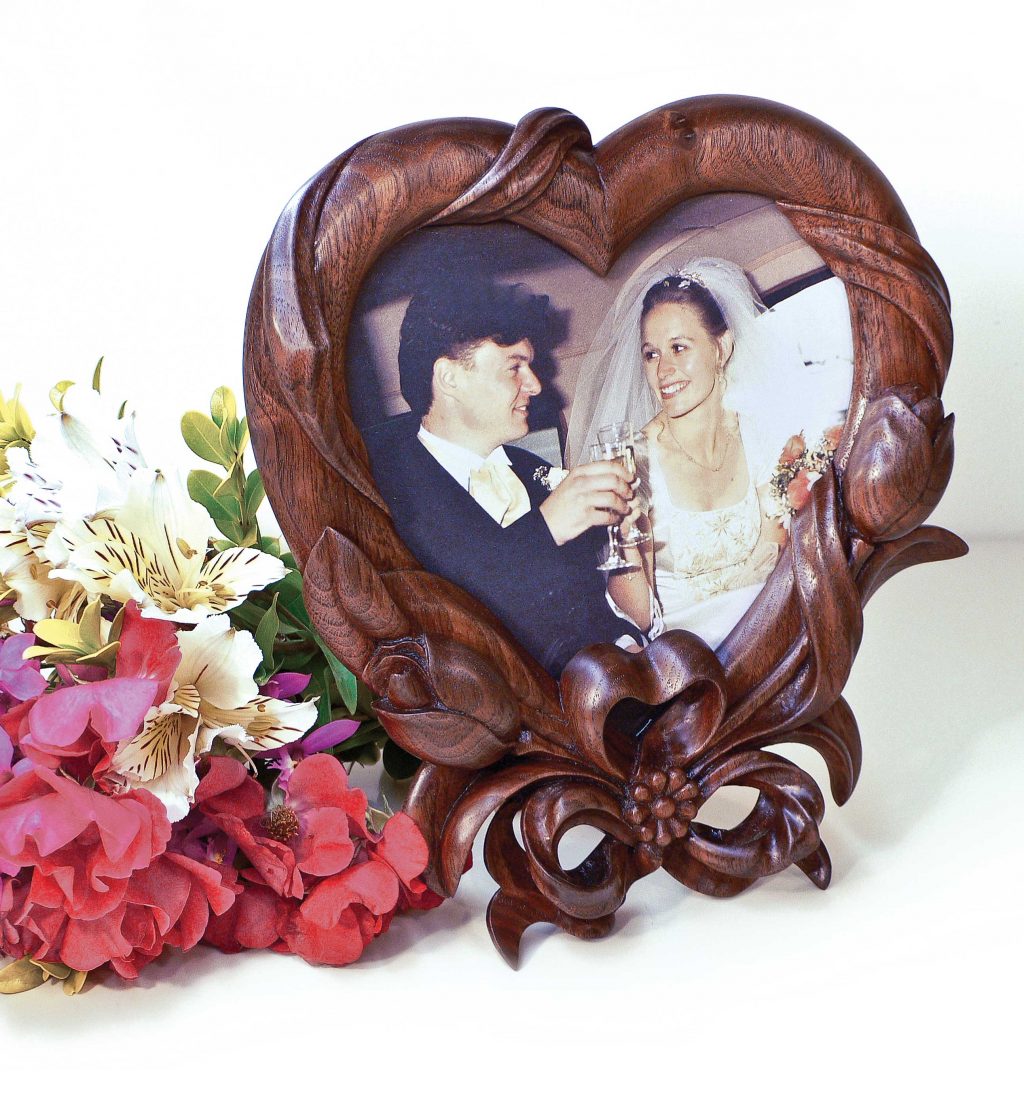
 This romantic frame makes a meaningful gift for a loved one
By Mike Davies
Shapes, symbols, and objects can be brought together to tell stories, and as woodcarvers we have the opportunity to capture these stories in our work. This picture frame in the shape of a heart, bound with flowers and ribbons, sends a clear message of love about the picture it holds. You could also decorate the frame by carving initials or a name into the surface.
The ribbon should appear as a continuous length woven around the frame. The most challenging part of the project is maintaining a consistent width to the ribbon while adding folds and creases. It is helpful to keep the viewing angle in mind when shaping the ribbon. For a simpler project, eliminate the ribbon and carve the frame with only the floral accents.
To get started, use carbon or graphite paper to transfer the pattern to the wood, ensuring the grain is running from top to bottom. The circular hub with four spokes in the center of the opening is an essential component that enables you to hold the project when carving. Drill holes through the pierced areas of the design, making sure the holes are at 90° to the wood surface. Cut the frame as accurately as possible. I use a scroll saw, but you could also use a coping saw. If you use a coping saw, transfer the design to both sides of the blank to make sure you are cutting perfectly square. On the back of the cut piece, drill a pilot hole in the center of the hub for the carver’s bench screw.
Materials:
Wood: 1 1/4″ x 7 3/4″ x 9″ (32mm x 19.7cm x 22.9cm) planed flat on front and back
Plywood: 1/4″ x 5 1/2″ x 5 1/2″ (6mm x 14cm x 14cm) (backing board)
Carbon or graphite transfer paper
Pencil
Card stock
Fine-grade sandpaper
5 1/2″ x 5 1/2″ (14cm x 14cm) plastic or glass
Frame fittings of your choice
Tools:
Hand drill or drill press with assorted drill bits (match one to the size of your carver’s bench screw)
Scroll saw with #5 reverse-tooth blade
Marking gauge
Carver’s bench screw and support (or backboard, screws, and C clamps)
#2 skew chisel: 10.5mm
#7 gouges: 3mm, 6mm
#6 gouge: 9mm
#5 gouge: 12mm
#2.5 gouge: 12mm
#4 gouge: 22mm
60° V-tool: 9mm
Divider calipers
Router with rabbet bit: 3/8″ (10mm) radius
CLICK HERE to download Ribbon and Flower Fram Pattern: Version One.
CLICK HERE to download Ribbon and Flower Fram Pattern: Version Two.
CLICK HERE to download Ribbon and Flower Fram Pattern: Version Three.
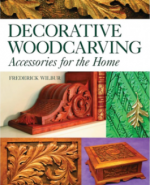 For more information on decorative woodcarving read Decorative Woodcarving Accessories for the Home by Frederick Wilber. Follow along as Wilbur illustrates how to use historic ornamentation to accent items for your home, like classically carved bookends, an heirloom quality jewelry box, a cabinet for storing CD’s, and much more. Perfect for the beginner or advanced carver, this book takes you from start to finish with detailed instructions and step-by-step photography. It is available at www.foxchapelpublishing.com for $24.95 plus S&H.
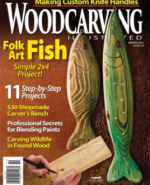 Read full step-by-step instructions in Woodcarving Illustrated Spring 2011 (Issue 54) here.