

![]() Mix your own dyes and stains
Mix your own dyes and stains
By Robert Triplett and Bob Duncan
It can be difficult to find the perfect dye or stain color for your project. Instead of searching the stores or settling for something other than what you envisioned, create the exact color you want.
The Differences Between Dyes and Stains
For most woodcarving projects, the goal is to add color to a piece without obscuring the wood grain. Transparent coloring agents are collectively referred to as stains. There are two types of stains: pigmented stains and dye stains.
To create a pigmented stain, natural or synthetic earth compounds (clay, soil, or other mineral-based colorants) are suspended in mineral spirits, lacquer thinner, water, or a type of glycol. A binder, such as oil, varnish, lacquer, or even a water-based compound, holds the pigments to the wood surface. According to Bob Flexne r in Understanding Wood Finishes, pigments tend to collect in scratches or defects in the wood, which can accentuate any flaws, but they don’t soak into the wood. Because they don’t soak in, pigments can obscure the wood unless you wipe off the excess. But, because the pigments are tiny solid particles, pigmented stains don’t fade quickly when exposed to sunlight.
For a more uniform finish using pigmented stains, shake or stir the liquid to ensure the pigments stay suspended, and apply a pre-stain conditioner to prepare the wood for the stain.
Dyes are chemical colorants that totally dissolve in a solvent—usually water but sometimes alcohol, naptha, toluene, xylene, or lacquer thinner. Because the chemical colorants are totally dissolved, dyes soak into the wood and remain transparent even if you don’t wipe off the excess. Dyes usually absorb into the wood evenly without accentuating flaws.
Dyes are available in more vibrant colors than pigments, but they tend to fade when exposed to sun. The fact that dyes absorb into the wood evenly can reduce the contrast between areas of differing density in the wood.
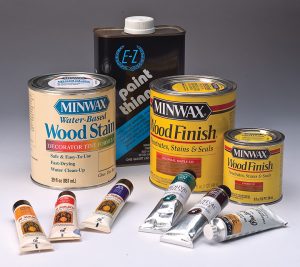
Most commercial finishes, such as Minwax, combine dyes and pigments in varying proportions.
 Mixing Custom Stains
Many woodcarvers thin acrylic paint with water, clear paint mediums, or water-based stains to create pigmented stains. You can also create custom stains using oil paints. Acrylic paints dry quickly; the longer working time oil paints provide can be beneficial.
To make custom oil stains, squeeze a 3/4″ (19mm)-long ribbon of artist oil paint into a small glass jar and add about 3/4 oz (4 1/2 teaspoons or 22ml) of mineral spirits. Put a lid on the jar and shake until the paint thoroughly mixes with the mineral spirts. You can apply these pigmented stains right out of the jar or mix the stains together to create custom colors. Control the concentration and the intensity of the colors by adding more or less mineral spirits. Some artists use natural-colored oil-based stain, such as Minwax, to thin oil paints. The natural-colored oil-based stain adds a warmer tone to the wood. Experiment with tinted and clear bases to produce a variety of custom stains.
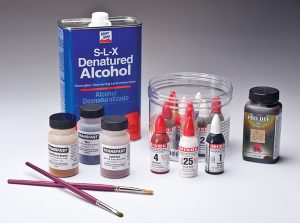 Mixing Custom Dyes
Custom dyes are equally easy to make. Dyes come in a variety of colors. Many of these easy-to-use colorants are sold as powders that dissolve in water or alcohol. Dyes made using alcohol dry faster than dyes made using water. Modern aniline dyes, originally developed for the textile industry, resist fading more than natural dyes. After dissolving the powders or diluting the liquid, you can mix the dyes to create custom colors.
Adding Colors to Film Finishes
Some people suggest adding color to a film finish, such as lacquer or varnish. Most film finishes require an exact chemical composition. If you interfere with this delicate chemistry, it can produce unexpected results, such as a finish that flakes off easily or never dries fully. Color the wood before you apply a film finish.
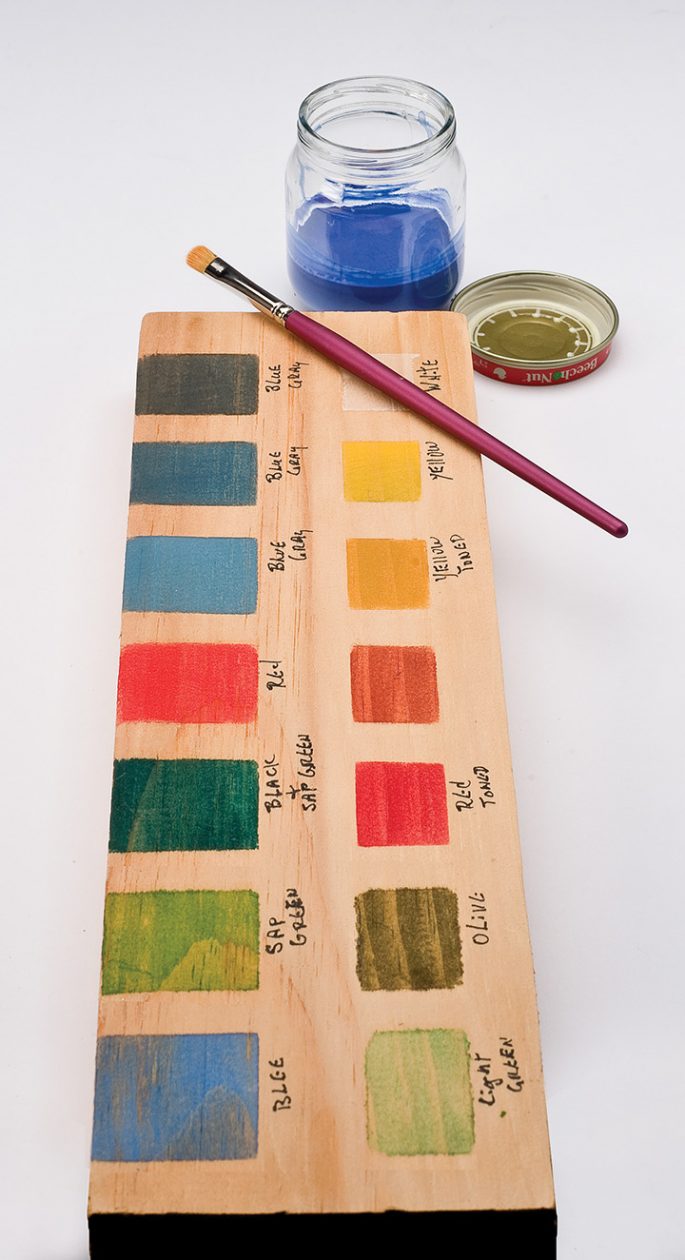 Testing Colors
Make a practice board to test colors. Take a flat piece of wood the same species as your project and use masking tape to divide the board into a grid of squares. Create and mix different stains or dyes in various small containers and apply them to the squares. Mark the squares and corresponding jars and allow the colorant to dry. If you plan to apply a finish on top of the color, apply it to the sample board as well so you can see how the completed project will look. This trial and error process using a practice board teaches you how to work with custom stains and dyes, and can prevent a costly mistake on a piece you spent hours carving.


