Master the basics of drawing with a veiner
by Chris Pye
This article was first published in issue 42 of Woodcarving Illustrated.
A line inscribed on the surface of the wood is probably the simplest form of carving. This artistic expression traces its origins back to some of the most primitive art forms.
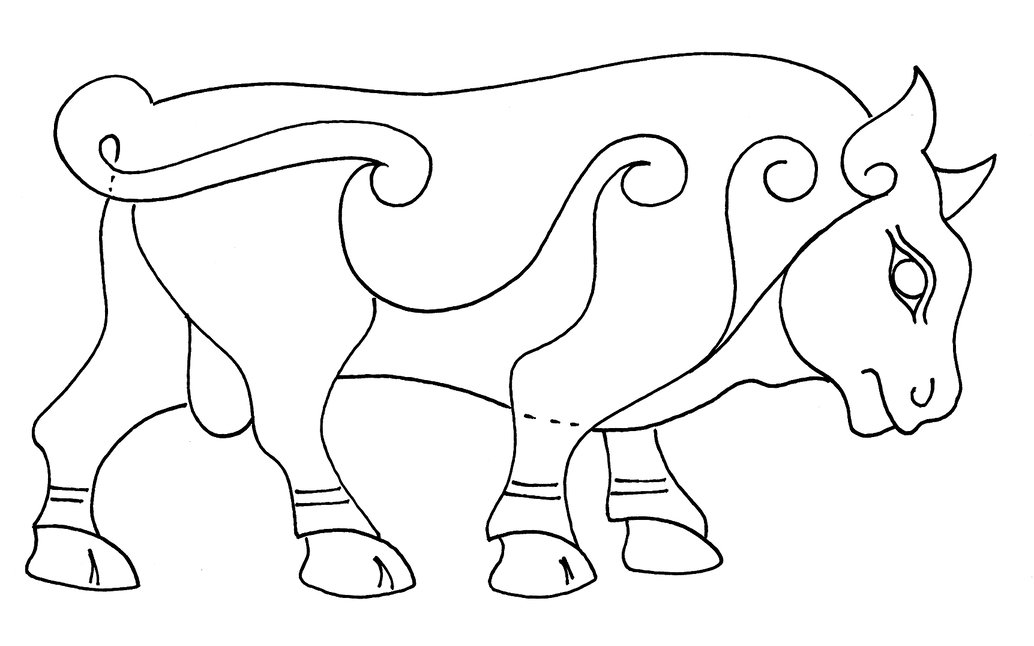
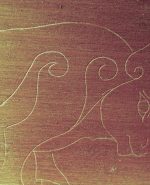
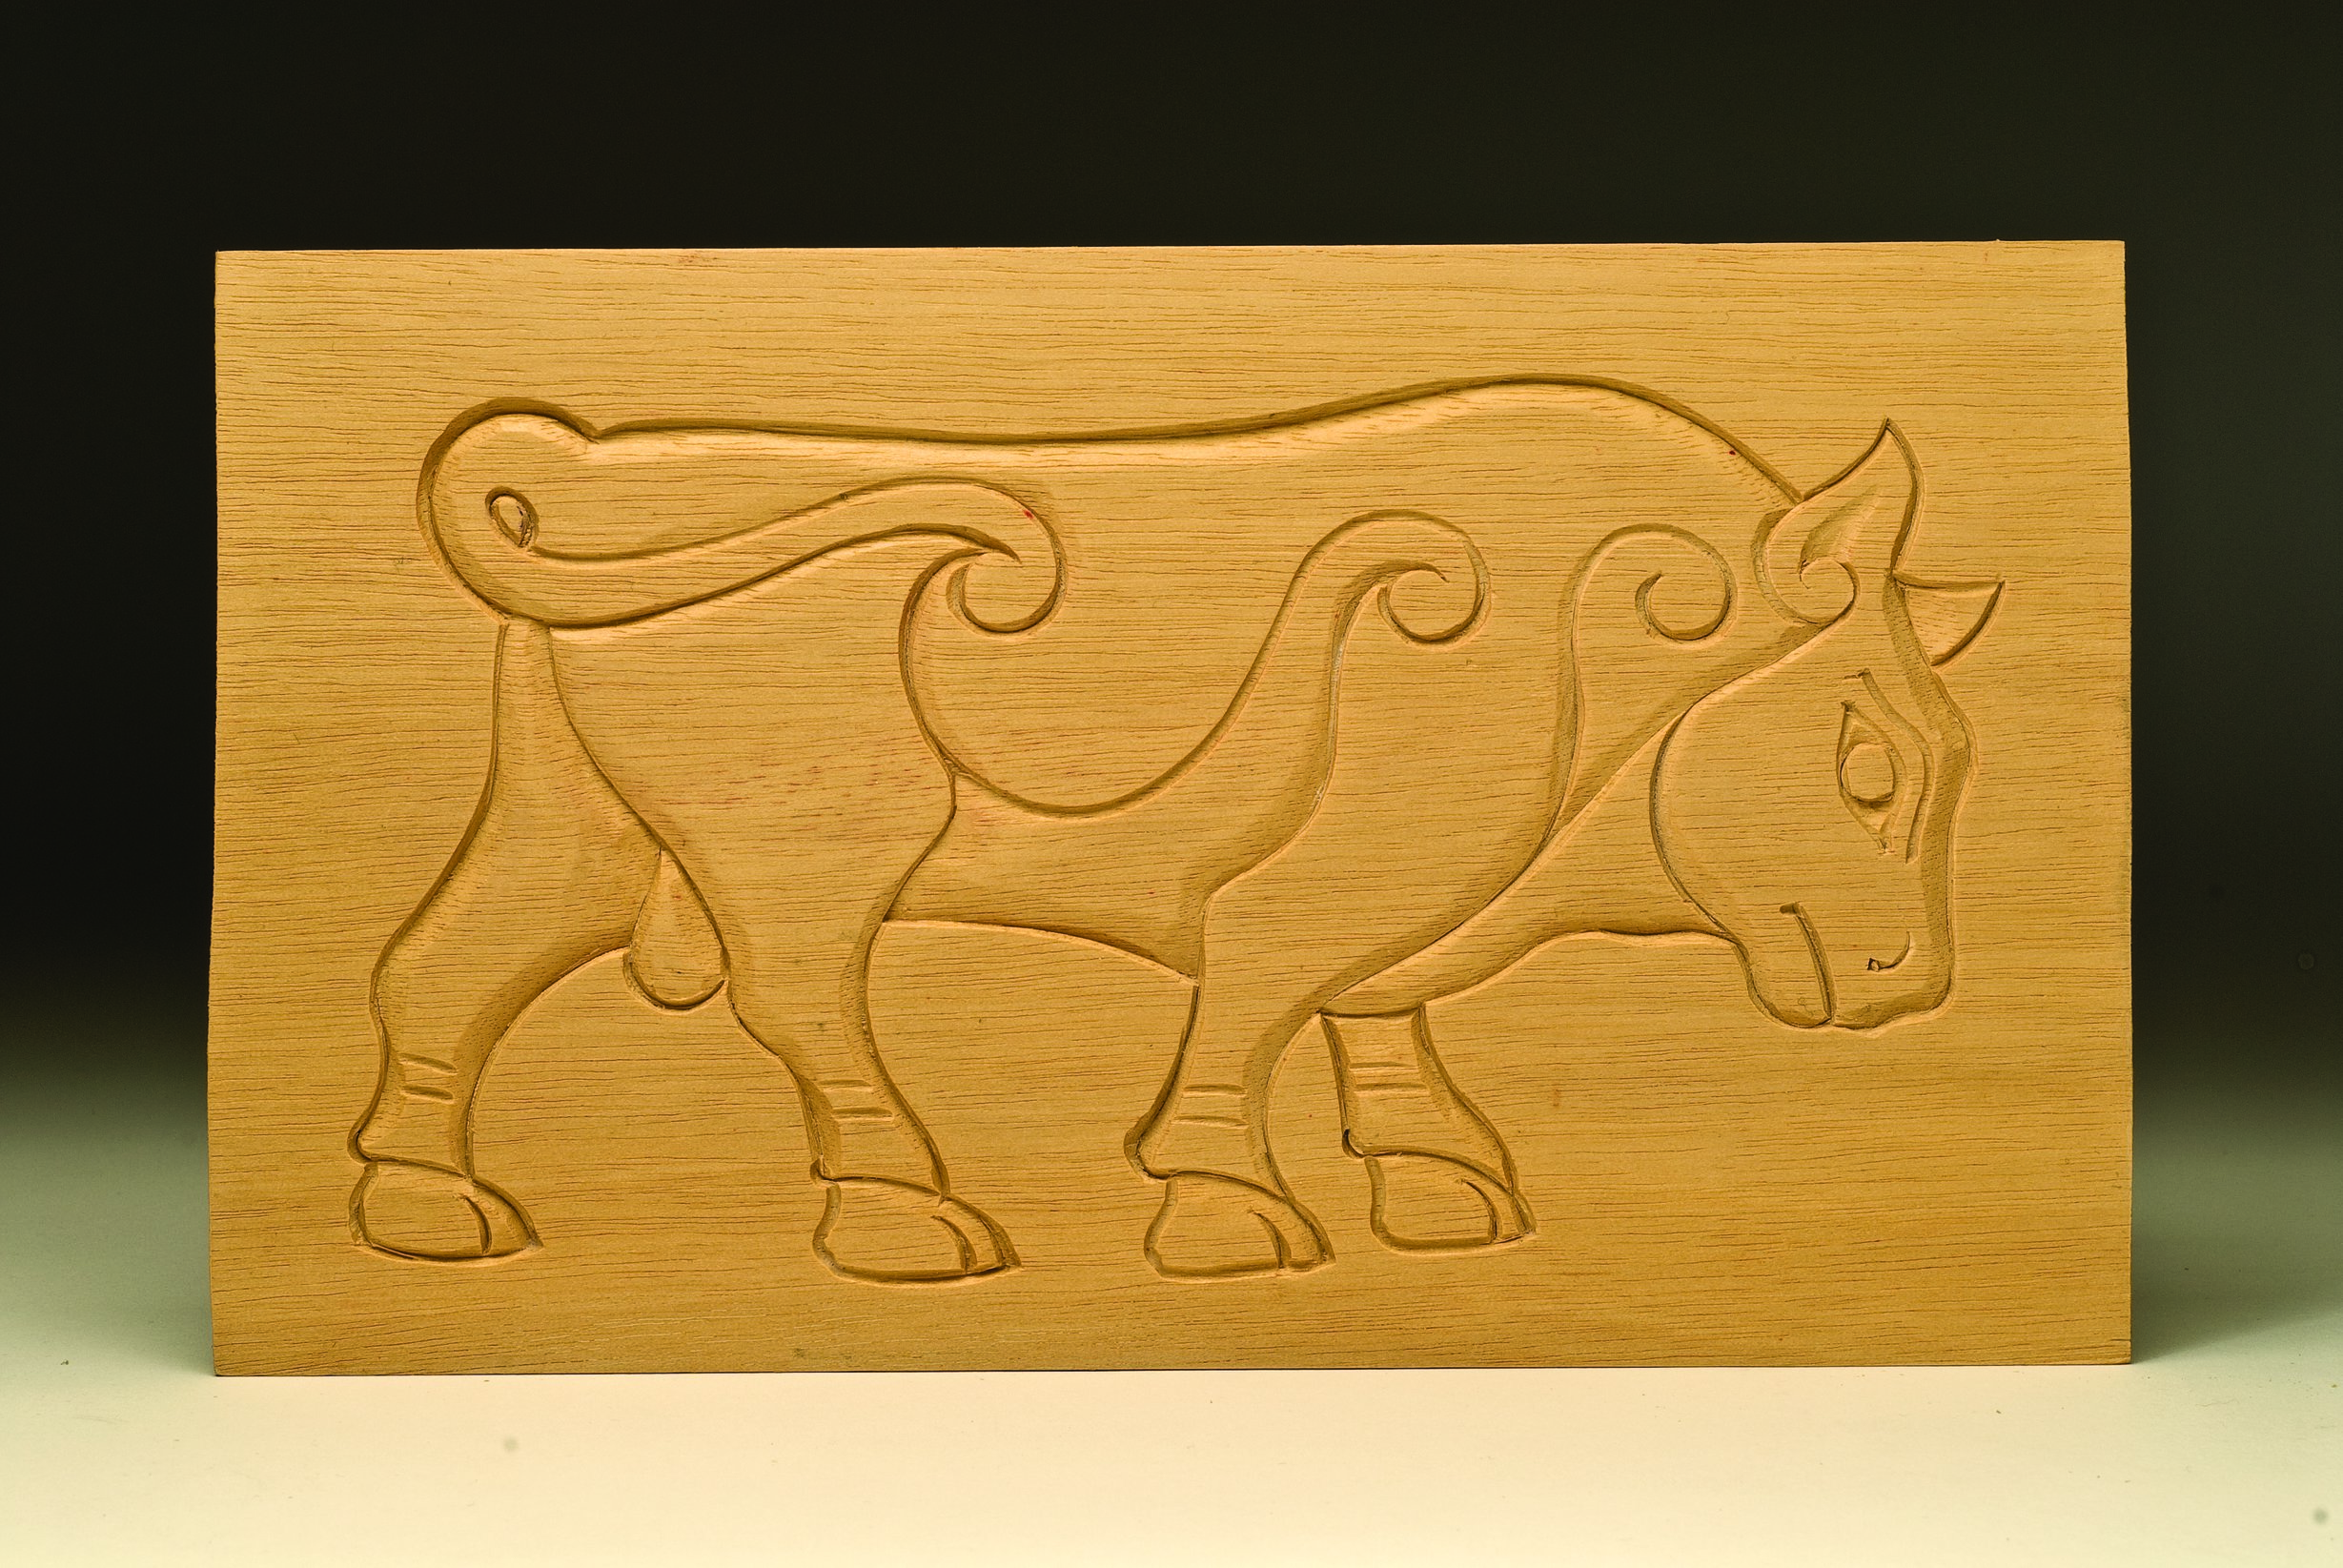
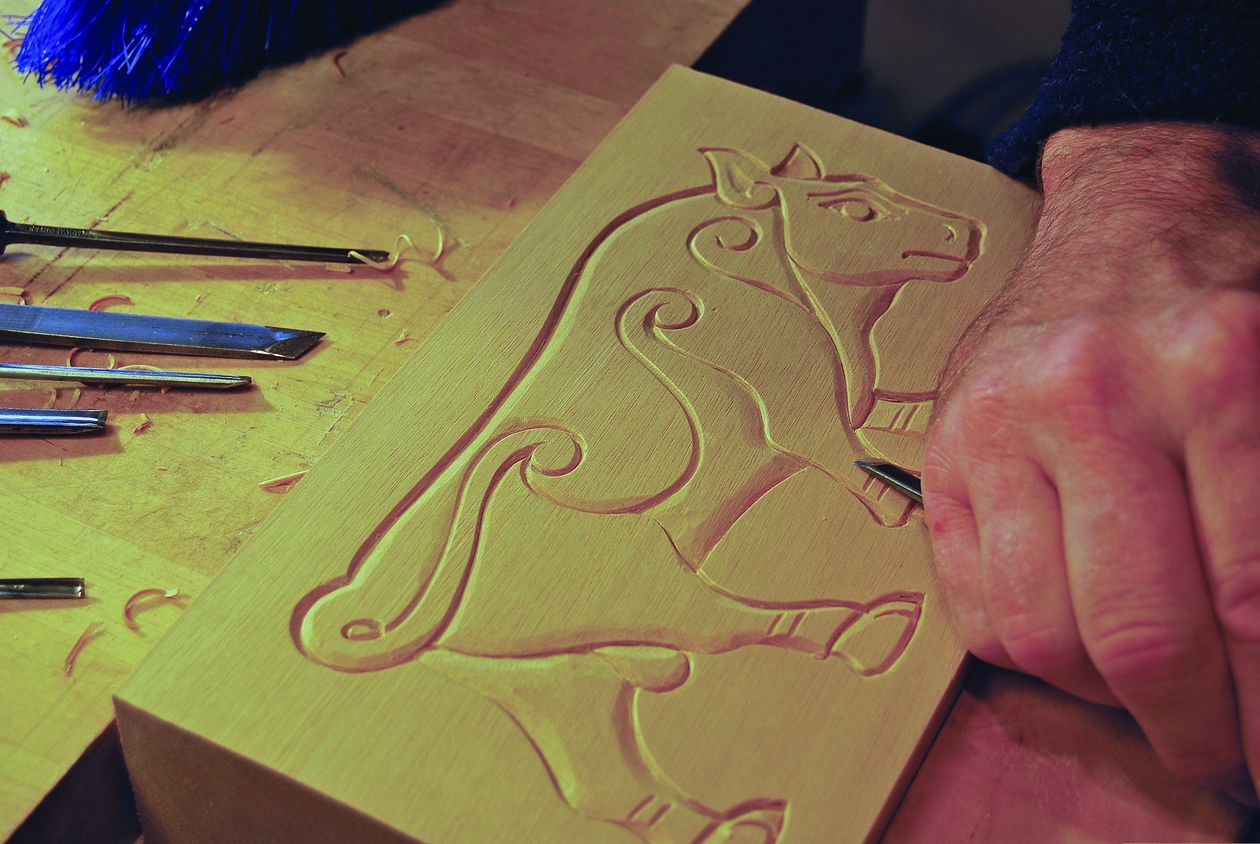
The design we’ll use in this demonstration is based on the “Burghead Bull,” one of the enigmatic stone carvings left by the Picts. The Picts were the indigenous tribes of what is now Scotland. We have only anecdotal evidence of the Picts for they left no written word and only a few carvings. The Burghead Bull is a beautiful 7th century AD example of the early Pictish incised style in which the lines of the design are simply pecked into the stone surface.
This bull is based on one of six fabulous carved slabs found at Burghead, the site of a major Pict fortress. The design, then, is over 1,300 years old. And across the ages we can still see the Burghead Bull in a strong, natural pose, with fluid lines and scrolls emphasizing its muscles and joints. I have taken a few liberties with the design, mainly enlarging the spirals and simplifying the feet. If you want to see the original, just type “Burghead Bull” into an images search online.
In these projects we will mainly practice running cuts, using the “low angle” grip. Whenever the curves become too tight for the veiner, we must switch to gouges and crescent or slicing cuts with the “high angle” grip (WCI Summer 2007, Issue #39) to cut the line. You can treat many other subjects in the same way as we do here: flowers, wildlife, and even lettering. Choose designs with clean, simple, flowing lines, and lots of internal space for the most impact.
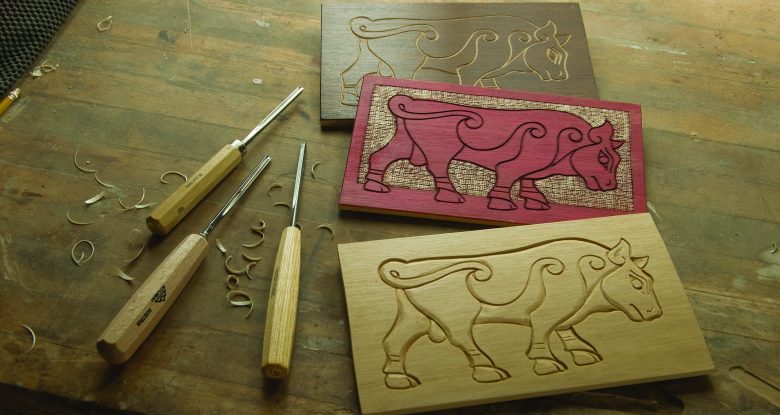
We’ll work the design in three different ways to show a small sample of the effects you can achieve. The addition of stain, paint, or a textured background changes the look of the piece significantly. Many beginner carvers reach for a V-tool when attempting this type of work, but a veiner is almost always the better tool for the job. To see why the two tools are not interchangeable when it comes to simple lines, we need to take a close look at these tools in action and note the important differences in the way they work.
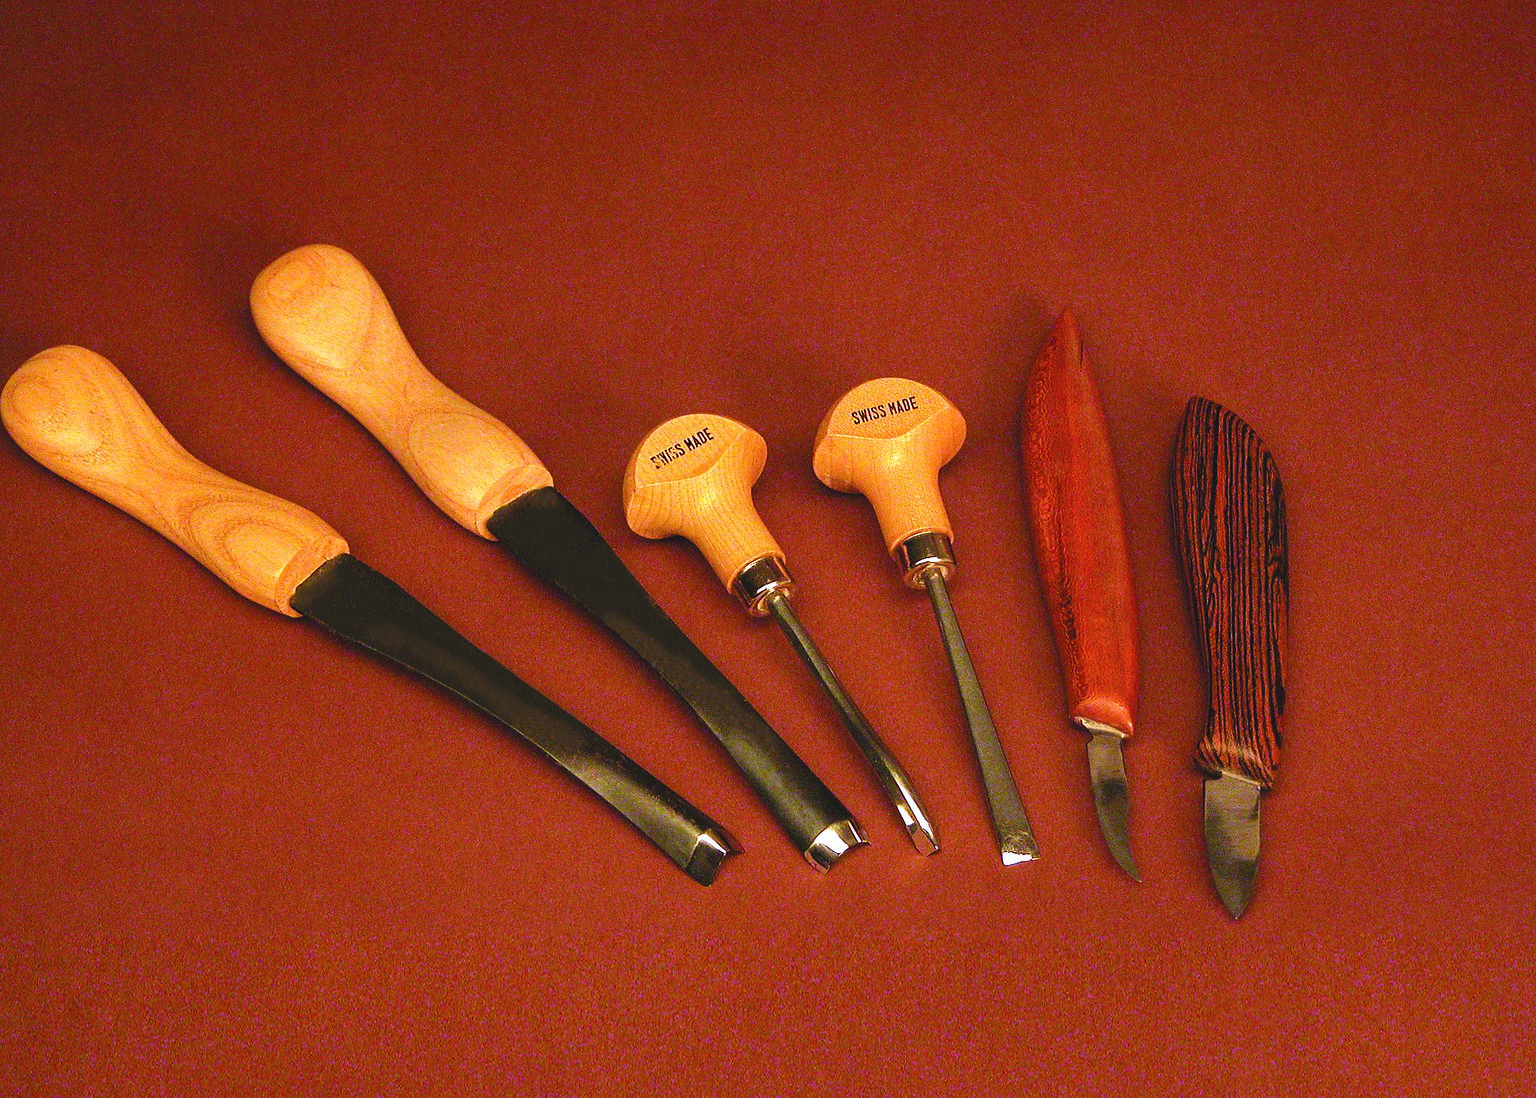
Veiners
“Veiner” usually refers to gouges less than 1/8″ wide and having a semicircular (#9) or deeper (#10 or 11, which are more “U” shaped) sweep. The veiner is something of a neglected tool, with its function of carving lines often taken over by the V-tool. That can be a mistake; the V-tool and veiner create different effects. In this article, I’ll be working with the veiner: it’s a tool worth knowing about and having in your armory.
V-tools
The V-tool is an essential part of a traditional carver’s kit; it has a variety of uses and usually lives on my bench. Many people use it to cut straightforward lines on the surface of a piece of work, but the veiner is by far the better tool for this purpose. The V-tool can be the tool of choice when “drawing” hair or fur; this is more 3D than the surface lines we are talking about.
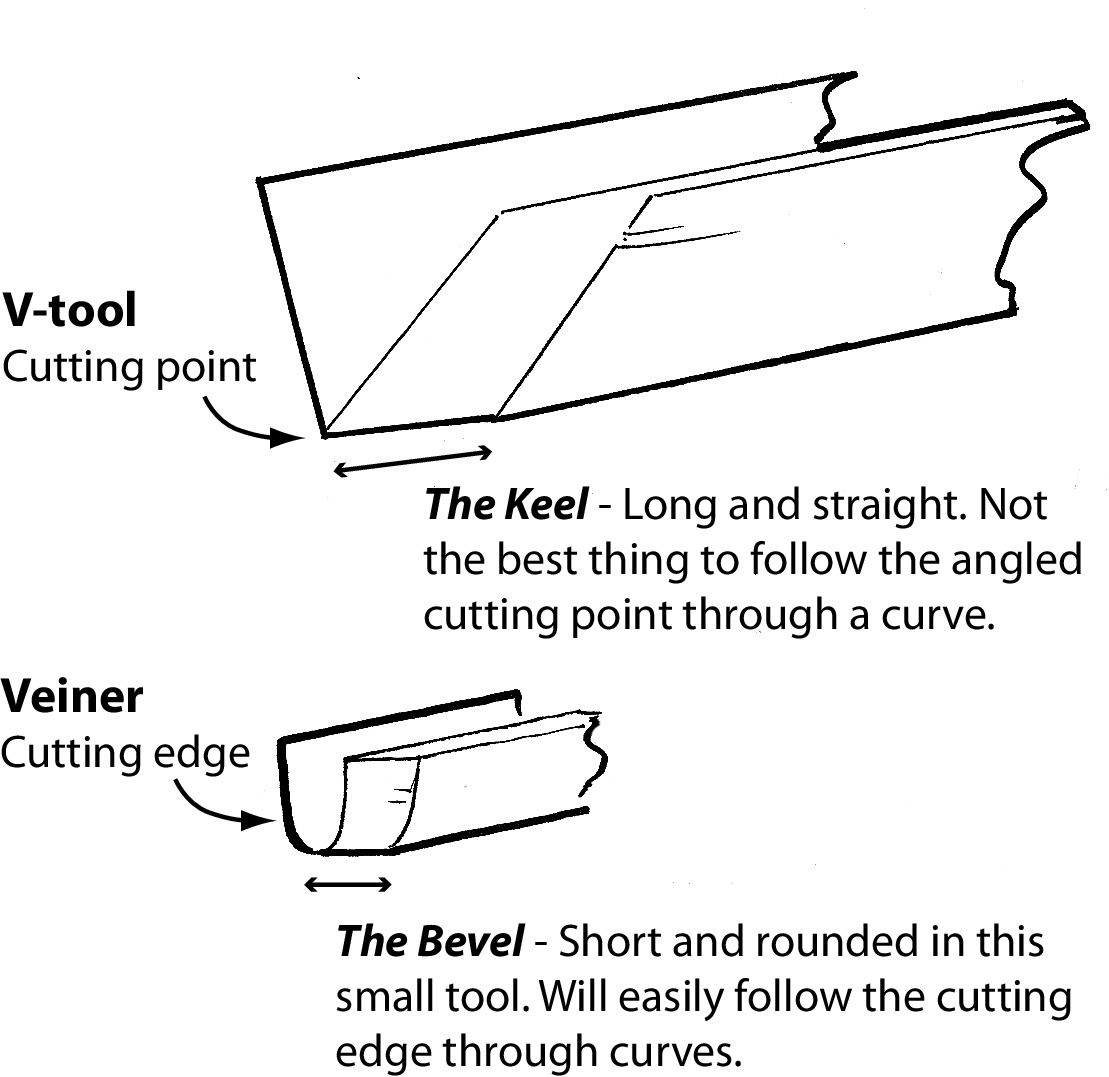
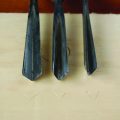
The differences between the keel of a V-tool and the bevel of a veiner.

Tight curls become more difficult to carve with a V-tool as you deepen the grooves, but the veiner cuts easily regardless of the groove depth.
Keels and Bevels
A V-tool consists of two chisels joined together at an angle. The “keel” is the line where the bevels of each “chisel” meet, and is nothing less than a third bevel. Turn your V-tool over to look at the keel and you will see it as a smooth, slightly rounded over, but essentially straight line of metal.
When you offer your V-tool to the wood in the normal fashion, it is this third bevel, the keel, which rests on the surface. When you push the angled cutting edge of the V-tool along a groove, the keel obviously follows—and here lies the crunch.
If you run a shallow, curving cut with the V-tool, the straight keel is well out of the way. But as you cut deeper with the V, the keel sits more and more within the groove you’ve just made, and there comes a point when the straight keel fights against the curve of the groove, tearing the walls, surface, and edges of the groove. The shallower and longer the curves, the better the line you can “draw” with the V-tool.
The veiner has a short bevel, so it does not have the same problem as the V-tool. However, even the veiner is limited when it comes to tight curves, and as we shall see in the projects, you may have to switch to gouges for the tightest.
You can draw light, long curving lines with the V-tool, but there is another reason why the veiner is preferable: it creates a tighter line with better shadow.

The walls of the veiner meet the surface at a right angle. There will always be a harder shadow, and thus a stronger looking line than that of the V-tool, which meets the surface at an angle.
Side Walls
The most commonly used V-tool cuts a groove at a 60° angle, and although you can buy V-tools with a 45° angle that will cut a sharper groove, the walls always slope out.
The veiner has vertical walls, and the edges of its groove have a harder shadow. You might think this is a small point until you put the two lines together—the difference is immediately obvious. The difference between the two tools is as important as the difference between two adjacent notes on a piano.
Therefore, the veiner in this context—drawing lines—is the better tool, because not only will it negotiate tighter corners more easily, but it will also create a sharper line.
I shall be working with the veiner in the following projects, but why not convince yourself of the different value of these tools by repeating the projects with the V-tool?
Getting Started
These projects, as well as all traditional carving, depend on the play of light and shadow. A simple line crossing a strongly figured surface will be camouflaged. A bland, pale wood, such as basswood, birch, or jelutong, works best. For some projects, we will be coloring the wood and it’s best to start with a light, bland wood so the color remains true.
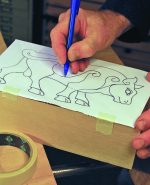
For all three versions, begin by transferring the design to your wood. I use the same pattern for all three projects, changing the color of my ballpoint pen from blue to red to black so I can see where I’ve been pressing. The ballpoint pen leaves an indentation on the surface of the wood that is readily seen when you play a light across it. You can trace along the indentations with a pencil if it helps, but be sure to remove any uncarved marks when you are finished. As with any new technique, always practice on scrap wood first.
The Simple Line
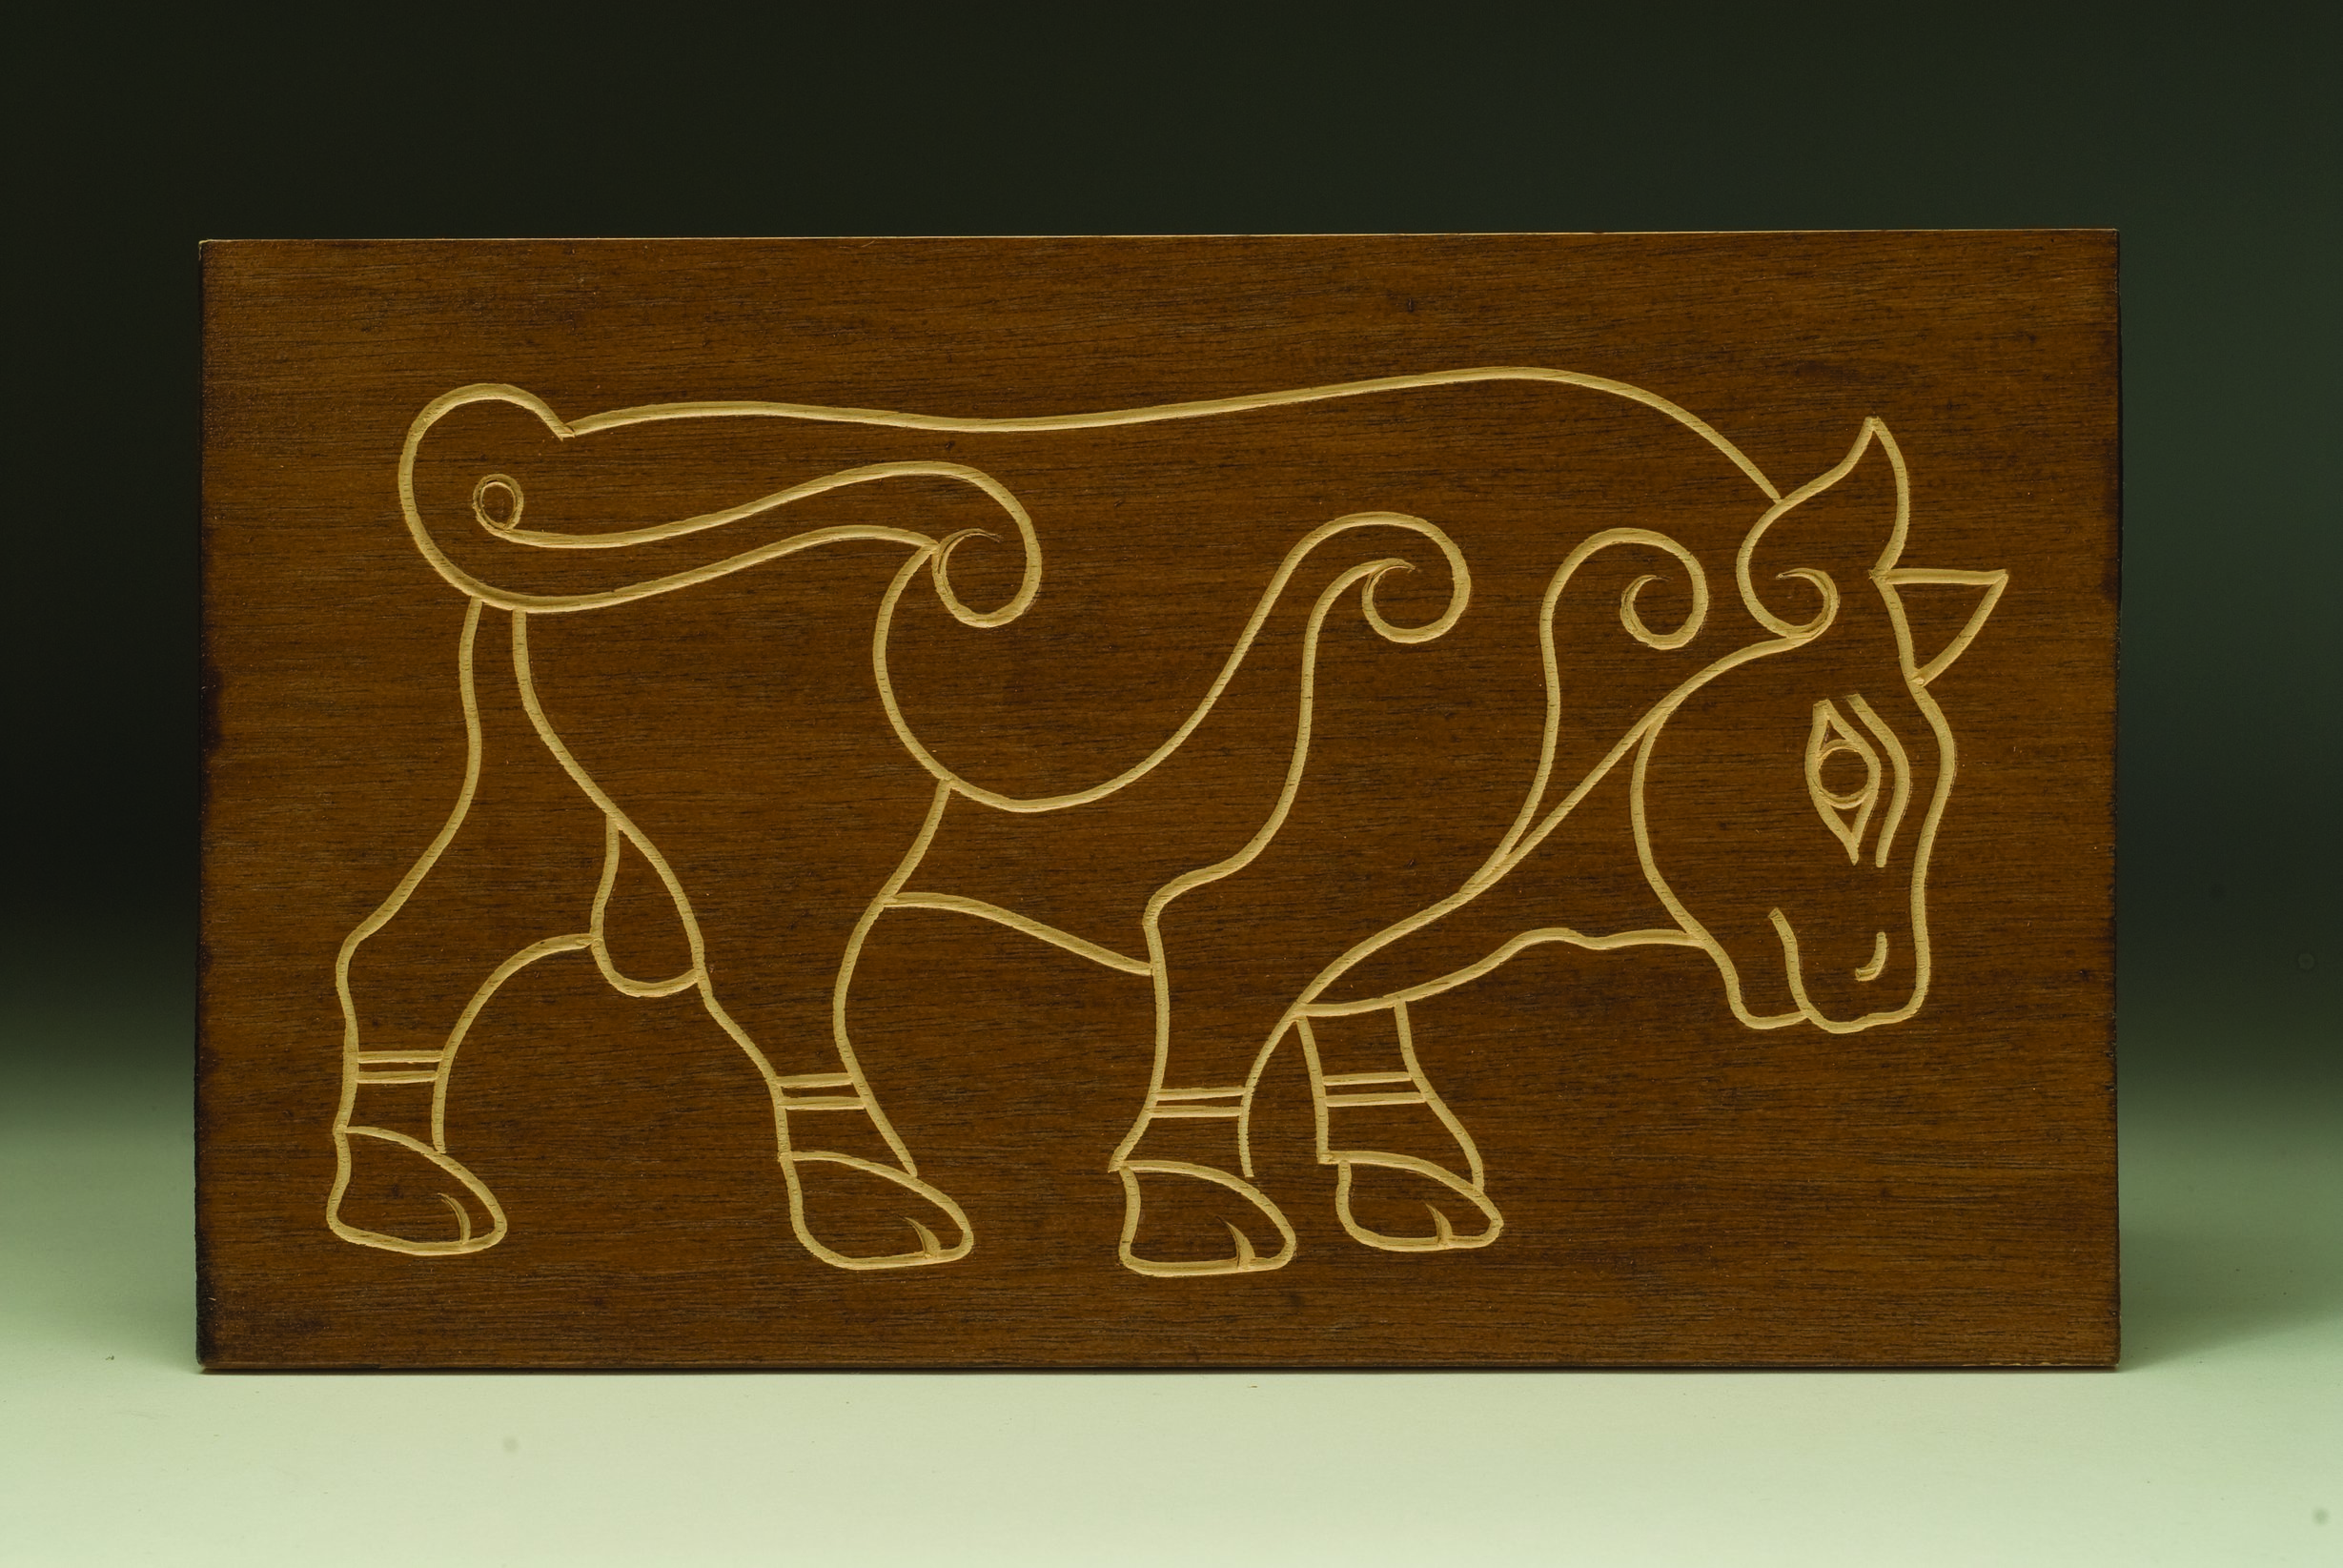
The simple line is decorative carving at its most drawing-like and must be one of the oldest styles of primitive art. To create more contrast and highlight the design, apply a dark brown varnish to the surface of the blank. Apply several coats to create a “skin” of varnish on the wood. Use varnish instead of stain, because you want the color to sit on the surface of the wood and not soak into the wood. You get one shot at carving the line, rather like an ink drawing. Use the pattern as a guide and concentrate on making a fluid line rather than tensely and slavishly following what you have drawn. You get an even width to the line by maintaining the cut at a consistent depth. While we are striving for even cuts in this design, altering the width by cutting shallower or deeper is an artistic option for other designs or future carving projects.

1. Make the long, curving cuts. Use a veiner. Make the cuts flowing, continuous, and even. Try to avoid “flats” or straight sections in what should be a curving line.
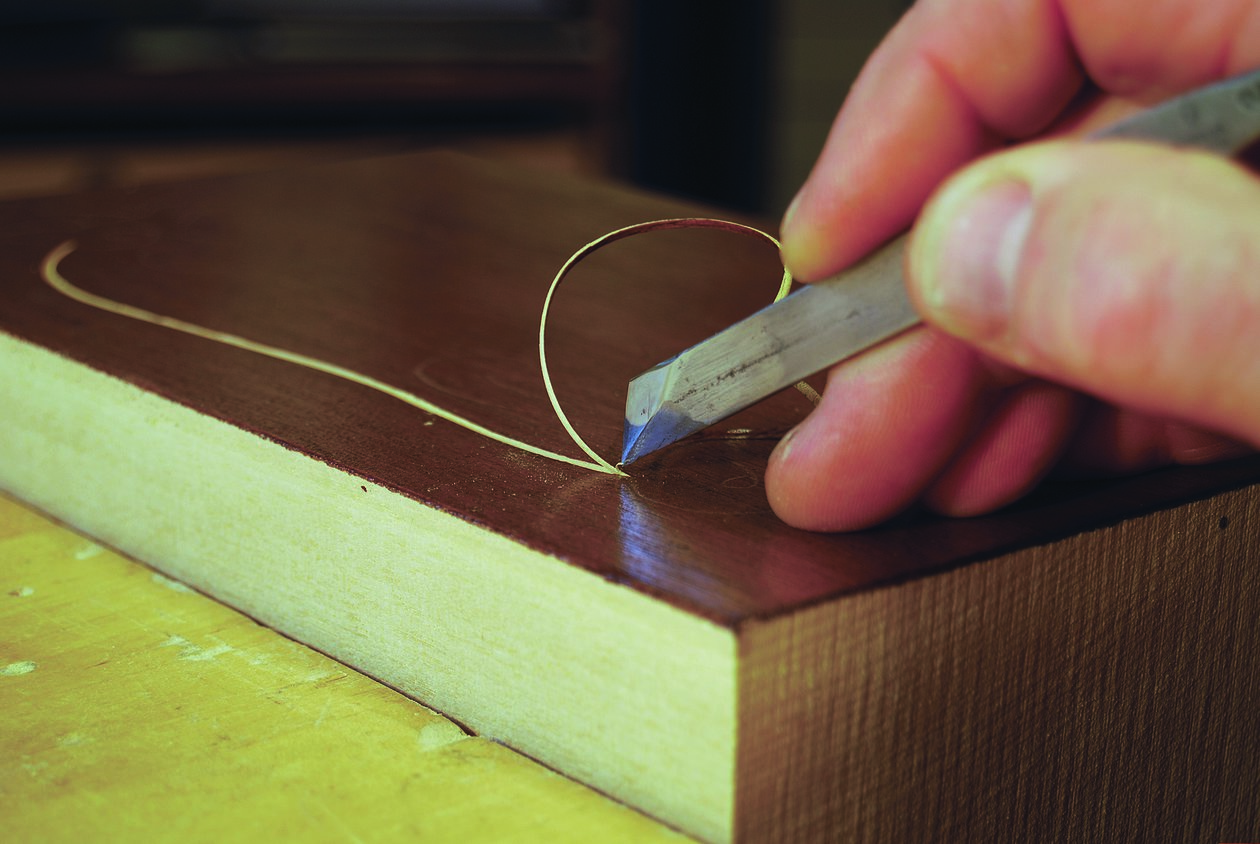
2. Cut the shavings free. Don’t pull or tear shavings away; wait until you cut them with another line or neatly nip off the ends with the tip of a skew chisel.
3. Carve the other long curves. Don’t forget to switch hands and keep the tool corners clear. As the curves get tighter, keep your elbows in and move your body around behind the tool.
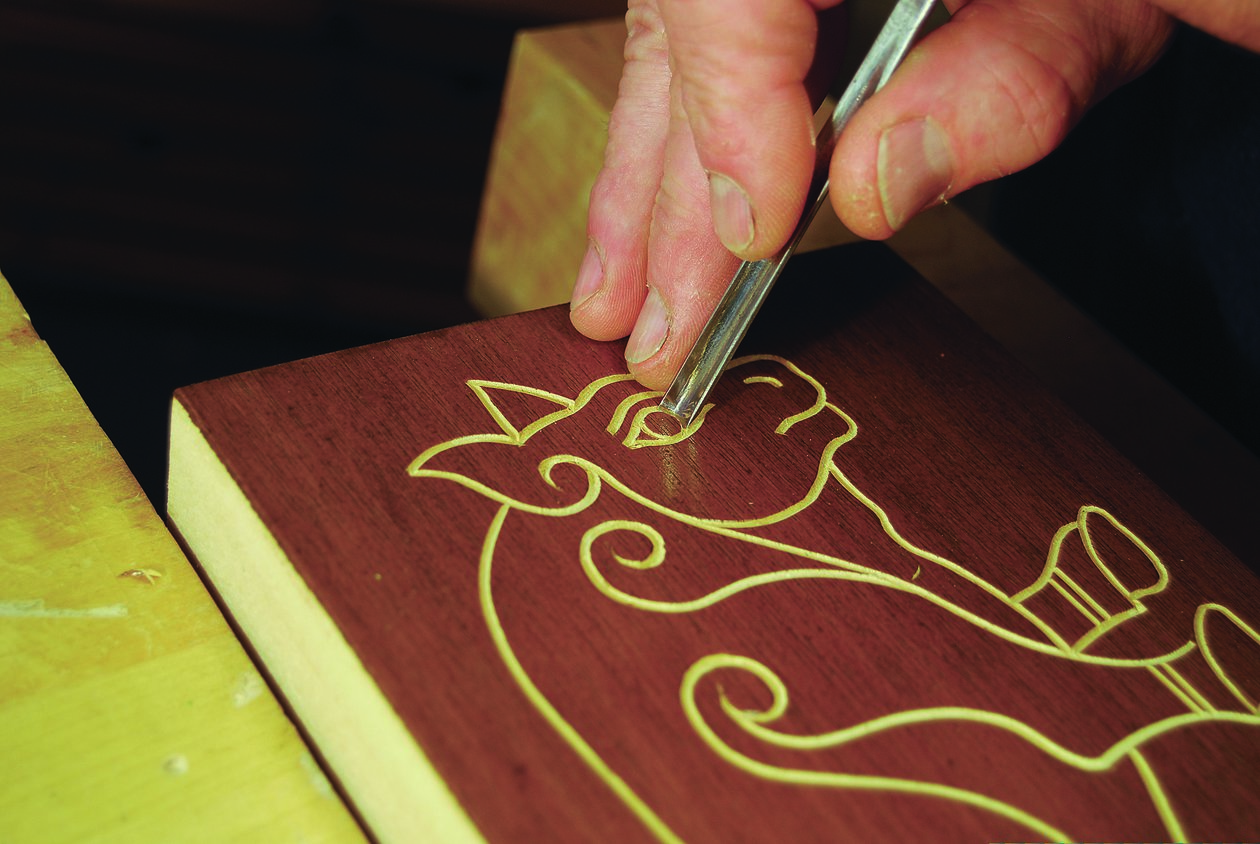
4. Finish the tight curves. Use gouges of the appropriate size and sweep. Use the “high angle” grip to make crescent and slicing cuts to finish the ends of the spirals, the eye, and the hooves.
Frosting (or “Matting”)

Frosting is a method to add texture to the background of a relief carving. With very little effort, we can make the design stand out and move from a simple line drawing to a sort of relief. A “froster” or “frosting tool” (also called a “matting tool”) is a metal punch, the end of which looks like a meat tenderizing mallet with lots of little square pyramidal teeth. You can buy such punches from woodcarving suppliers or make them yourself from a bolt and triangular file. The most common froster has a square grid of 16 teeth, but you can buy or make frosters with fewer teeth to fit into smaller areas. You can frost the background randomly or side to side like a plowed field. I prefer to make the frosting “work,” producing its own pattern. Transfer your drawing to an unvarnished piece of wood, and carve the whole bull again, exactly as you did the first time.

1. Score in a frame around the bull. Use a marking gauge, veiner or V-tool. I allow the bull to overlap the bottom edge of the “frame” so it looks as if it is standing on something. The area between the bull and the edge of the frame is the background, and this is what you are going to “frost” or “mat.”

2. Frost around the bull. Set the punch at a slight angle so the edge rests in the junction between the background and the subject. Tap the froster with a light hammer, following around the bull and within the frame first. Fill in the background by going back and forth parallel to the horizontal edge of the frame.
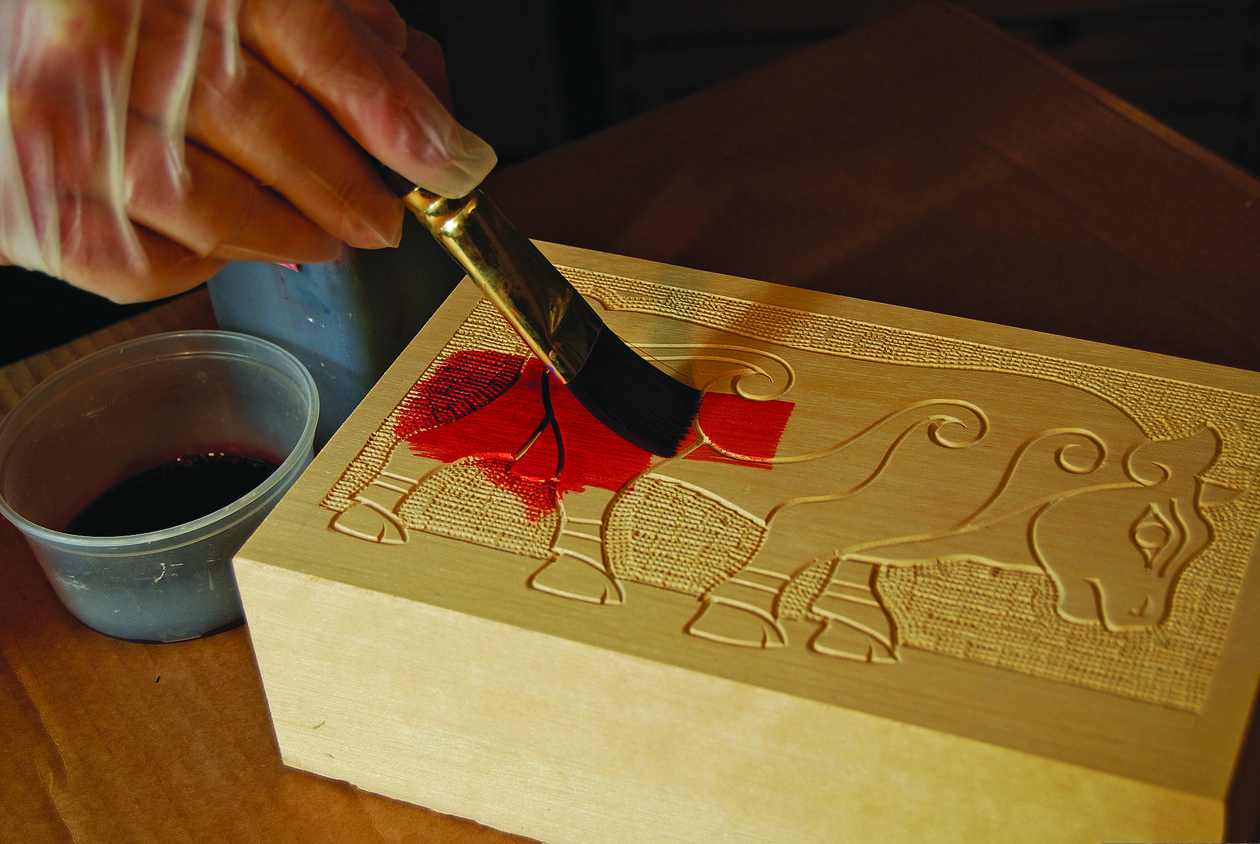
3. Apply a wood dye to the surface of the blank. The crushed, frosted background absorbs more stain and reflects light differently from the smooth, untouched surface, so it looks darker. Keep a “wet edge” by not letting any part dry before moving on. Stain the whole surface evenly.
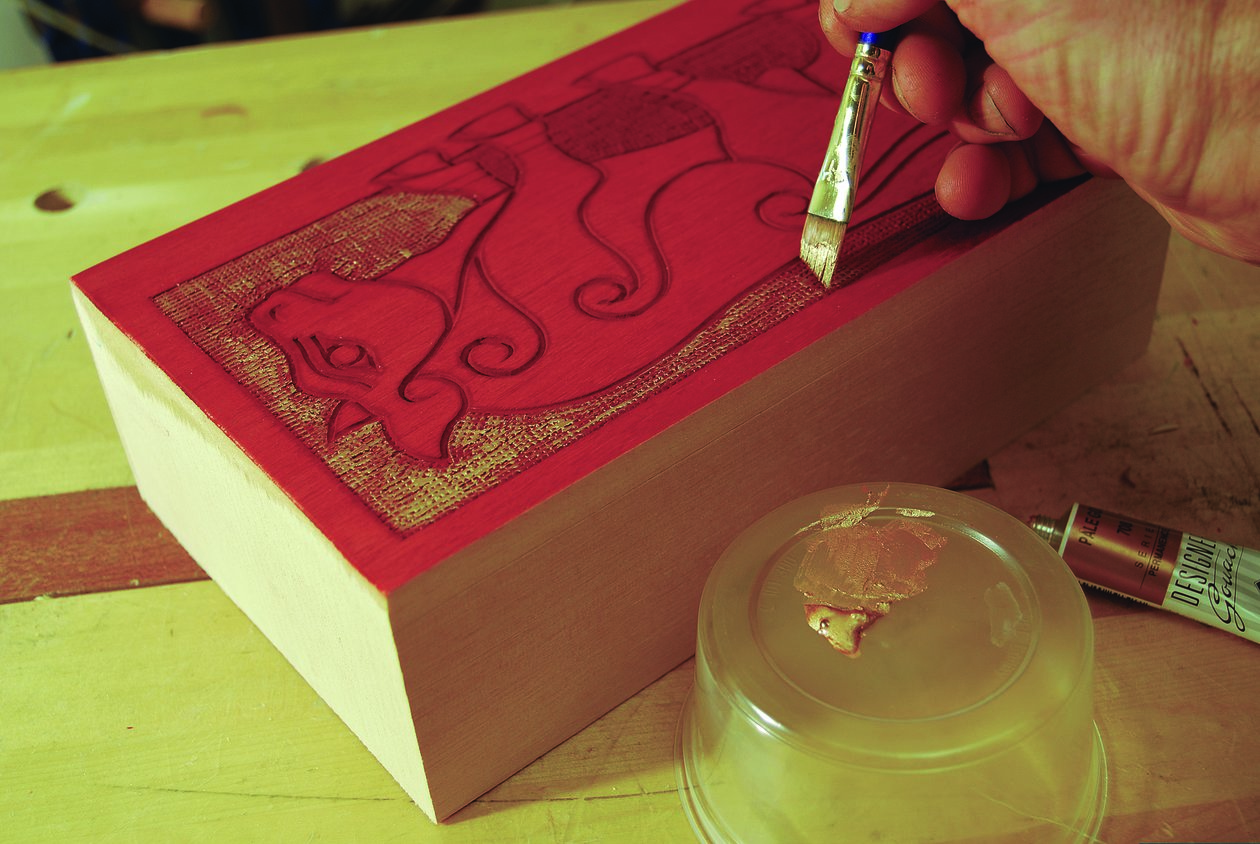
4. Further define the background. Stroke gold gouache paint across the frosted area with a small, flat brush. Pick up only the very surface, leaving the lacy indentations, almost like dry brushing. Some imperfections add to the effect. Apply an ultraviolet resistant varnish to keep the color from fading.
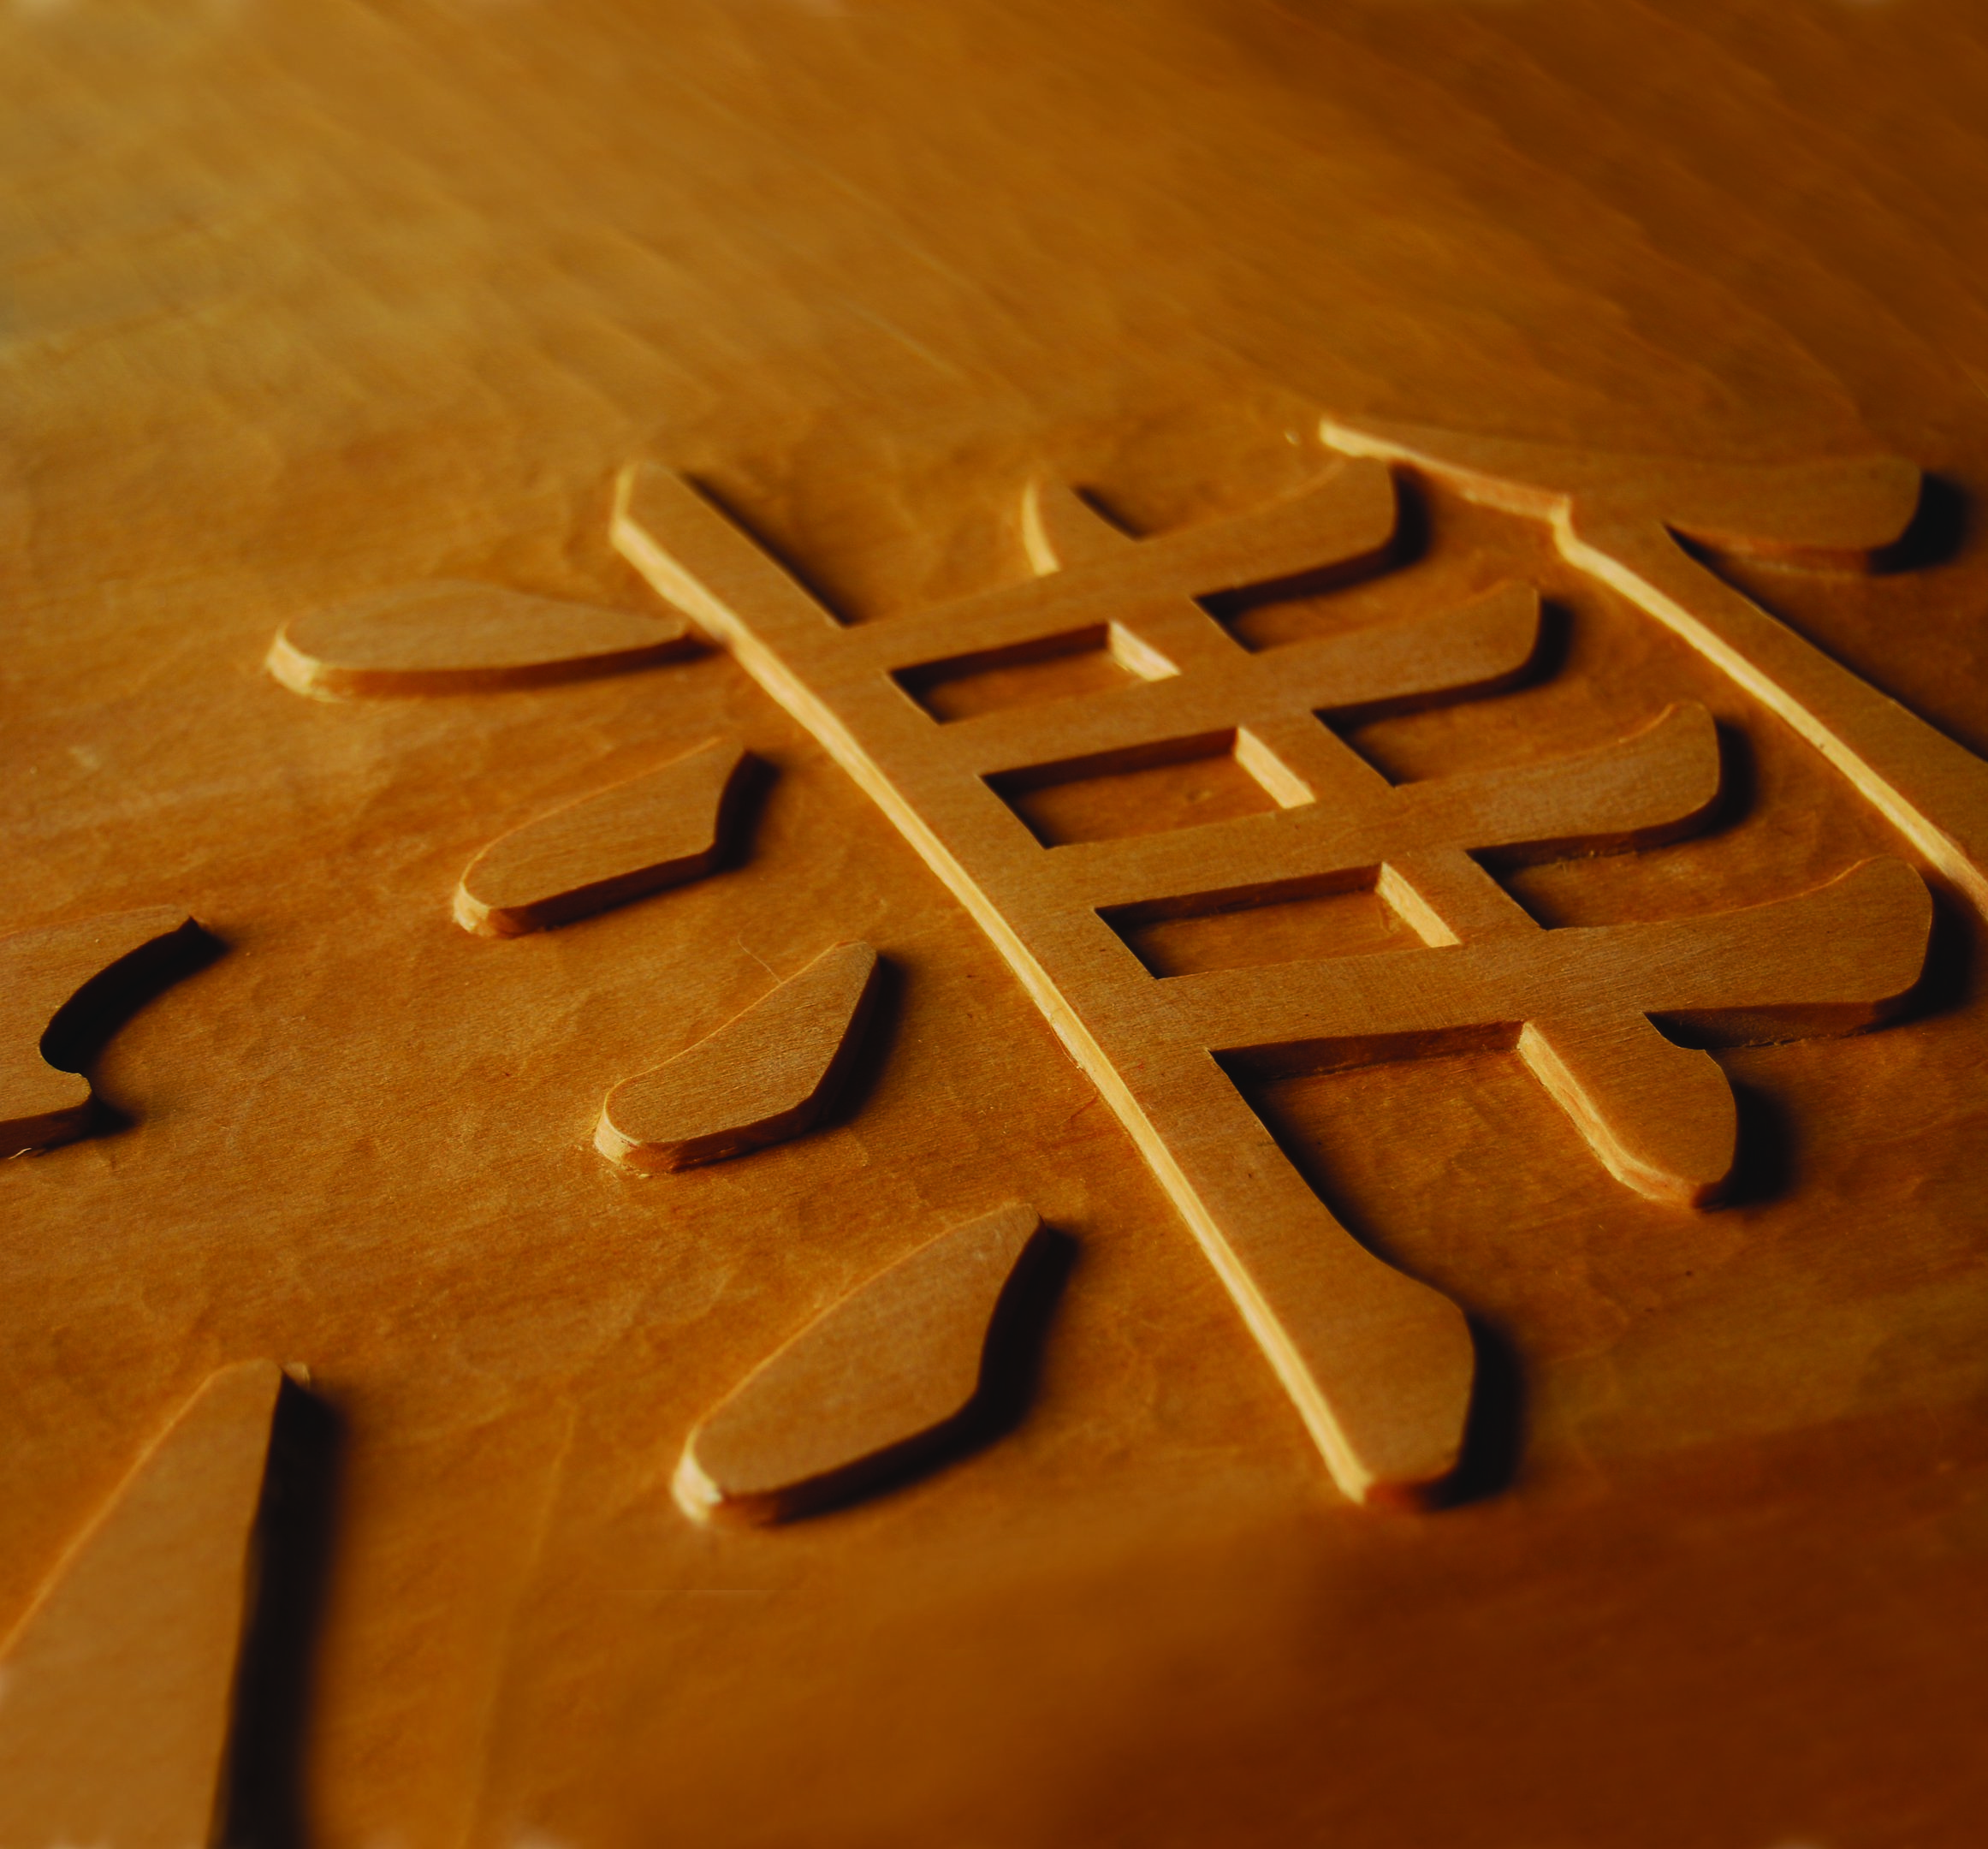
Cavo Relievo
Cavo Relievo (pronounced “Kaa-vo Rih-lee-ay-vo” and meaning “hollow relief” in late 19th century Italian) is a type of shallow relief carving or sculpture where the subject lies below the level of the original surface. The surrounding surface is untouched. We are going to convert the work we did in the first project into a simple cavo relievo version of the Burghead Bull, so take a new piece of wood, transfer the drawing onto it, and carve the entire bull again. As with the frosting project, you do not need to apply the dark varnish. Before you begin shaping, decide which are the high spots—in other words, which parts of the bull are level with the surface and which go behind.

1. Shape the edges of the bull. Shave off the edge of the bull down to the bottom of the veiner groove with an upside down 1/4″ or 1/2″ # 3 gouge or a skew chisel, merging the cut into the body of the bull. If the shaving doesn’t come away, take the same tool in the “high angle” grip, and run the corner or edge lightly along the vertical wall of the veiner groove to release the shaving. The trick is to get the two cuts (vertical and more horizontal) to meet neatly.
2. Shape the rest of the bull. Carry on in this way all over the design, sorting out the various levels by stopping the cuts at the higher elements. You are free to choose how to treat the spirals—which part is high and which is low. In this sort of work it helps the viewer “read” the subject of the carving better if you give emphasis (give a stronger shadow) to the outline. This technique transforms the carving from a line drawing to something fuller and more 3D.
Materials & Tools
Materials:
- 4″ x 6″ x 10″ sliced into 3 blanks (or 3 each 1/2″ x 6″ x 10″) blond, pale wood of choice (basswood, birch, jelutong, or sycamore)
- Dark varnish of choice (I use dark brown)
- Red dye, or stain, or dye of choice
- Gold gouache paint or gilding wax (available at art stores)
- Ultraviolet resistant varnish
- Rubber gloves (to protect your hands from the dye)
Tools:
- Veiner of choice. I use a 2mm #11 (Pfiel cut), but any 1/8″ or smaller #9-#11 gouge (Sheffield list) will work
- Skew chisel or knife (to cut the ends off the chips when carving grooves)
- 5/16″, and 1/4″ or 1/2″ #3 gouge
- 5/16″ #6 gouge
- 1/4″ #7 gouge
- 1/4″ #8 gouge (all used to create the spiral ends and tight curves, you can adjust the designs to suit the gouges you have)
- Marking gauge or V-tool
- Frosting tool
- Brush of choice (to apply varnish)
- Fine, flat brush (to apply dye)
- Small, flat brush (to apply gold paint)
About the Author
Chris Pye is a master woodcarver, instructor and author of several books, including Woodcarving Projects and Techniques, produced by Fox Chapel Publishing. Chris runs the video-based teaching website, WoodcarvingWorkshops.tv, with instruction on tools, sharpening, lettering, relief carving, in-the-round projects and much more; and from where he writes a free monthly blog about woodcarving. You can see a gallery of his commissioned work at www.chrispye-woodcarving.com.
Discuss this material on the Woodcarving Illustrated forums.