Handy jig makes it easy to get a perfect edge
by John English
This article was first published in issue 43 of Woodcarving Illustrated.
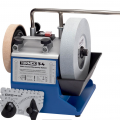
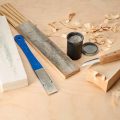
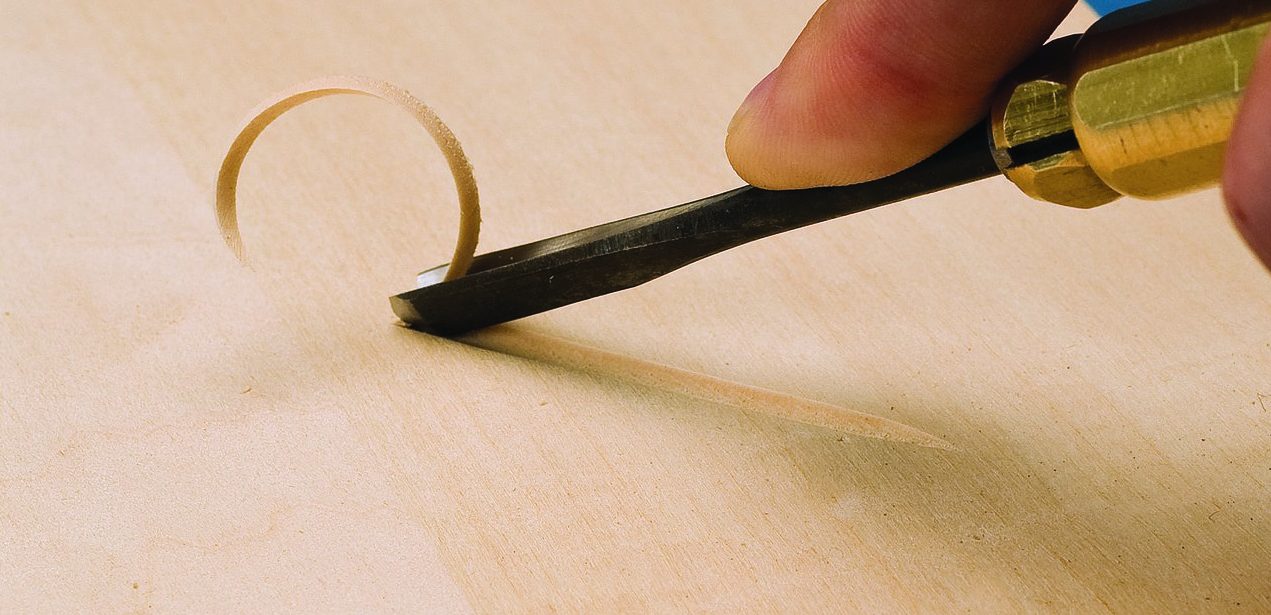
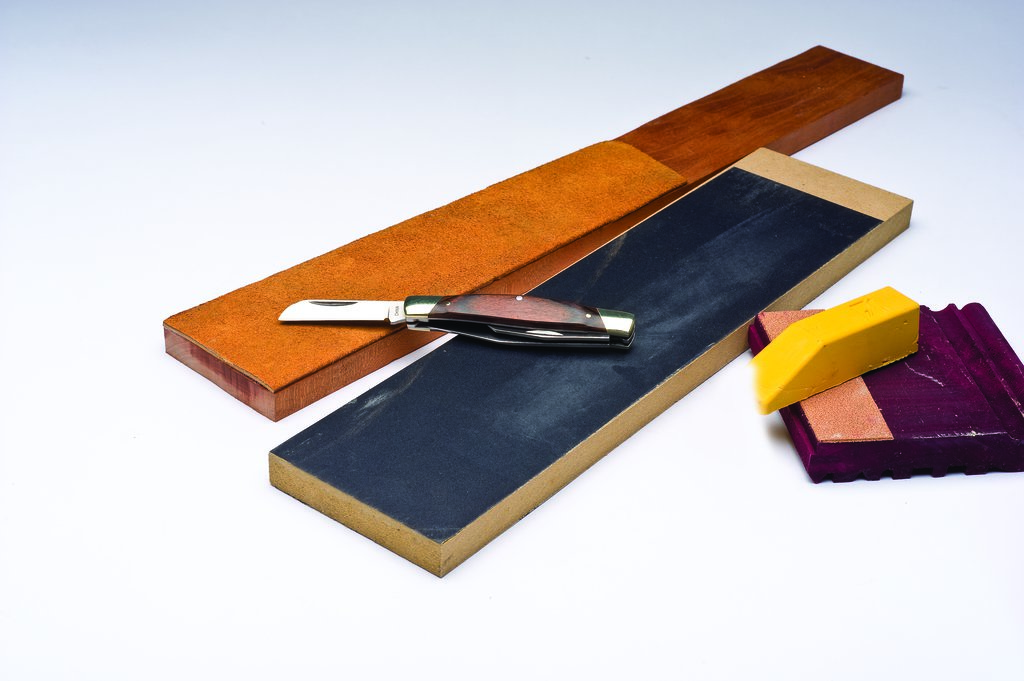
Sharpening V-tools can be challenging. WCI Holiday 2007 (issue #41) presented a simple technique for sharpening V-tools freehand. Many experts recommend learning to sharpen without the aid of power or jigs, but sometimes we need a bit of help. An inexpensive guide like this makes it easy to sharpen tools consistently. Look for a jig that clamps the tool from the sides rather than from the top. Jigs similar to the one featured in this demonstration are available at most woodworking supply stores. The prices range from $11.95 to $17.95.


About the Author
John has been working with wood since the early 1980s. He is a contributing editor to Woodcraft Magazine and a former editor of Woodworker’s Journal. He is the author of numerous articles in various other magazines, and publishes Woodezine, an online magazine for woodworkers.
Discuss this material on the Woodcarving Illustrated forums.