Simple cuts add depth and shadows
by Lora S. Irish
This article was first published in issue 39 of Woodcarving Illustrated.
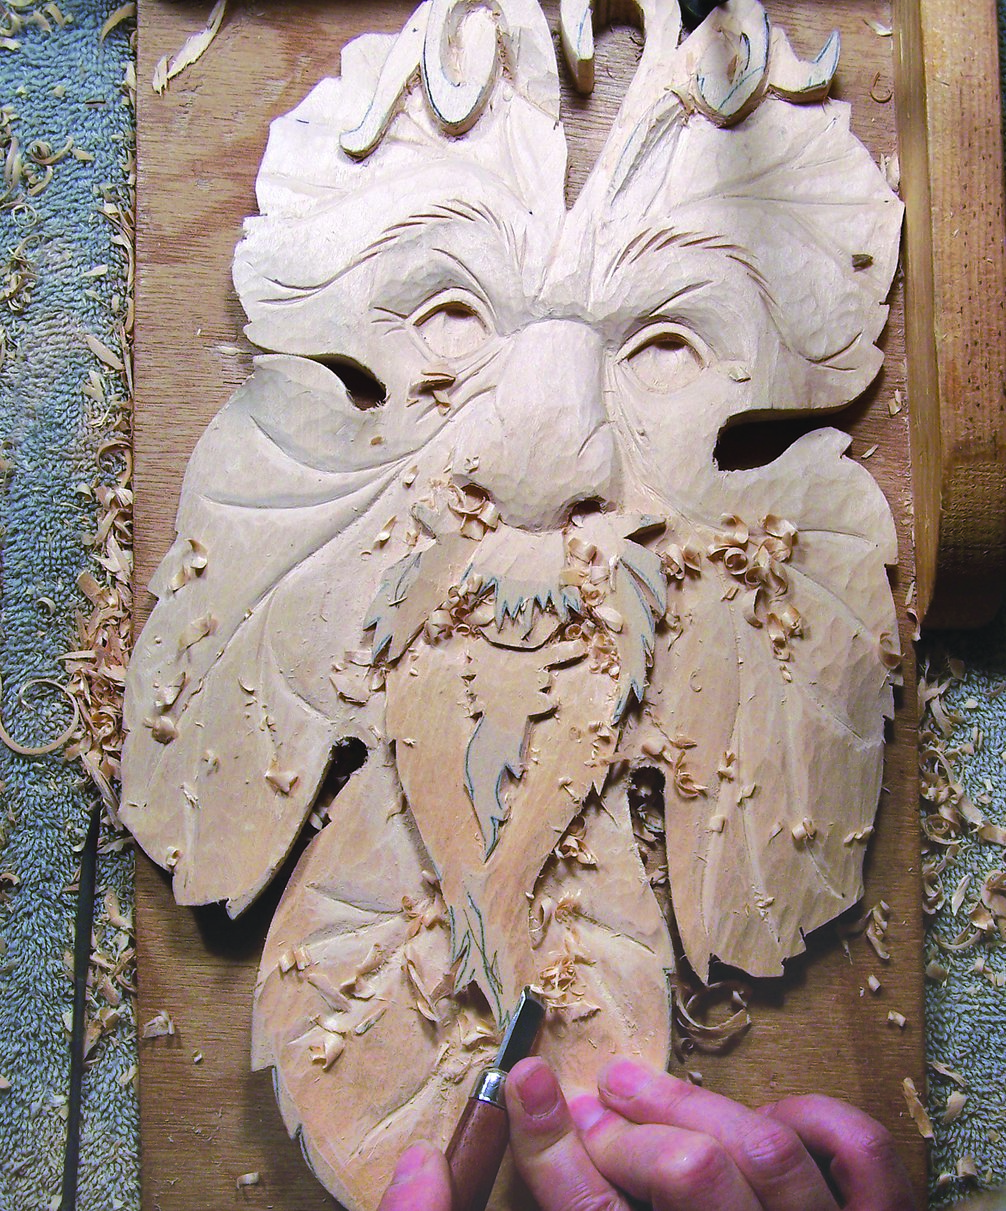
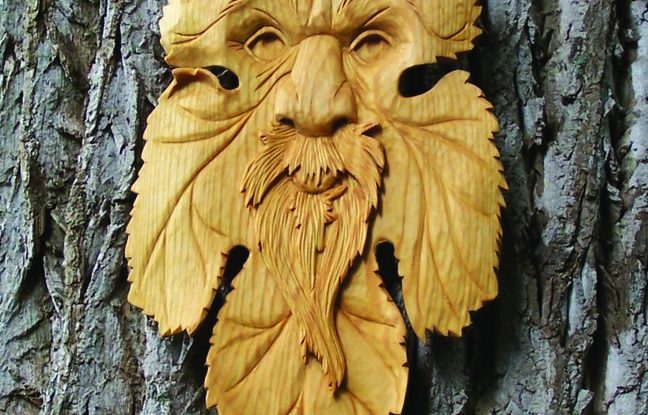
A high relief carving depends on shadows and the illusion of depth. Undercutting helps you achieve this and has the added benefit of tucking the joint line underneath an element, which allows you to hide imperfect joints and gives your carving crisp lines.
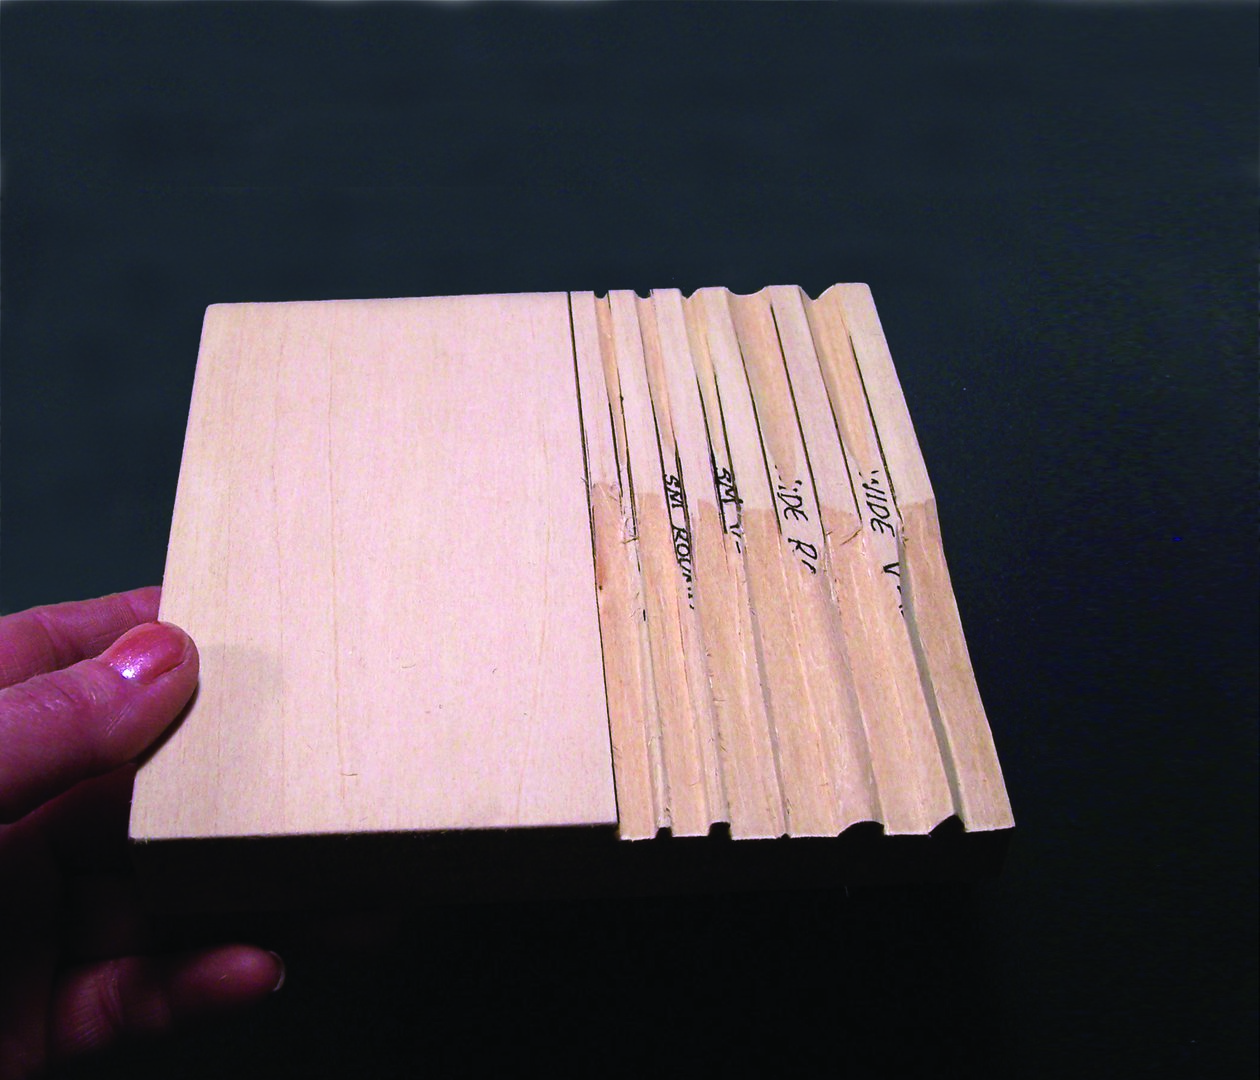
I make undercuts with a bench knife, but you can use a straight chisel. With a bench knife, I can pull it through the cut, but with a chisel I tend to push it in. That can lead to problems later when the compressed fibers pop up and make the cut look fuzzy.
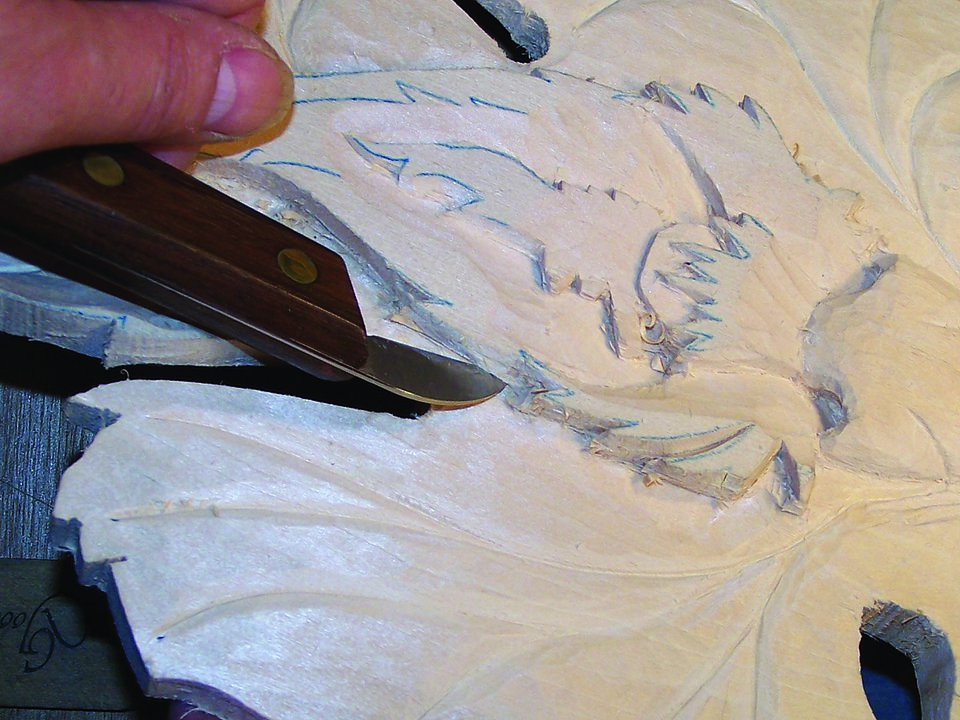
1. Make the first cut. Position the knife so that it is nearly level with the floor (flat surface) of the carving. It may get tipped or angled down a bit, which is acceptable.

2. Make the second cut. This cut starts about half-way up the wall side and angles down to meet the first cut. This pops out a little triangle of wood.
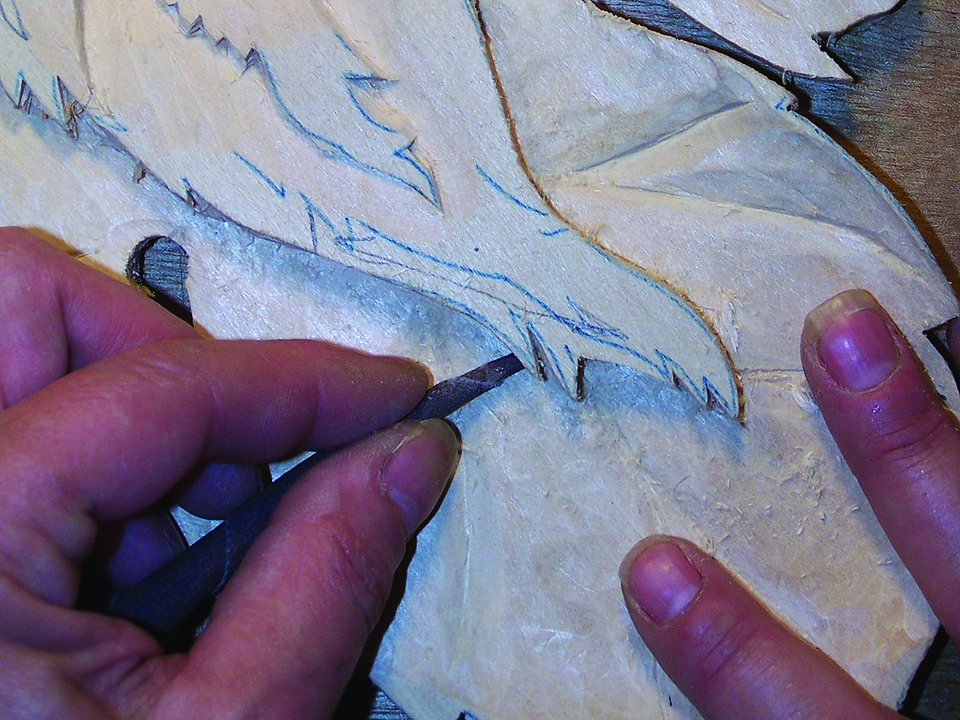
3. Clean out the hidden joint. Roll up or fold a piece of sandpaper and tuck it into the undercut. Rub it back and forth to clean out the joint.
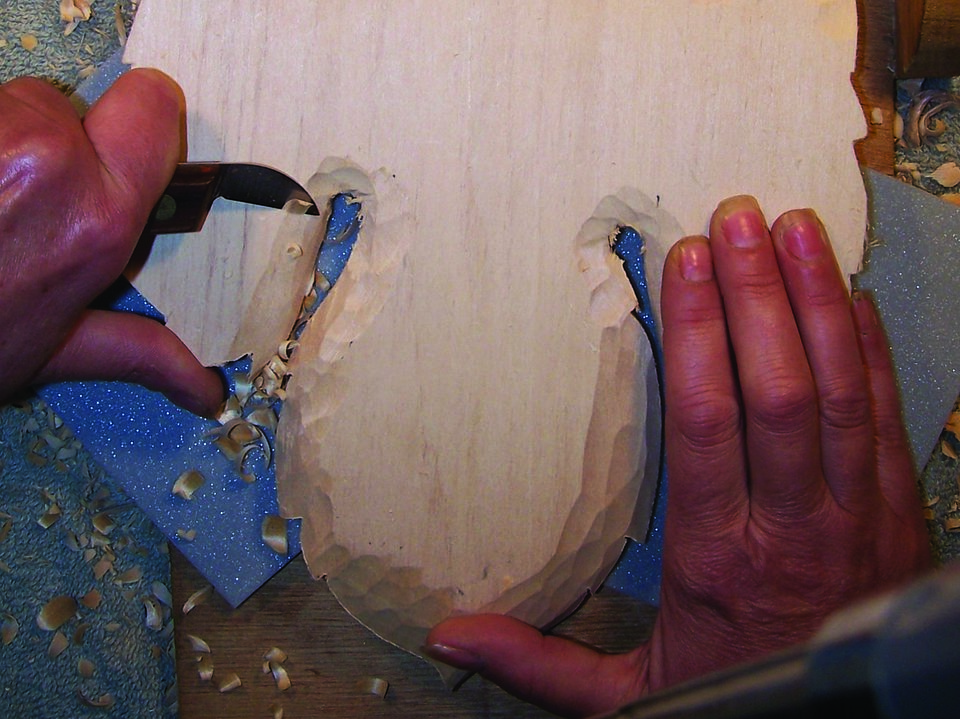
4. Add more shadows to the carving. Carve away wood from the edges on the back. This gives the piece more depth and tucks the blunt sides of the carving back out of sight.
About the Author
Lora S. Irish operates a web-based carving pattern business: www.carvingpatterns.com.
Discuss this material on the Woodcarving Illustrated forums.