

Inexpensive methods for holding irregularly shaped carvings
by Roger Schroeder
This article was first published in issue 35 of Woodcarving Illustrated.
Carvers tend to be innovative—and with the odd shapes that carvings can take on, many commercial holding devices just won’t work. That is why carvers design, or adapt, their own holding devices. The variety of designs is endless, but most can be broken down into a few simple approaches. All of them can be made with commonly available materials.
Hand Vise

Elmer Jumper’s hand vise has a screw on one end to accommodate a small project for carving or painting.
Many wildfowl carvers use a painting stick because the bird is too small to hold. A painting stick is a length of square lumber or a section of a large-diameter dowel with a screw imbedded in one end with the point sticking out. Pre-drill a hole in the bottom of the bird, screw the dowel into the bird, and you have an instant holding device.
Elmer Jumper, of Philadelphia, PA, adapted a painting stick for his style of carving. Elmer inserted a drywall screw—which is threaded along its entire length—into a length of wood. He also drilled a hole in the other end to hold a separately carved head. If he is working on a project where a screw hole could be difficult to fill, he roughs out the carving so that it includes a tapered tenon to fit the hole in the hand vise. When he finishes carving, he cuts away the tenon.
Carver’s Frame
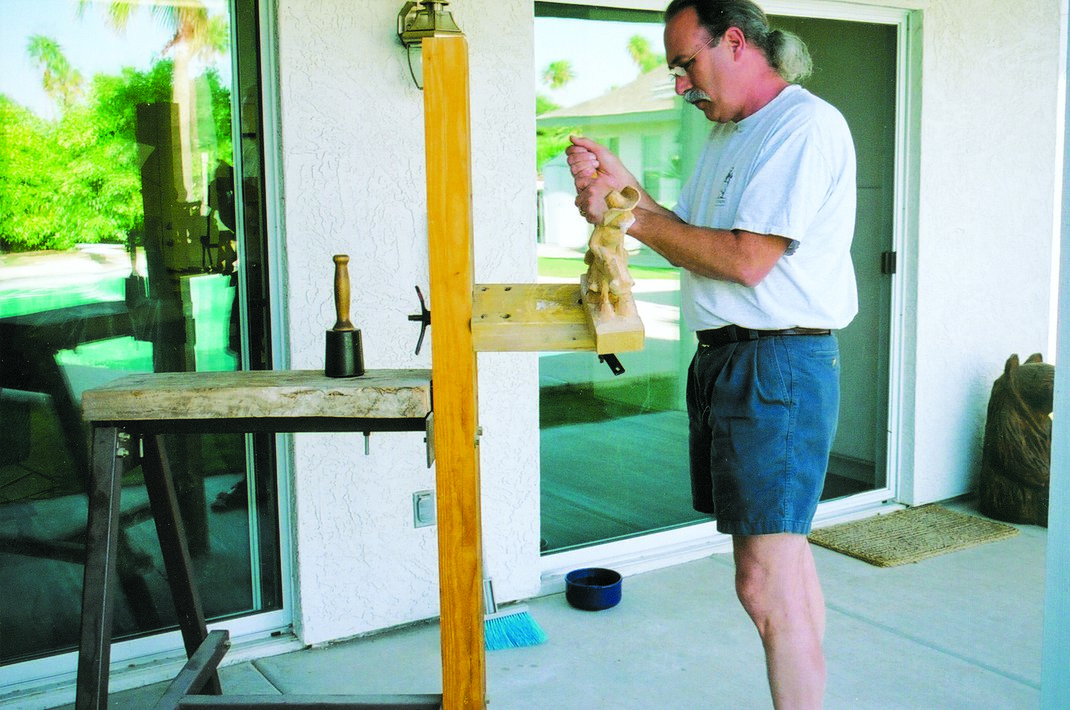
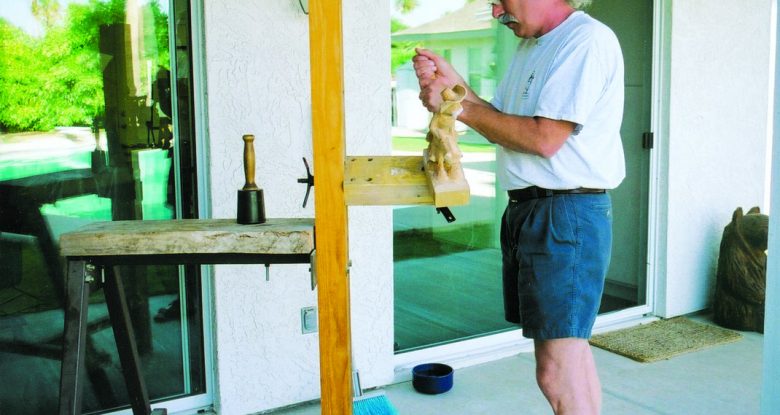
A carver’s frame allows the carving to be rotated both horizontally and vertically.
Early carvers used a simple screw to hold a carving to a bench. This carver’s screw comes up through a hole in the work surface and locks the carving in place with the aid of a handle. It is still in use today. One way to make one is with a large lag screw and washer. Two carver’s screws combine to make a holding fixture that Europeans call a carver’s frame.
John and Nancy Burke, of Ithaca, NE, designed and built an American-style carver’s frame that accomplishes what expensive vises do and then some. It allows a carving to be rotated horizontally and vertically, and it also allows you to adjust the height of the project.
Using a length of 4″ x 6″ lumber for the post and a piece of 3″-thick x 12″ x 20″ board for the clamping “platform,” the Burkes’ carver’s frame is stable without tying up an entire workbench. The post is supported by a set of steel legs, put together sawhorse-style, and a crossbar. One bench screw allows the platform to be rotated, the other screw holds the carving, which can then be turned a full 360˚ to the platform.
Carver’s Sandbag
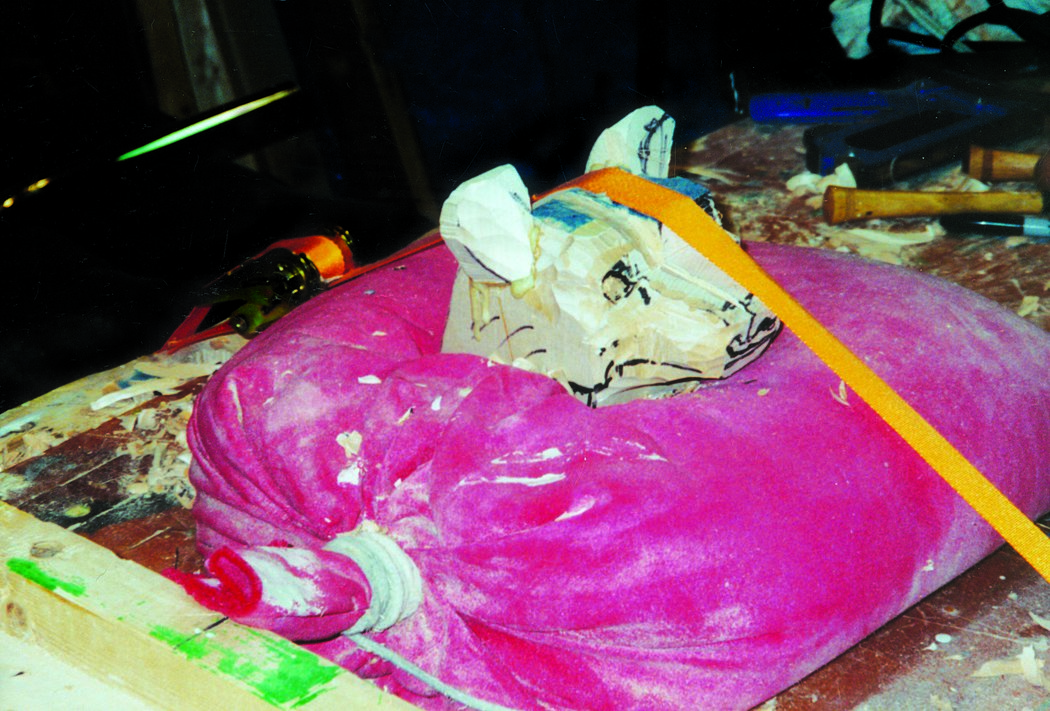
Russ Robinson’s sandbag and web clamp make for a sturdy, but flexible, holding fixture.
A simple sandbag is useful to hold carvings with fragile areas that need support and can’t be held by screws, clamps, or vises. Sandbags also work well to hold a large carving that has to be turned so often that clamps prove impractical.
When working on a large natural wood bird sculpture with delicate primaries, I made my own sandbag. To make one, fill a plastic trash can liner with strained beach sand, and put that into an old canvas sports bag. Since the sand can be molded with some gentle rearranging and pushing, it was easy to get the carving bedded down. I worked on the fragile areas with a mallet and carving tools without worrying about breaking the carving.
Russ Robinson of Grand Rapids, MI, snugs a carving down onto a canvas-covered sandbag and provides more support with a web clamp wrapped around the carving, sandbag, and workbench.
The Rope Clamp
A rope clamp is a cost-saving device that puts a strong hold on a carving.
A rope wrapped around your carving and threaded through a hole in your work bench is a great way to hold an irregularly-shaped carving.
Scottsdale, AZ, resident Dave Stetson has a number of holding devices in his shop, but if a project requires only a few carving cuts and adjustments, Dave reaches for a length of clothesline.
To turn the rope into a holding device, make sure it is long enough to go around the project and pass through a hole in the bench. Then tie it off just far enough above the floor to comfortably put a foot into the loop. Your foot exerts a tremendous downward force, which keeps the carving securely in place on the bench. To turn the carving, simply take your foot off the rope.
Paper and Glue

Newspaper and glue secure a small relief project to a backing board.
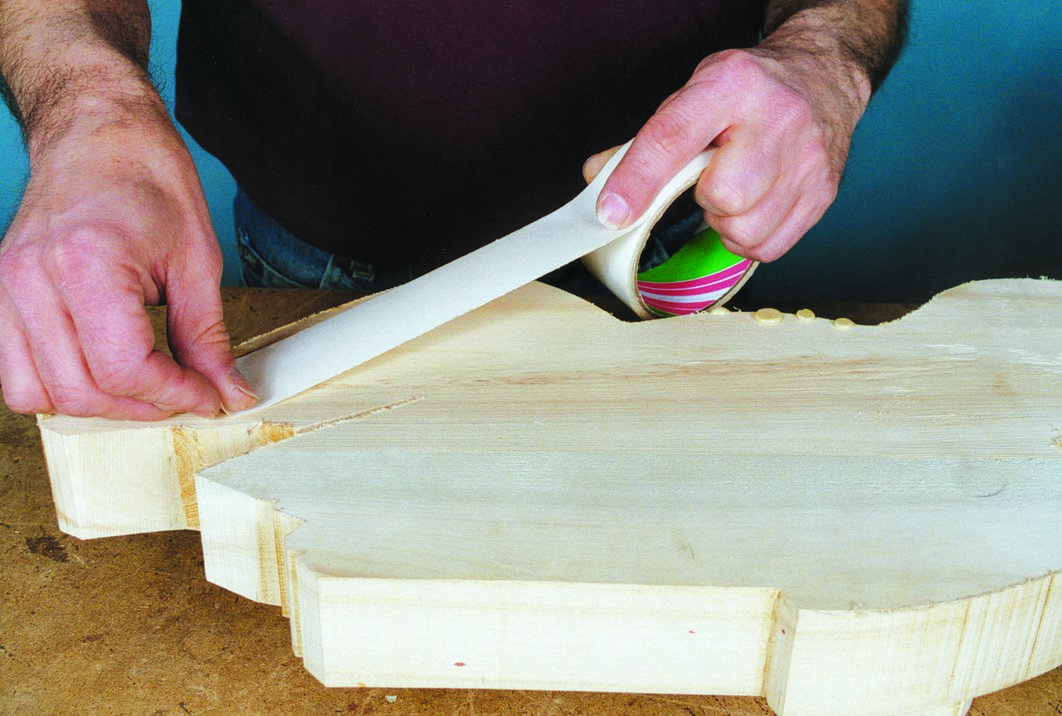
A traditional method of making a temporary joint is to use newspaper and wood glue. When working with small relief pieces, such as appliqués, even the most compact clamp will get in the way of the carving tools.
Newspaper is just the right thickness for this clamping method. Thicker paper contributes to a weaker bond. Make sure the back of your carving is flat, then apply wood glue to a piece of scrap plywood or some other warp-free board and the back of your carving. Clamp the project and backing board together with a layer of newspaper between them, and let the glue dry overnight. When you finish carving, pry the carving free with a spackling knife. The newspaper will remain on the back of the carving and can be sanded or scraped off.
Carpet Tape
Double-sided carpet tape offers a secure bond between a large relief project and its backing board.
Another temporary way to bond a carving to its backing plate is with double-sided carpet tape.
To hold a large, high-relief eagle project to a backing board, I applied extra-strength carpet tape sparingly to the back of my carving. It makes for a very secure bond, but I found that I could not pry the eagle off the board with a spackling knife. Instead, I had to use a double-beveled carving chisel. The cutting edge has a long taper compared to the relatively short taper that single-bevel chisels have.
Carver’s Bench Hook
A carver’s bench hook uses cam clamps to secure a carving without getting in the way of the tools.
Carvers, such as Joel Hull, a frequent contributor to WCI, have adapted a traditional woodworker’s bench hook to hold irregularly-shaped carvings.
The bench hook is a board that “hooks” itself to the edge of the workbench, thanks to a cleat nailed or screwed to the underside. Another cleat is attached to the top to act as a stop. Once the hook is in place, the woodworker can use it for sawing, chisel work, and handplane work.
The carver’s version of the bench hook has large holes, into which a cam is inserted. Attached to a dowel sized to fit the holes on the board, the cam is positioned near the carving. The side of the cam bulges out so that when it rotates, it locks the carving against the stop, another cam, or a dowel. The cam is turned in the opposite direction to unlock the carving. Because of the low profile of the cam, the ease of changing its location, and the fact that it does not bear down on the carving, it rarely gets in the way.
About the Author
Roger Schroeder, of Amityville, NY, is a retired teacher, accomplished author, and the founding editor of Woodcarving Illustrated.
Discuss this material on the Woodcarving Illustrated forums.


