 Simple project is perfect for teaching beginners or just fun for yourself!
By Bob Kozakiewicz
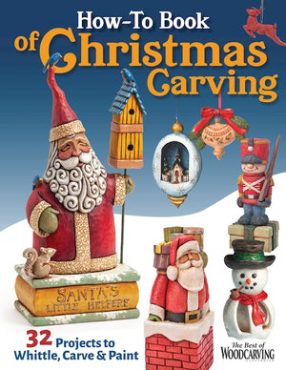
Just Released: The How-To Book of Christmas Carving! SHOP NOW!
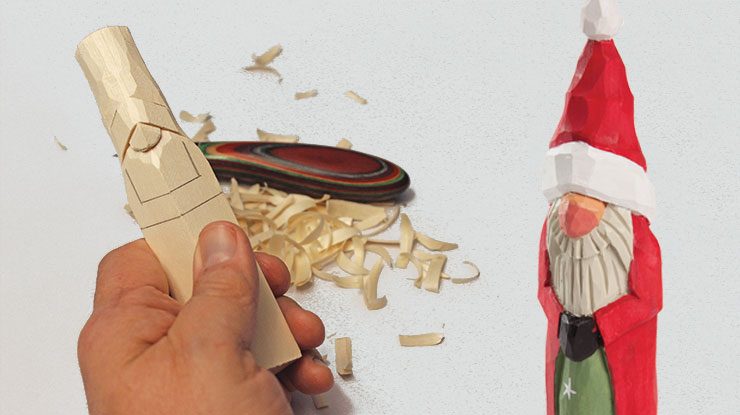
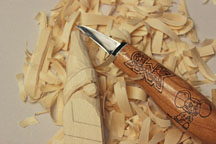
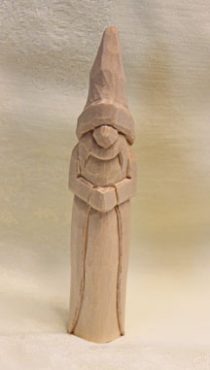
You’ll need just a carving knife and a small V-tool to carve this easy St. Nick project. Because it uses only a few basic straight cuts, this piece is perfect for teaching new carvers. They will walk away with their own Santa (and a new love of carving!) in a couple of hours.
Getting Started
Refer to the attached drawings to measure and mark the blank. Connect the marks as shown in the drawings.
CLICK HERE to download the drawings for this project.
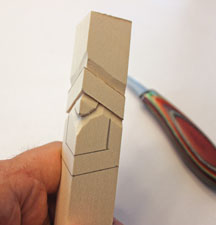 |
Step 1: Make stop cuts along the top and bottom of the hat trim. Work around the front right and front left sides of the trim. Then, make a stop cut around the nose. Carve up to the stop cuts |
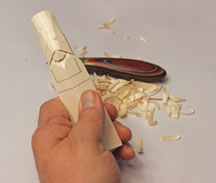 |
Step 2: Round the left and right corners of the hat trim. Start slimming down the hat. |
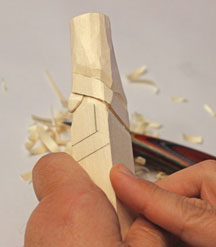 |
Step 3: Reconnect the pencil lines that you carved off around the hat trim. Make new stop cuts along these lines, and then carve up and down to them on the back right and left sides. Round the back of the hat trim to help round the head. |
 |
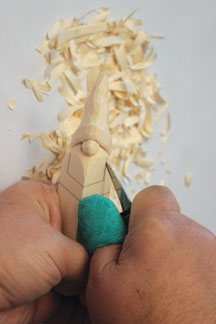
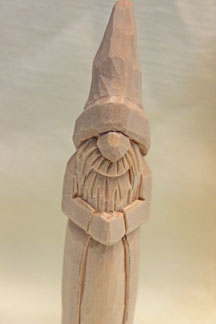
Step 4: Round the top and bottom edges of the hat trim. Finish rounding the hat and nose. |
 |
Step 5: Make stop cuts along the outer edges of the beard. Follow the lines. |
 |
Step 6: Carve both shoulders down slightly below the beard where they meet the hat. Make stop cuts under the forearms and carve up to them. Round all four corners of the robe. |
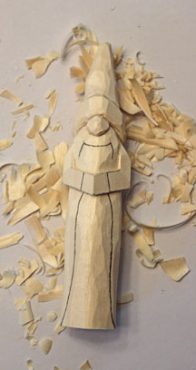 |
Step 7: Make stop cuts along the upper forearms. Carve down the beard area between the arms. Use the reference photos to draw the mouth, mustache, gloves, the area where the inner and outer robes meet, and the backs of the arms. |
 |
Step 8: Make stop cuts on the lines you drew in Step 7. Carve to the stop cuts to outline the the mouth, mustache, gloves,and backs of the arms. Carve towards the stop cuts on the robes from the inner robe towards the outer robe. Make a small V-cut at the inner elbows on both arms where the upper and lower arms meet. Round the sharp edges. |
 |
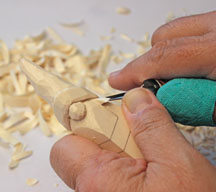
Step 9: Add the beard and mustache texture. Use a 1/8″ (3mm) V-tool. |
Painting the Santa
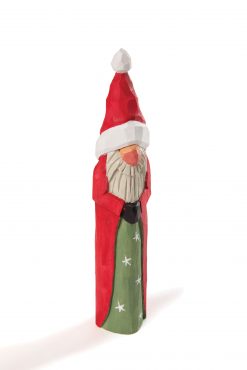
Paint the lighter colors before you do the darker colors. I painted this piece with acrylic paints thinned with water to the consistency of milk. Paint several layers if you want deeper colors. When the paint is dry, seal the carving with a coat of Deft semi-gloss spray lacquer. Spray combustible finishes, such as spray lacquer, outside where there is plenty of ventilation.
Materials:
• Basswood, 1″ (2.5cm) square: 6″ (15.2cm)
• Acrylic paint: red, white, black, green, medium flesh, parchment
• Finish, semi-gloss spray lacquer, such as Deft
Tools:
• Carving knife
• V-tool: 1/8″ (3mm)
• Toothpick
• Paintbrushes
• Pencil
• Ruler

About the Author
Bob Kozakiewicz lives in Ridgewood, N.J., with Pat, his wife of 41 years. A self-taught carver, Bob has been carving since he was a teenager. He has won several ribbons for his work at woodcarving competitions. Find Bob on Facebook at www.facebook.com/robert.kozakiewicz.9, e-mail him at rwkoz51@gmail.com, or view his Etsy shop RWKWoodcarving.
CLICK HERE to subscribe to Woodcarving Illustrated magazine
CLICK HERE to subscribe to Strop Talk, Woodcarving Illustrated’s eNewsletter
CLICK HERE for more Holiday themed projects.