Customize an old shop bench for maximum comfort and efficiency
By Jim Farley
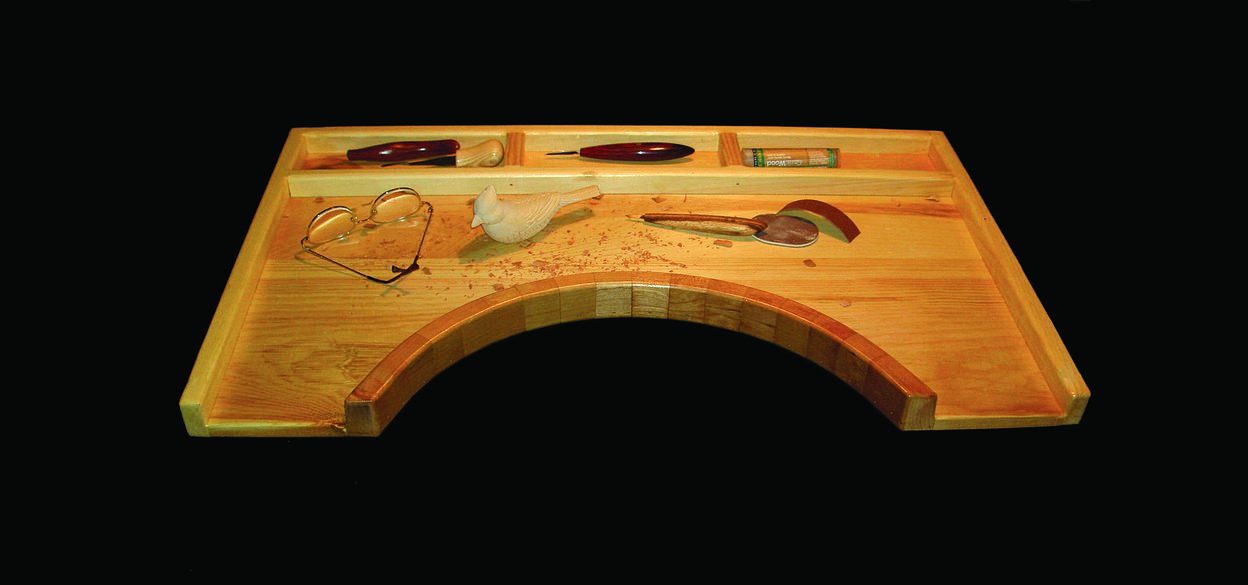
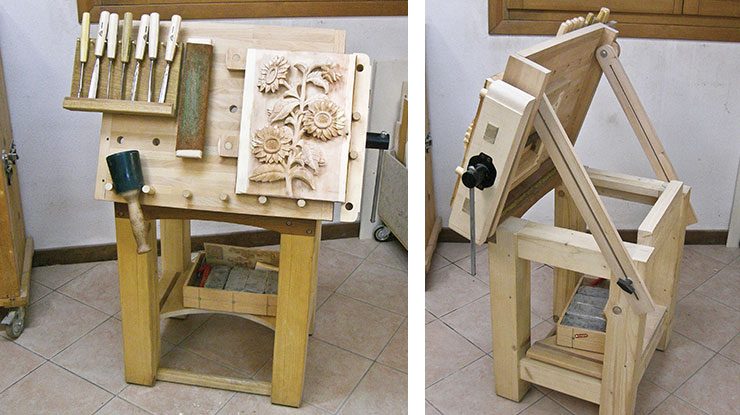
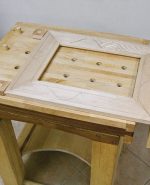
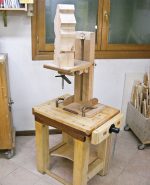
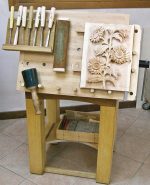
After moving my carving stand from my workbench for the umpteenth time, I realized I needed a dedicated carving table. I spend a lot of time at my bench and would rather sit and relax while carving than stand on a concrete floor. What evolved was a table that functions as a support for a carving stand or carving arm, and doubles as a tilting relief carving table.
Getting Started
Take the time to determine the optimum height for the table. I’ve included the measurements for mine, however you want to tailor a table to best suit your needs. Sit in the stool you use while carving and have someone measure your typical movements. Once you determine a comfortable working height, design the table to match. If you intend to use the while standing, the top should be slightly higher than your waist.
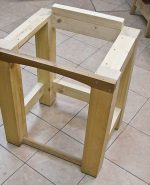
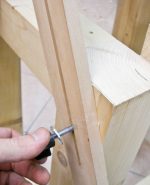
I built the table base using standard mortise and tenon construction. Mortises can be cut with a mortise machine, mortise drills/chisels in a drill press, a router, or hand chisels. Tenons can be cut with a hand saw, a table saw, a band saw, or a router.
Building Your Table
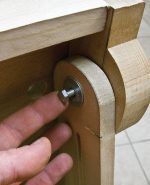
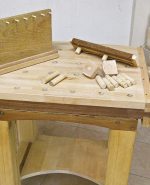
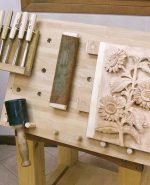
Create round wooden cams to lock small projects in place if you don’t want to use a standard hold down. To clamp projects to a table, I added a basic shoulder vise. Vises can be difficult to install correctly and if they are not totally square, they are difficult to use.
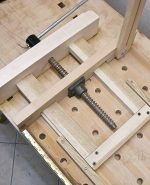
As an alternative to the should vise, attach a bar clamp to the bottom of the table. Build a box-like stop on the bottom of the table top. Create a hole the same size as the bar in both sides of the box. This box will hold the fixed jaw in place. You may need to cut a groove or slot in the table to accommodate the bar. The sliding bar, complete with hand crank, should extend beyond the side of the table top so you can use the clamp to hold projects tight against a dowel inserted in a hole in the table top.
Use a lap joint to attach the front top rail to the front legs. Round the top of the front bottom rail. Cut mortises in the bottom of the front legs to accommodate the entire front bottom rail. The weight of the table keeps it steady, but the front bottom rail acts as a foot rest, allowing you to transfer some weight to the foot rest. Attach non-skid rubber feet to the bottom of the legs for additional stability.
Cut 1 1/2″ (3.8cm)-long tenons and matching mortises for the remaining rails. The back top rail extends 1 3/4″ (4.4cm) above the top of the base to support the table top when the assembly is flat.
Assembly Drawing Table Top Assembly Drawing
Materials & Tools
MATERIALS:
Base
• 4 each 3 1/2″ x 3 1/2″ x 28 1/4″ (9cm x 9cm x 72cm) pine or wood of choice (legs)
• 4 each 1 1/2″ x 3″ x 14″ (4cm x 8cm x 32cm) pine or wood of choie (side rails)
• 1 1/2″ x 3″ x 18″ (4cm x 8cm x 45.7cm) pine or wood of choice (back bottom rail)
• 1 1/2″ x 5″ x 18″ (4cm x 12.7cm x 45.7cm) pine or wood of choice (back top rail)
• 1 1/4″ x 1 1/4″ x 22″ (3cm x 3cm x 55.9cm) pine or wood of choice (front top rail)
• 11/2″ x 1 1/2″ x 18″ (4cm x 4cm x 45.7cm) pine or wood of choice (front bottom rail)
Top
• 1 1/4″ x 19 3/4″ x 22″ (3cm x 50cm x 56cm) hardwood of choice (main board)
• 1 1/4″ x 4″ x 19 3/4″ (3cm x 10cm x 50cm) hardwood of choice (right breadboard edge, wider than left side for optional vise holes and slots)
• 1 1/4″x 3 1/8″ x 19 3/4″(3cm x 8cm x 50cm) hardwood of choice (left breadboard edge)
• 2 each 3/4″ x 2 3/8″ x 26 3/4″ (2cm x 6cm x 68cm) hardwood of choice (adjustable table support rails)
• 4 each 3/8″ (1cm)-diameter threaded inserts
• 1/4″ x 3 3/4″ x 23″ (3.2cm x 9.5cm x 58.4cm) hardwood of choice (front top rail)
• 2 each 3/8″ (1cm)-diameter by 11/2″-long bolts with washers
• Vise kit, bench screw, or bar clamp
• 2 each 3/8″ (1cm)-diameter adjustable knobs with bolts
• 22″ (50cm) piano hinge and screws
• Wood glue
TOOLS:
• Router with assorted bits
• Saw of choice
• Hand chisels
• Clamps
• Drill with assorted bits
About the Author
Jim Farley and his wife, Simona DeLuca, live in Europe. Jim is an industrial and systems engineer from Toledo, Ohio. He has been working in Europe for the last 20 years. Jim caught the woodcarving bug while living in Italy.

Purchase our most recent issue.
Purchase the IssueFor more articles like these, subscribe to Scroll Saw Woodworking & Crafts magazine.
SubscribePlus! Get mini magazines in your e-mail between printed issues with Short Cuts, our e-mail newsletter.
Subscribe to Short Cuts