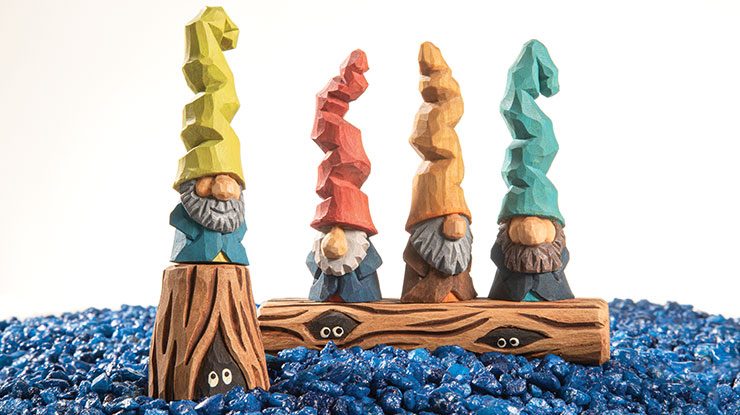
Make a log or stump for your gnomes to perch themselves on
These little gnomes from the summer issue look great on their own, but they look even better when perched atop a stump in the forest. To create your own stand for your gnome, follow the provided patterns and the carving and finishing tips below.
CarvingFor the log, round the sides and corners with the knife. Draw the holes with a pencil and then add stop cuts along the lines. Carefully carve toward the stop cuts at an angle from the inside of the holes, and then smooth the edges created along the lines with the tip of the knife. Use a 1/4” (6mm) 60° V-tool to carve the texture lines for the bark. For the stump, first shape the block into a cylinder by removing hard corners on each vertical side. Then taper the slope of the sides of the block to make the top smaller than the base, referring to the pattern. Follow the same process as above to carve the holes, opening toward the bottom of the stump, and use the same V-tool to create the bark texture lines. |
Painting and Finishing |
| Materials
• Basswood, 1 3/16″ (3cm) thick: log, 5/8″ x 4″ (1.6cm x 10.2cm) • Basswood, 1 3/8″ (3.5cm) square: stump, 1 7/16″ (3.7cm) long • Pencil or pen • Clean rags • Acrylic paints, such as FolkArt®: camel, pure black, vintage white • Antiquing medium, such as FolkArt® |
Tools
• Carving knife • V-tool: 1/4″ (6mm) 60° • Small toothpick or embossing tool
|
| About the Author |
|
David Young has been woodcarving since 2019. He lives in Holt, Michigan with his wife and three kids. You can find more of his work on Instagram where he goes by @dywoodcarving. |
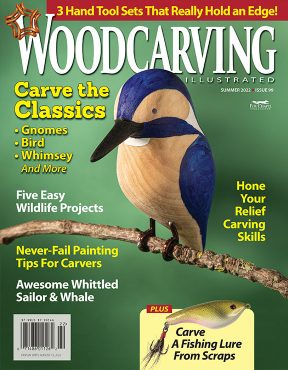 |
Get the Summer 2022 Issue Purchase the IssueFor more articles like this, subscribe to Woodcarving Illustrated magazine. Magazine SubscriptionPlus! Get digital mini magazines in your e-mail between printed issues.
|