

 Handtools bring intimacy to a full-bodied piece of folk art
By Bob Buyer
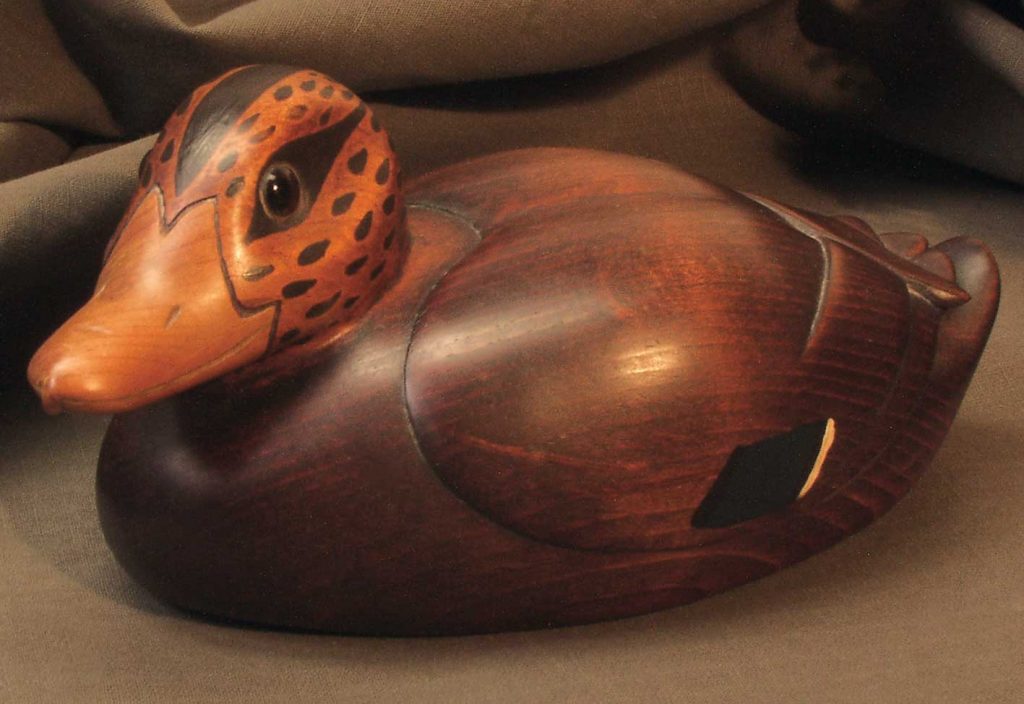
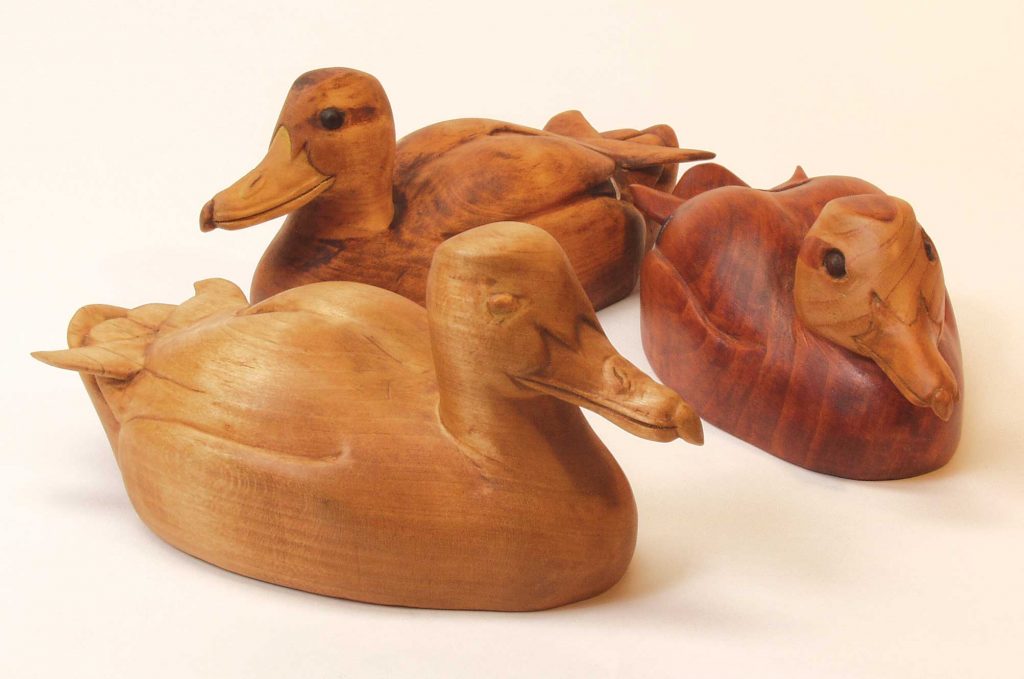
Many of my students enjoy the little black duck project. A full-bodied yet miniature decoy, this duck can be carved with just the essential anatomical features of eyes, bill details, and slightly raised primaries, making it a piece of folk art. For greater realism it can be embellished with texturing and paint.
Students invariably want to start with patterns, which I provide, but I encourage them to change the pose whenever possible. In my own case, I never saw a pattern that I did not want to alter in some way. While the patterns here show an alert pose—the head is forward and upright—a more interesting look is to have the head slightly to one side. Turning the head complicates the carving because the pattern must be foreshortened and much more wood needs to be removed from that area after the profiles are bandsawed; or, a separate head must be cut out and attached. Despite the additional work, much is learned about carving techniques, and the revised design makes the finished piece more of an original than a copy.
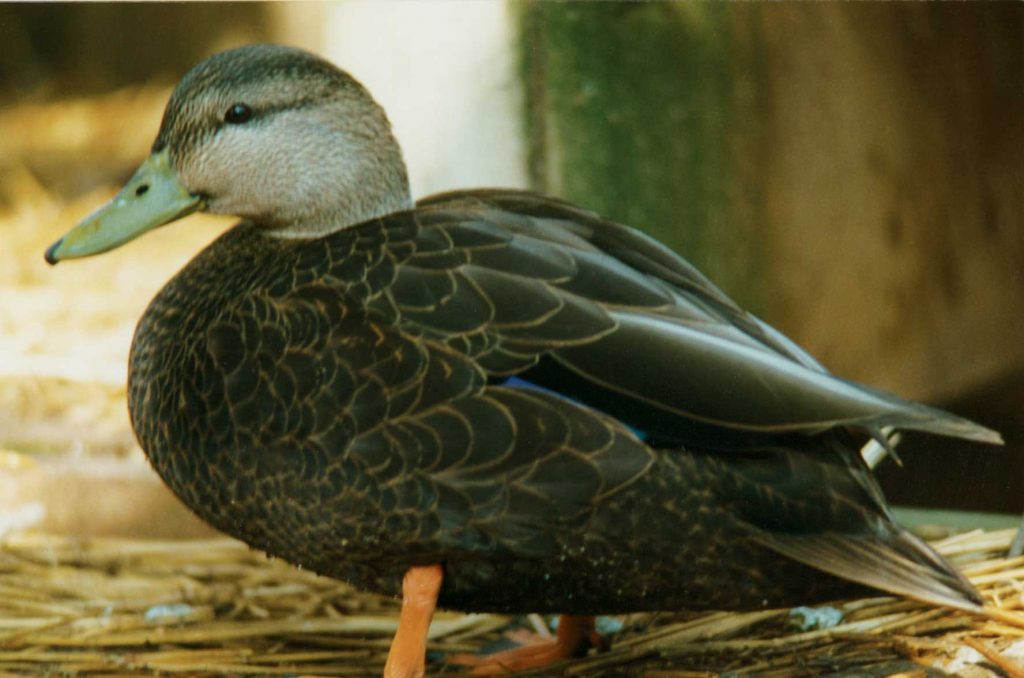 I suggest research whenever possible. The patterns and steps I provide will help you achieve the likeness of a black duck, but seeing one in the wild or in an aviary will change your attitude about the subject. In effect, you develop empathy toward the bird and hopefully produce a better replica in wood. In my mind, the “complete” woodcarver journeys through a process that begins with research, continues on with design, shaping, carving and surface finishing, and ends when the piece is signed.
For the black duck, you can comfortably shape the entire piece with just a few gouges, a carving knife, and some roughing and detailing tools that include a file, rasp, and riffler. I suggest that you use the largest tool available that will comfortably make the cuts. An undersized tool requires that you repeat the cuts, adding unnecessary work. If the cutting edges are sharp, you should be able to hear the chips of wood come away with a strident, ripping sound. When possible, begin a cut at one side of the cutting edge and finish at the other. The cut will be easier to make with much less force exerted. And if the teeth of the files, rasps and rifflers are unclogged and sharp, they will compete with the best of power grinders and shapers for quick and efficient wood removal.
 Wood Selection and Finishes
Basswood is an ideal “canvas” for paints, and your black duck will not suffer from colors that bring out areas like the speculum, bill, side pockets and wings. Yet, there are simpler finishes. Many finishes, because they contain oil stains, tend to darken with age. A finish that keeps its original color consists of equal parts of boiled linseed oil, pure gum turpentine and white vinegar. However, it does not mix well and must be repeatedly stirred. Applying this mix to pine gives the carving a bright sheen that makes it look as though it’s been held under a water faucet; on dark woods it provides for an excellent finish. Apply with a brush or cloth. Let the wood stand for a few minutes, then wipe with a clean cloth or paper towel. Repeat the application several times over the course of a week and then at annual intervals.Several species of wood will serve for the black duck, including basswood, white pine, mahogany and walnut. All are available in sizes that make it possible to carve the little black duck from a single block of wood. If you laminate, an unsightly glue line will show unless the carving is primed and painted. Some woods, like mahogany and walnut, carve cleanly and crisply with sharp tools, but they also contribute a color to the project that is rich and even exciting. Basswood and pine are easier to carve, but they require a warm-looking finish to offset the natural but bland color of these woods.
Another good finish, one that gives the black duck a golden hue, is shellac. To apply, mix equal amounts of white shellac and alcohol. After the first application is dry, smooth the surface with Scotch-Brite, fine sandpaper or steel wool. Then, apply the shellac full strength. When dry, finish with one or more coats of a paste wax such as Butcher’s brand
Once the little black duck is complete, you can display it on a table or mantel, but do encourage admirers to pick it up and “get in touch with it.”
Materials:
Block measuring at least 33/4″ high by 4″ wide by 81/2″ long
Finish of choice
Tools:
Carving knife
#3 gouge: 1″ to 1 1/2″
#5 gouge: 1/2″
#5 fishtail gouge: 1/2″
#8 gouge: 1/4″
#9 gouge: 1/2″
60° or greater V-tool, small
60° or greater V-tool, large
Rasp
Bastard-cut (relatively rough) file
Knife blade-shaped riffler
Compass
CLICK HERE to download the Little Black Duck Pattern.
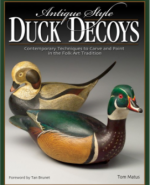 For further reading view Antique-Style Duck Decoys by Tom Matus. The book contains contemporary techniques to replicate the grace, flow, and imperfections found in antique-style ducks. Carving, painting, and aging instructions are included. The book can be purchased for $19.95 plus S&H from www.foxchapelpublishing.com.
 CLICK HERE for the full step-by-step article in Woodcarving Illustrated Spring 2004 (Issue 2004).


