 Quick and easy project is perfect for beginners
By Rick Wiebe
This simple project doesn’t take a long time to finish, can be made with almost any stick of wood, and kids can play with it as soon as it’s complete. I use white pine, but other soft woods, such as ponderosa pine, spruce, or basswood, work well too. Avoid using really hard woods or woods that split easily.
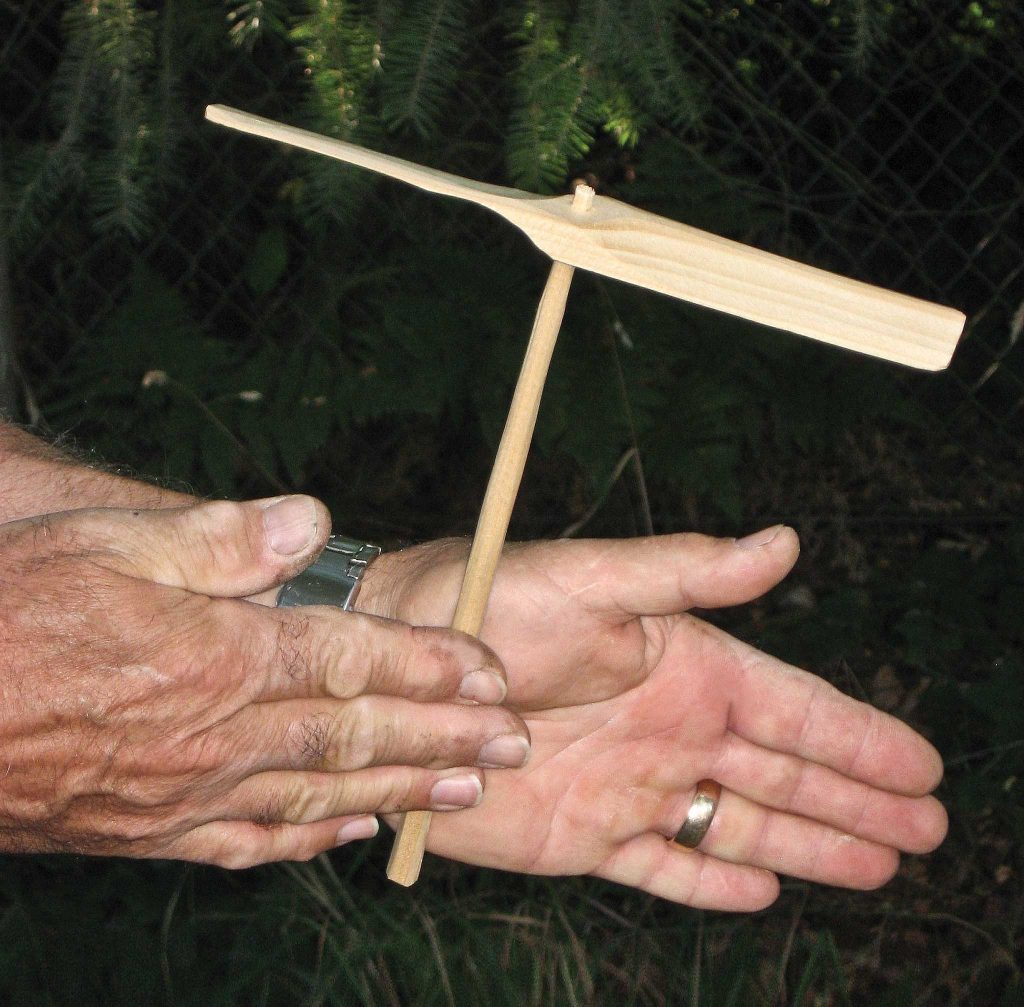
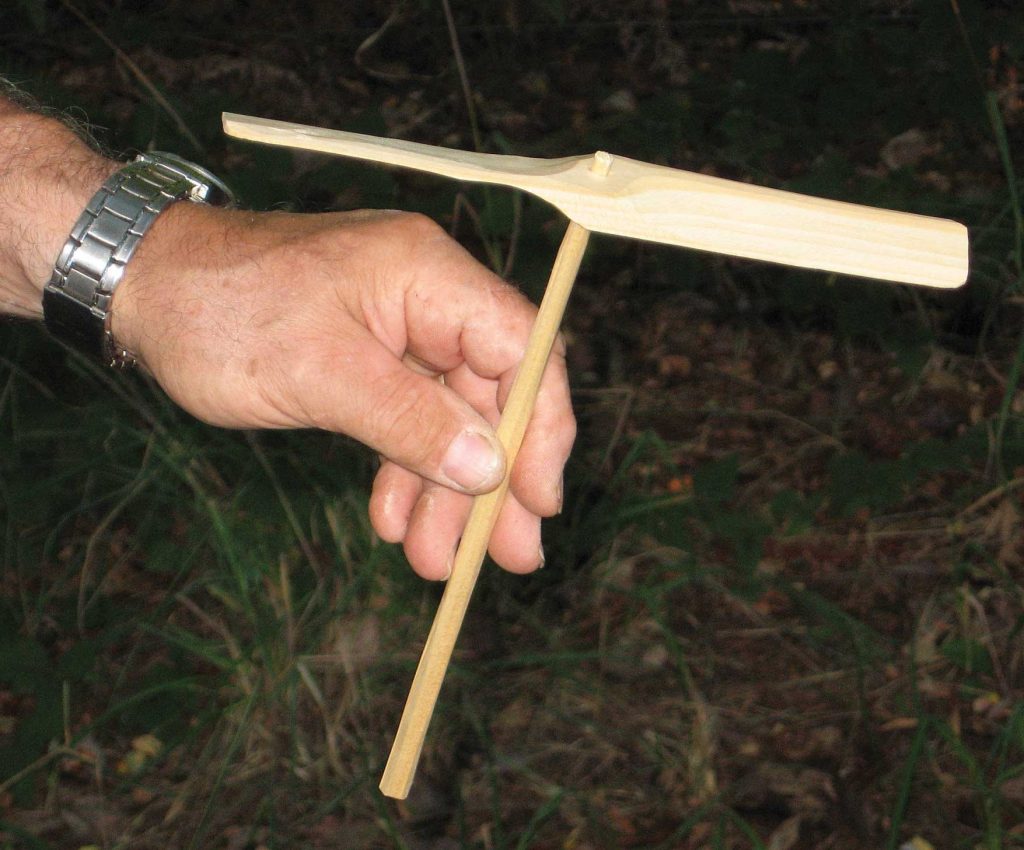
To fly the propeller, hold the bottom of the handle against the heel of your left hand with the fingers of your right hand. Reverse the hands for a left-handed propeller. Push the right hand forward, keeping your thumbs out of the way while applying pressure to the handle. If the propeller goes down and smacks you in the hands, spin the propeller the other way.
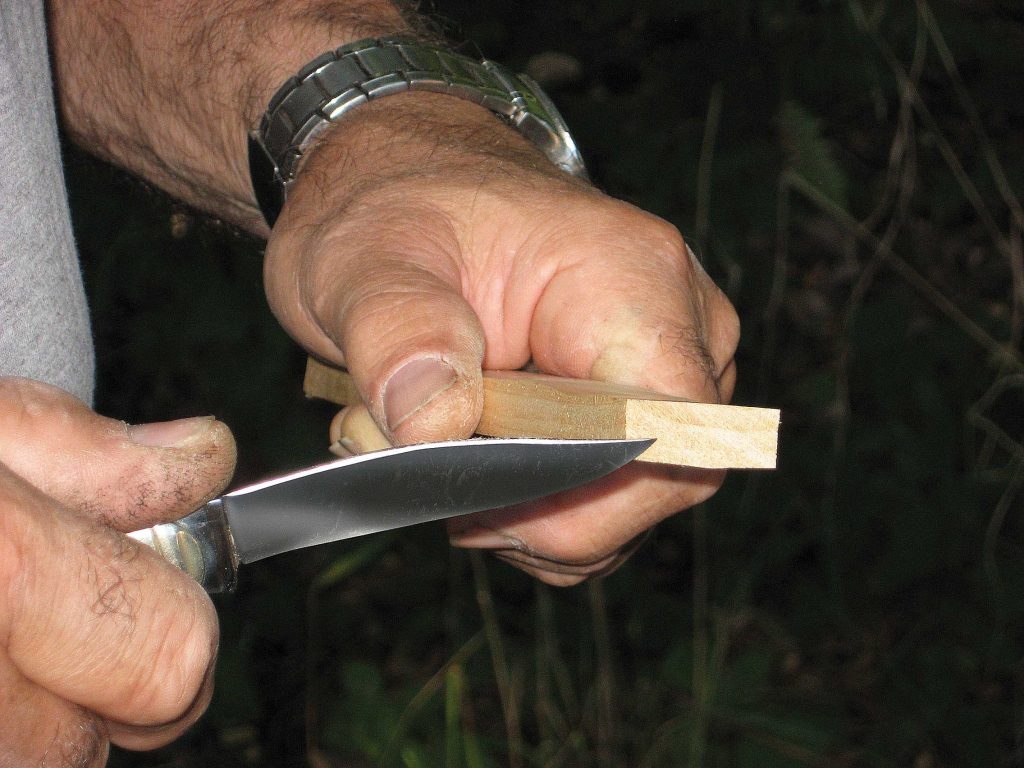
Step 1: Square up the edges of the blank. Carve the stick down to 5/16″ by 1″ by 8″ (8mm by 25mm by 200mm). The blank must be a consistent thickness and width with sharp 90° corners. Mark the location of the hole for the handle by measuring 4″ (100mm) from one end and making a mark 1/2″ (13mm) in from the edge.
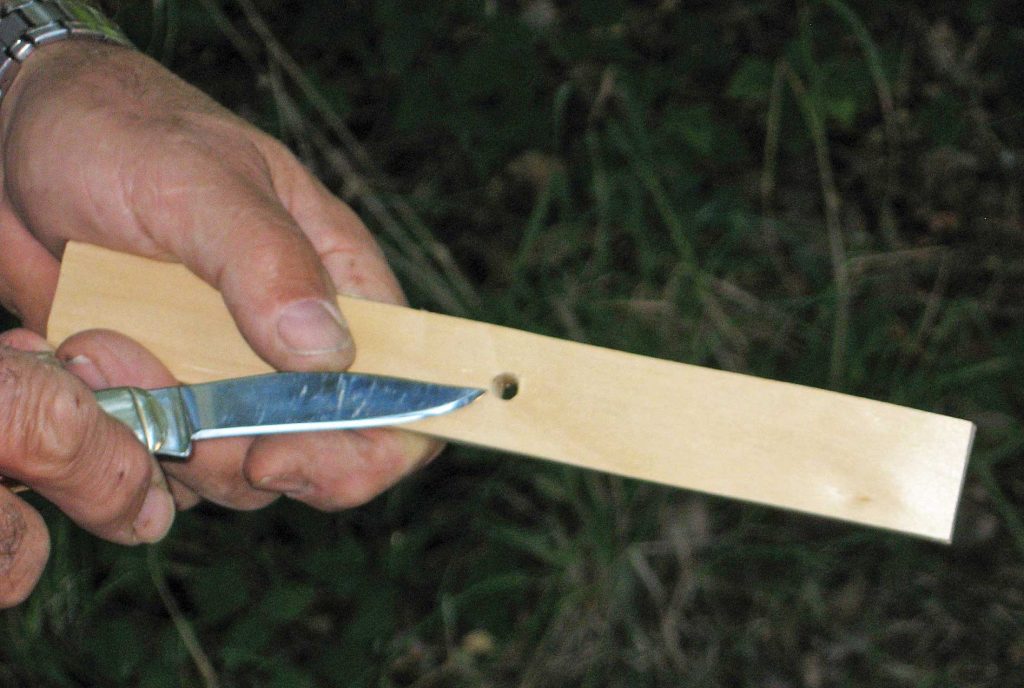
Step 2: Drill the hole for the handle. Use a 1/4″ (6mm)-diameter drill bit or one of the drilling blades on a specialty pocketknife. Do not try to drill the hole with a normal knife blade; this would split the wood, dull your knife, create a fuzzy hole, or cause an injury.
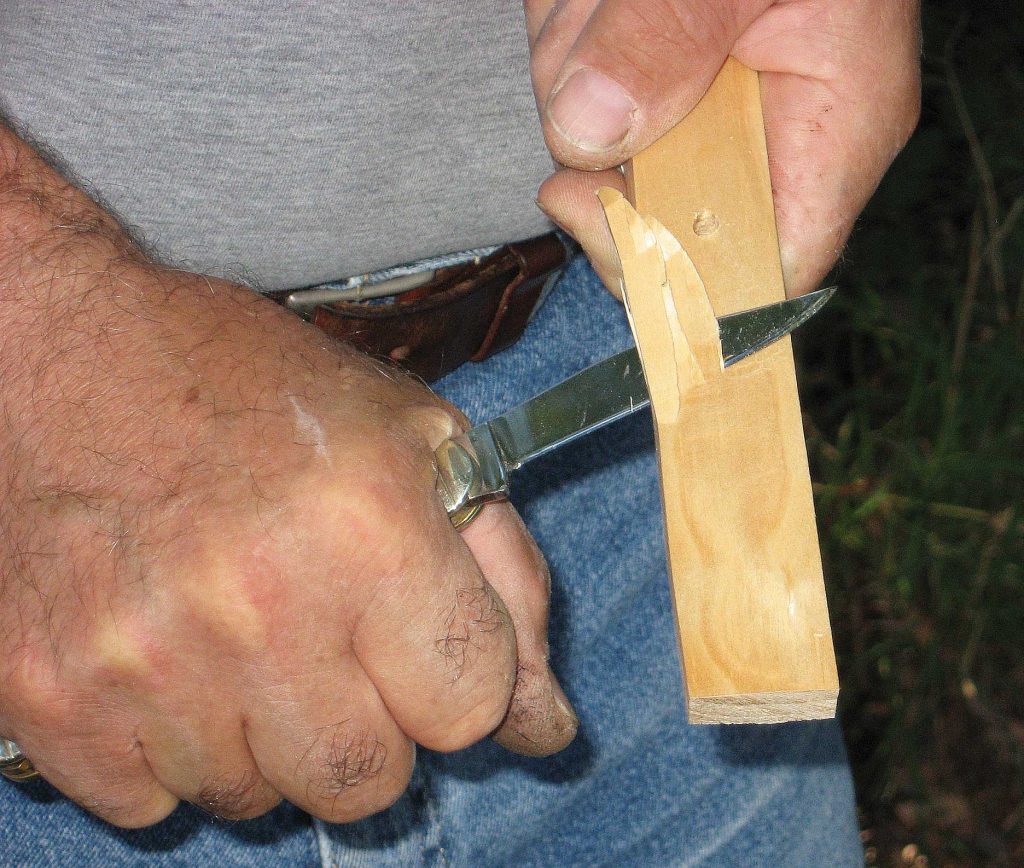
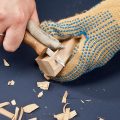
Step 3: Whittle off the right corner of the blank. Start about 1/4″ (6mm) from the hole. If you are left handed, whittle off the left corner of the blank and make a left-handed propeller. Do not carve away the bottom edge.
Step 4: Carve the opposite propeller. Turn the blank end to end and repeat step 3 on the opposite end. Make the second end as much like the first end as possible.
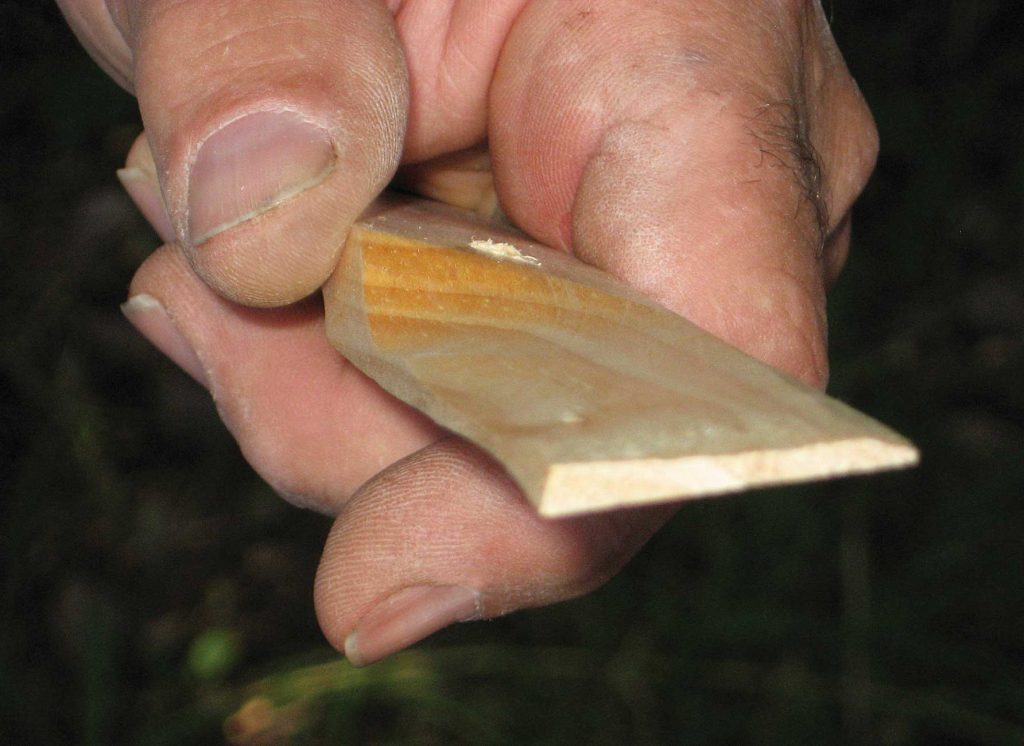
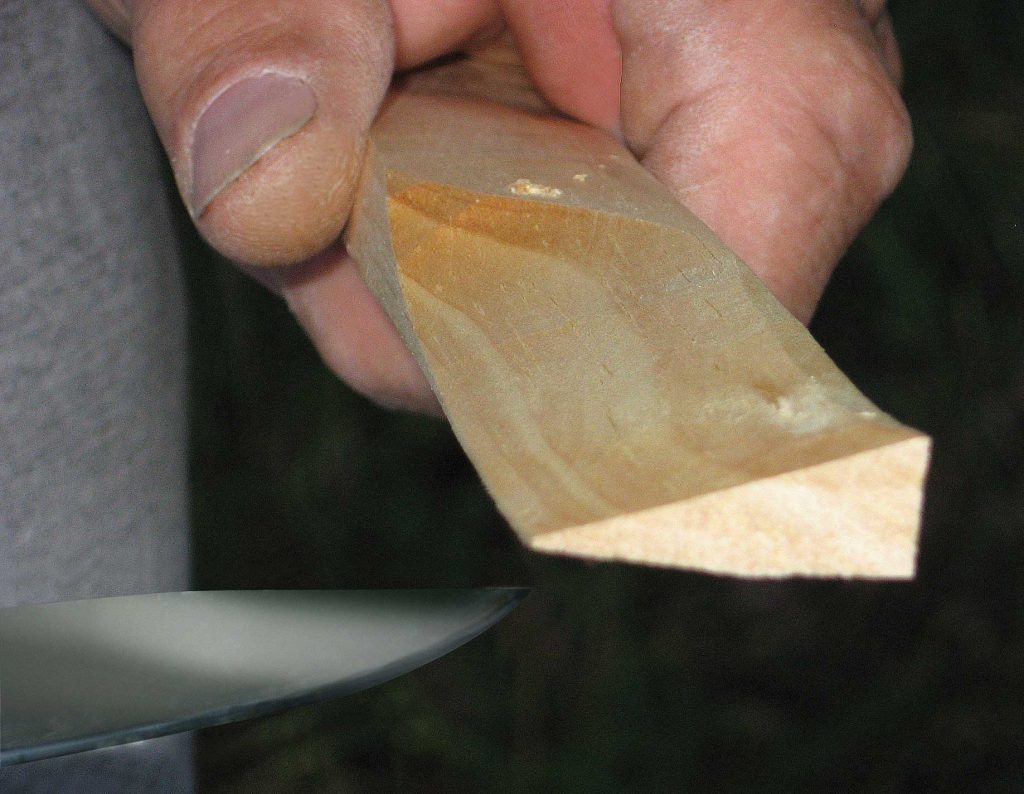
Step 5: Thin the propellers. Flip the blank and whittle off wood to make the propeller as thin as possible. Follow the profile you carved in the previous steps. Do not cut through the edges.
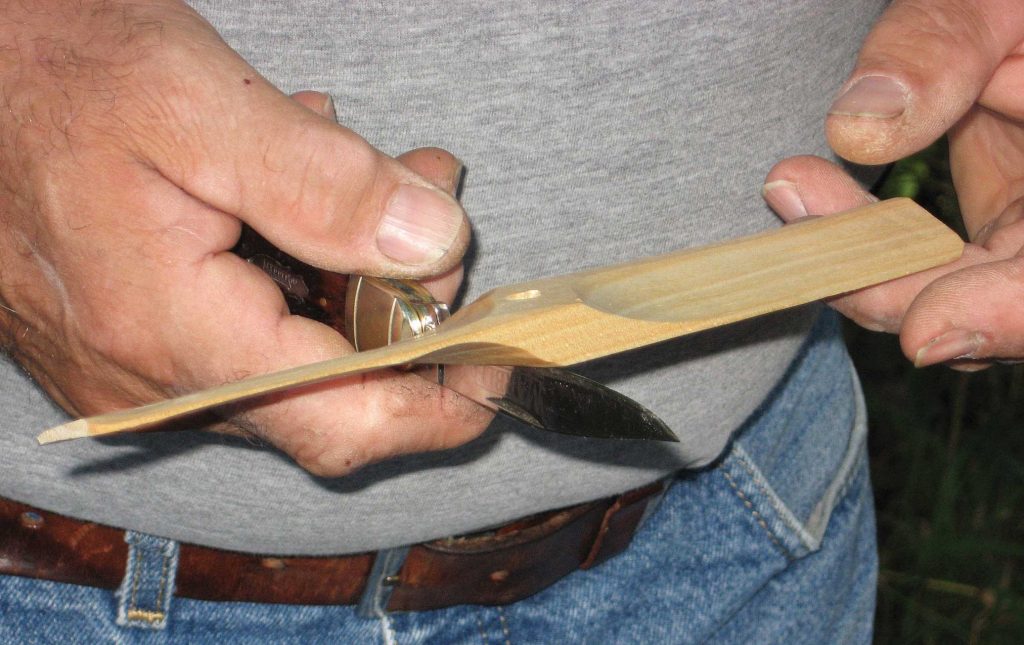
Step 6: Finish the propeller. Round the sharp corners. To balance the propeller, line the edge of the blade up on the center of the hole and see if the propeller tips. If so, shave wood off of the heavy side a little at a time until the propeller teeters equally in both directions. Do not shave off too much wood.

Step 7: ut the handle. The handle blank should be about 1″ (25mm) longer than the propeller. This stabilizes the propeller and helps it fly, even if the balance isn’t perfect. If you have trouble flying the propeller, make a slightly longer handle.
Step 8: Shape the handle. Carve the handle blank down to the diameter of a fat pencil with a long tapered end that fits snugly into the hole in the propeller. If the handle doesn’t fit tightly, glue it in place.
Materials:
Wood of choice: 1/2″ x 1 1/2″ x 8″ (13mm x 38mm x 20.3cm)
Wood of choice: 1/2″ x 1/2″ x 9″ (13mm x 13mm x 22.9cm)
Wood glue (optional)
Tools:
Pocketknife
Drill with 1/4″(6mm)-dia. bit (or knife with a special drilling blade)
 For more information on whittling read Victorinox Swiss Army Knife Whittling Book by Chris Lubkemann. The world’s leading whittling expert teams up with the world’s most popular pocketknife maker to reveal his award-winning whittling secrets in dozens of simple step-by-step projects. The book is available from www.foxchapelpublishing.com for $12.99 plus S&H.
 This article originally appeared in Woodcarving Illustrated Spring 2010 (Issue 50).