Properly prepare your knife for safe and enjoyable whittling
by Bob Duncan
Although it may seem contradictory, a sharp knife is a safe knife. When a knife is dull, or not shaped properly, it requires more force to push the blade through the wood. The more force required to make the cut, the less control you have. Because a sharp, properly shaped blade requires less force, it reduces fatique, resulting in a more enjoyable carving experience. Many novice carvers get discouraged because they are carving with a dull knife or a blade that is not shaped properly.
Sharpening is a simple process, but it takes practice to execute successfully. If you boil it down to the basics, sharpening consists of rubbing a piece of metal against an abrasive to create a wedge shape. It takes practice to consistently hold the metal against the abrasive at the correct angle.
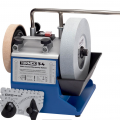
When it comes to choosing an abrasive to sharpen with, you can use anything from simple sandpaper to elaborate power sharpeners. With any method, the basic process is the same—use a coarse abrasive to wear away the metal of the blade until the blade is the shape you want. Then, use progressively finer grits of abrasive to remove the scratches from the previous grit until you have a polished edge.
Manufacturers seldom shape the blade of their pocketknives with carvers in mind. Typically, the factory edge consists of a gradual bevel on the blade that becomes a steep wedge at the cutting edge. This type of edge is durable and works well for cutting rope and cardboard boxes, but you need a flatter bevel for carving wood.
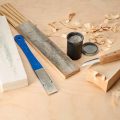
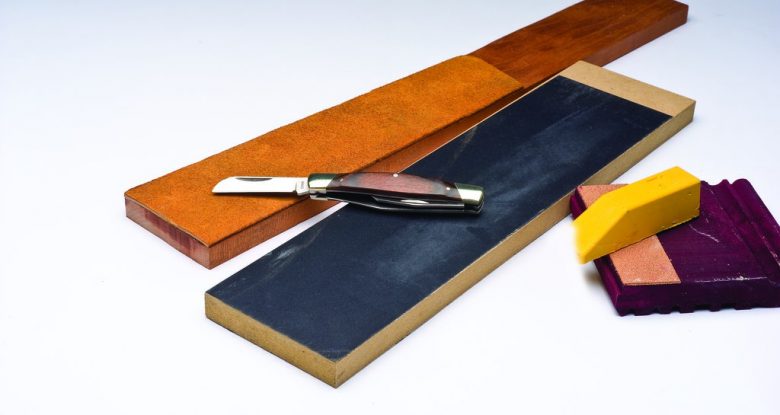
There are many methods and products to help you achieve a sharp cutting edge, but I recommend beginners start with sandpaper. Use spray adhesive to attach 6″ (152mm)-long strips of sandpaper to a perfectly flat surface, such as glass or medium-density fiberboard (MDF). For the initial bevel shaping, start with 200- to 320-grit wet/dry sandpaper. Wet/dry sandpaper is more durable than regular sandpaper. Work your way up through the grits to 600 grit, and then polish the blade on a leather strop.
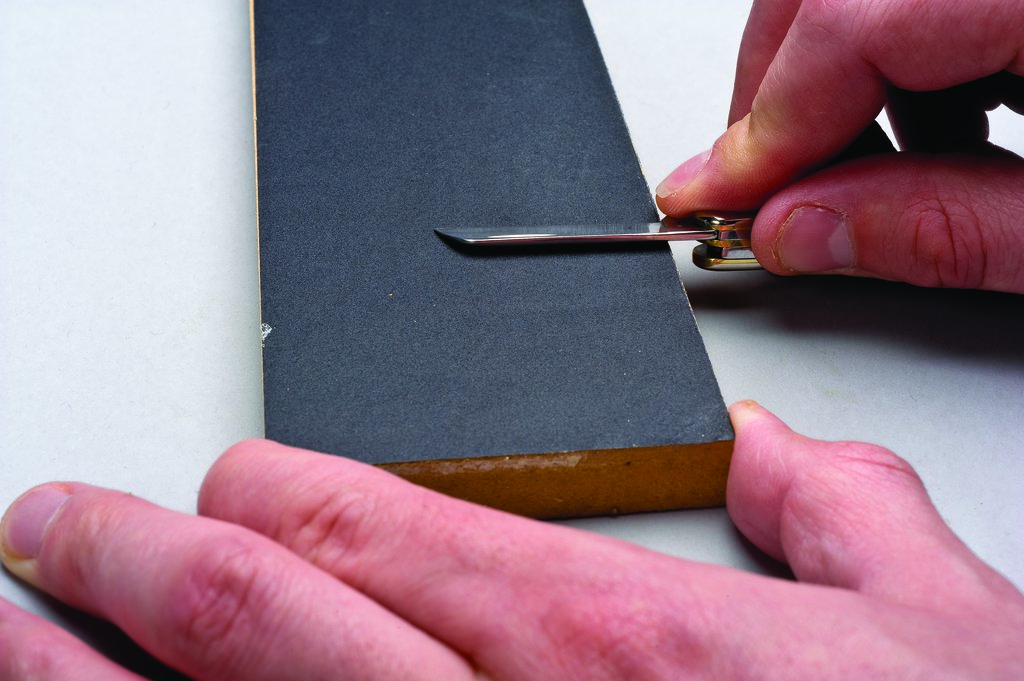
1. Begin shaping the bevel. Hold the entire length of the blade flat against 200- or 320-grit sandpaper with the cutting edge facing away from you. Lift the back of the blade slightly (about 1/32″ or 1mm). Maintain the same angle as you push the knife away from you, toward the cutting edge, and along the length of the sandpaper.
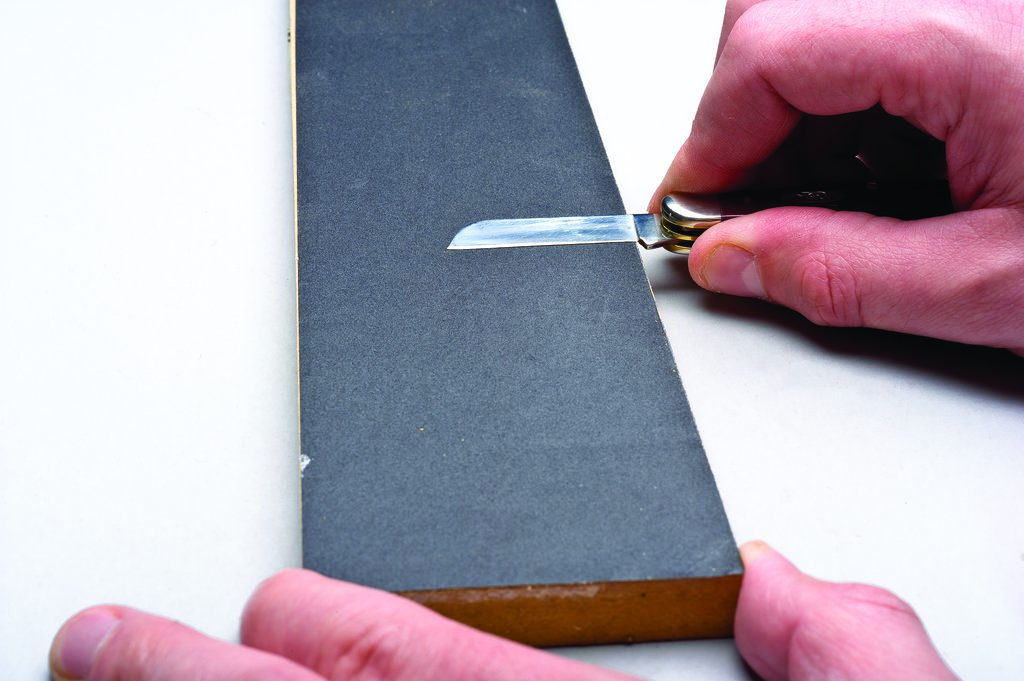
2. Shape the other side of the blade. Lift the blade off the sandpaper and flip the knife over so the cutting edge is facing toward you. Lay the entire length of the blade on the sandpaper and lift the back slightly (1/32″ or 1mm). Pull the blade toward the cutting edge, along the length of the sandpaper, maintaining a consistent angle.
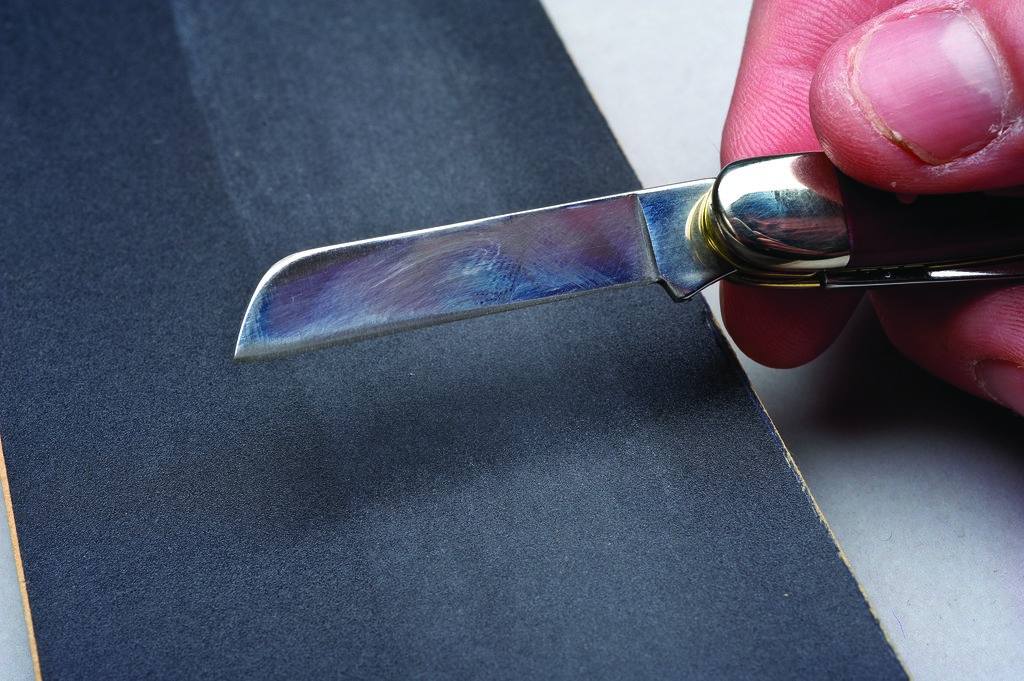
3. Finish shaping the bevel. Follow Steps 1 and 2 until you create the desired bevel across the length of the blade. You should see shiny metal where you’ve removed the old bevel and reshaped the blade.
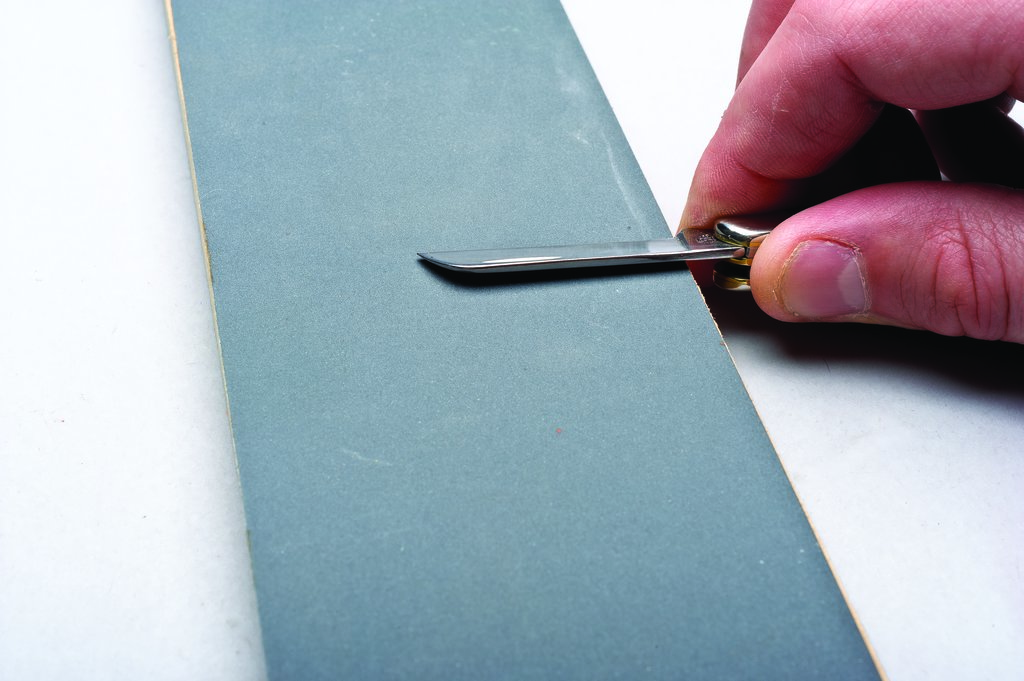
4. Remove the scratches left by the coarser sandpaper. Repeat Steps 1 through 3 as you work through 400-grit and then 600-grit sandpaper. Remove the visible scratches from the coarser sandpaper before moving to the next finer grit.
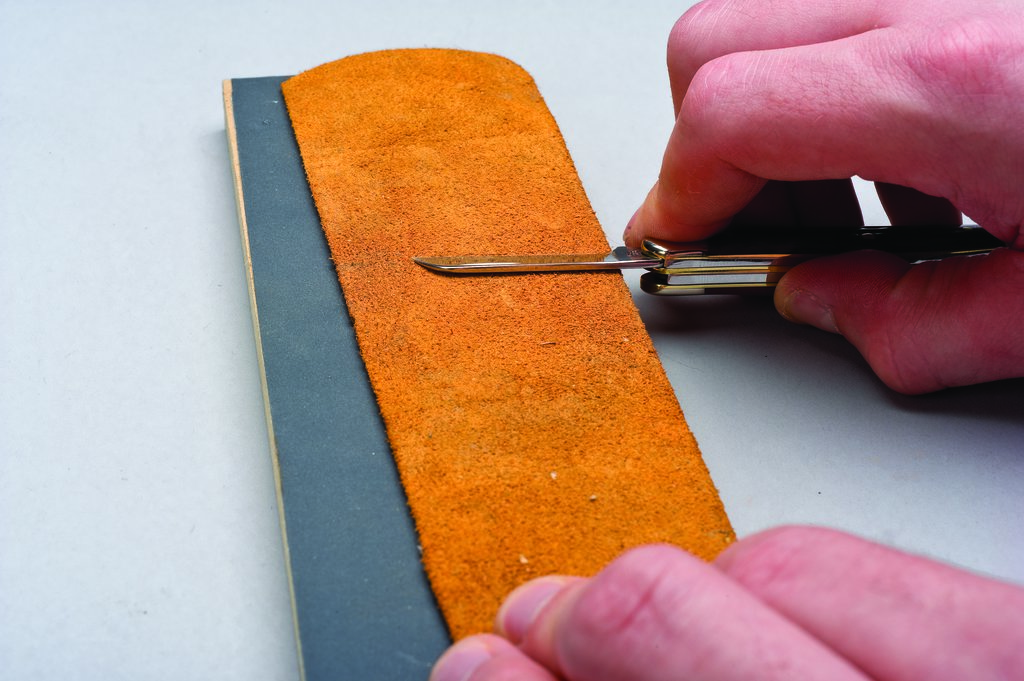
5. Polish the edge. Purchase a leather strop or glue a piece of leather, such as an old belt, to a flat piece of wood with the rough side facing up. Apply a small amount of stropping compound to the leather. Stropping compound is available in powder form at hardware and auto parts stores. The grit is not important for stropping carving knives. Position the entire length of the blade on the leather strop and lift the back of the blade slightly (1/32″ or 1mm). Draw the blade across the strop, moving away from the cutting edge. Do not push the blade toward the cutting edge or you will damage the strop and round the cutting edge. At the end of the strop, lift the blade, flip the knife over, and place the other side flat on the strop. Lift the back of the blade slightly (1/32″ or 1mm) and draw the blade along the strop, moving away from the cutting edge. This process polishes the blade for a cleaner and smoother cut. Once the bevel has been shaped, maintain the cutting edge by stropping often. You only need to sharpen with sandpaper if you nick the blade or damage the cutting edge.
This article was originally published in Whittling 2015.
Discuss this material on the Woodcarving Illustrated forums.