

Essential hardware to aid your carving
by Roger Schroeder
There are probably as many clamping methods as there are carvers because every carver holds his or her own carving differently. But most have very similar roots—and are based on a few simple ideas.
Holding
Unless you are planning to hold your carving in one hand and carve with the other, you will need some way to stabilize your project. Holding devices are essential if you plan to use a mallet and chisel or if the piece is too small or delicate to hold easily. Fortunately, there are many commercially available options to secure your work for carving.
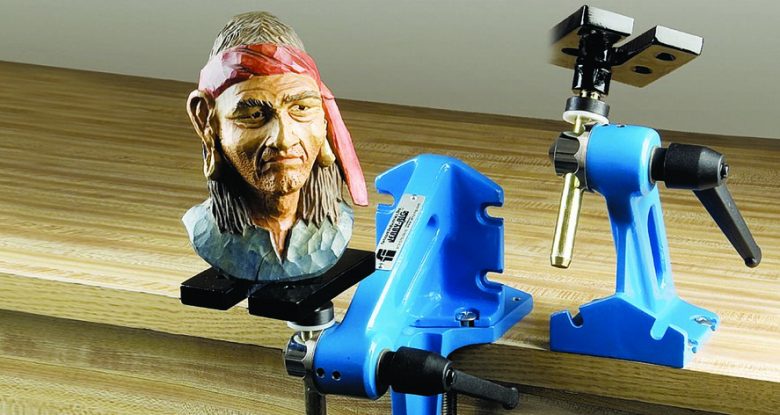
Carver’s Vise
A carver’s vise is a great investment for any carver. Before purchasing one, check whether it is adjustable in all three axes. That means you can position the project side to side as well as up and down and from front to back. Also investigate the vise’s gripping power and slippage. There must be enough surface on the mounting plate, or between the jaws, to accommodate the carving so that it doesn’t move when worked on, especially if a mallet is used.
Carver’s Arm
With a carver’s arm, you can rotate a carving horizontally as well as vertically.
Long before manufactured holding and clamping fixtures came into being, the carver’s arm dominated. Designed like the human arm—hence, the name—to bend at a hinge point, the wood components provide the up-and-down positioning. To allow the project to be rotated from side to side, a separate carver’s screw is used at the end of the arm. A carver’s arm is not difficult to make—I recommend maple—but reasonably priced arms can be purchased through catalogs.
Alligator Clips
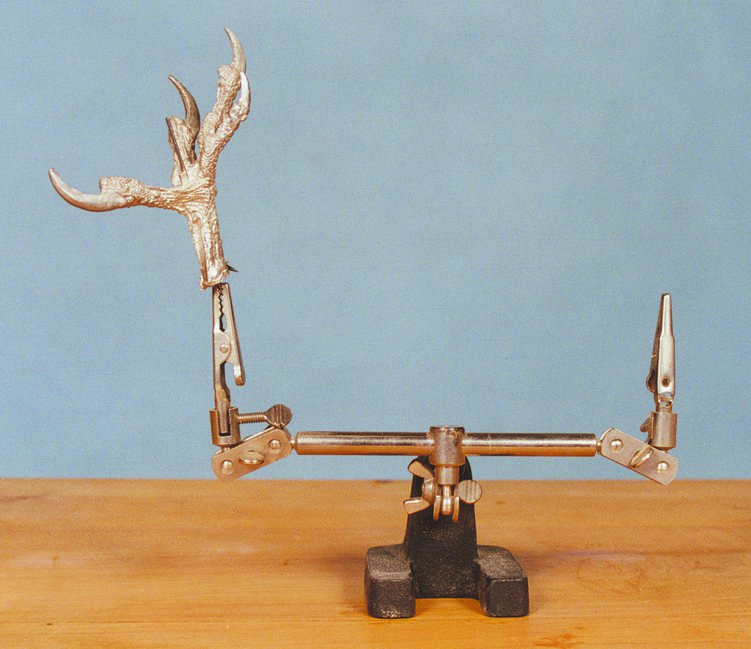
Alligator clips mounted to a horizontal and adjustable post allow you to work on small projects hands free.
Alligator clips have probably been around since Doctor Frankenstein hooked up his monster for a cosmic jolt. When mounted on a bar attached to a base, they become indispensable for holding delicate objects. If you are a carver who needs a third or even fourth hand, grab the alligator clips. I’ve seen clothespin-looking gadgets with two alligator clips attached, and I’ve come across devices with three clips. Just make sure the clip or clip base is securely held to keep it from toppling over.
Machinist’s Vise
I suspect that several generations of carvers have used a machinist’s vise to hold a project. To protect the wood and the tools from the jaws, strips of a soft wood have to be attached. If a fancy carver’s vise is not in the budget, and there’s that machinist’s vise inherited from dad, try out a new accessory called Soff Jaws™. Cushioned pads 3/8” thick cover magnetic strips that keep the pads in place. They really work.
Clamping to Join
Clamps are generally used to join two pieces of wood together. Carvers will often laminate wood for a large carving, but there are times when irregularly shaped pieces need to be added to compensate for an area that was mistakenly removed or to fill in a bad spot.
A rubber band is sometimes the
best clamp for gluing up irregularly-shaped components.
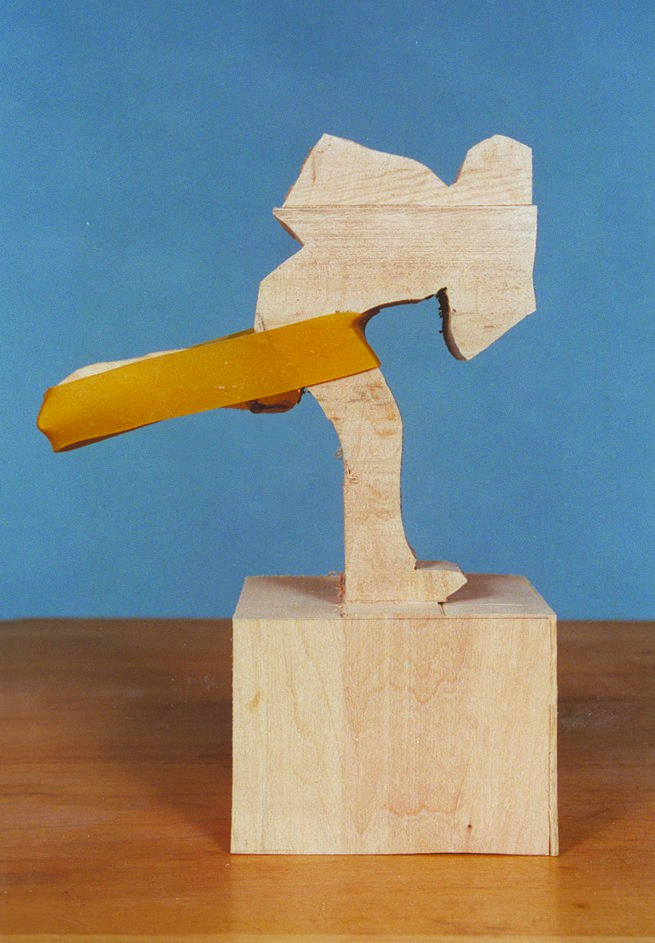
Rubber Bands
Irregularly shaped objects are sometimes impossible to clamp with anything but a piece of elastic rubber. I usually have to hunt around in a pile of rubber bands to find one that offers just the right amount of stretch. When more “squeeze” is required, I apply two rubber bands or double up a single one.
Web Clamp
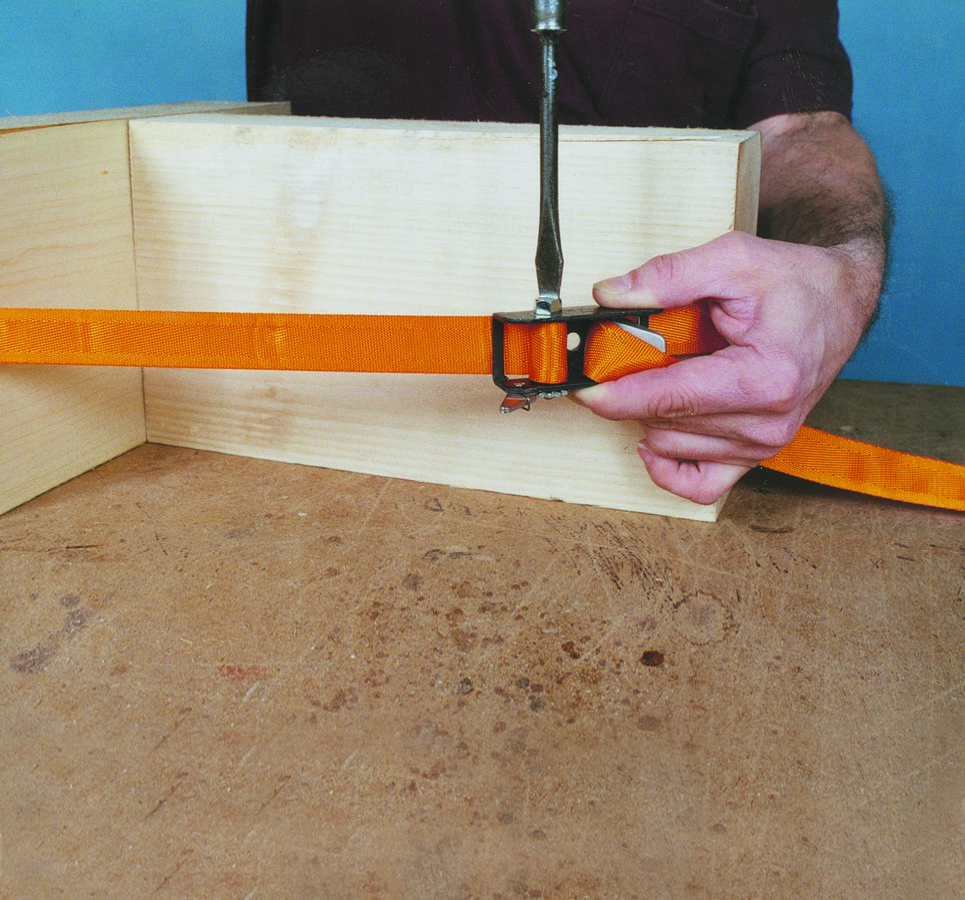
A web clamp accommodates much bigger projects—and is adjusted with a screwdriver.
Another tool that serves a purpose similar to the rubber band is the web clamp. Wrap a length of nylon webbing around a project in need of gluing, and pull the webbing taut with a ratchet mechanism—a surprising amount of pressure can be exerted. An advantage of the web clamp is that one wrap offers much more clamping area than a single rubber band.
Clamping to Hold & Join
There are many devices developed specifically for holding your work in progress or for joining wood. But some clamps, both old standbys and newcomers, are better designed for getting a good grip on the work. And a few are capable of both holding and joining.
C, Quick-Change, Spring, and Toggle Clamps
When carving a small relief panel, either a pair of C, spring, quick-change or toggle clamps will hold the wood to my workbench.
C clamps are old standbys to many carvers, and I have about a dozen in my shop, with openings that range from about 1″ to 12″.
But there’s a lot to be said about quick-change clamps, since C clamps require a lot of effort and time to open and close. Slide the jaws of a quick-change clamp together and simply squeeze the pistol grip to tighten them; to release the pressure, pull a trigger. I’m particularly impressed with two other features. One is the soft jaws that protect a delicate project or finish. The other is the ability to tighten or release a clamp with a single hand in a matter of seconds.
The one downside to the tool is slippage and clamping pressure. Using a mallet sets up vibrations that tend to weaken the grip. And don’t expect to glue up panels or other laminated projects when using polyvinyl acetate glues. Quick-change clamps do not provide the needed pressure for a good bond.
Another tool that opens and closes quickly is the spring clamp. With protective polyvinyl handles and tips, they comes in mini-sizes, offering a clamping force of only a few pounds. But beefier cousins with an opening of an impressive 4″ are available that will exert as much as 35 pounds of force.
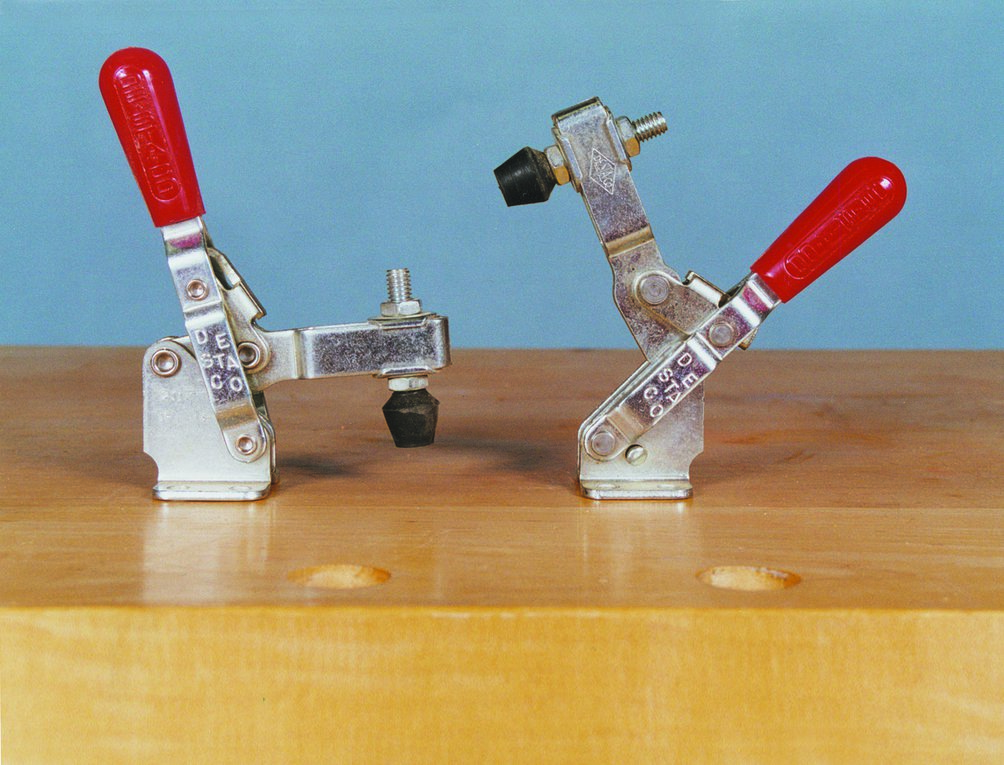
Toggle clamps are designed for work where quick release is a must. Rubber tips protect the project.
Toggle clamps combine a rubber-tipped hold-down with a lever handle. Push the handle down or pull it up, and the hold-down locks in place. The problem with these tools, and the ones described above, is that they get in the way of the project. Consider using a long backing board that the project can be screwed to. The clamps grip the board and stay well out of the way.
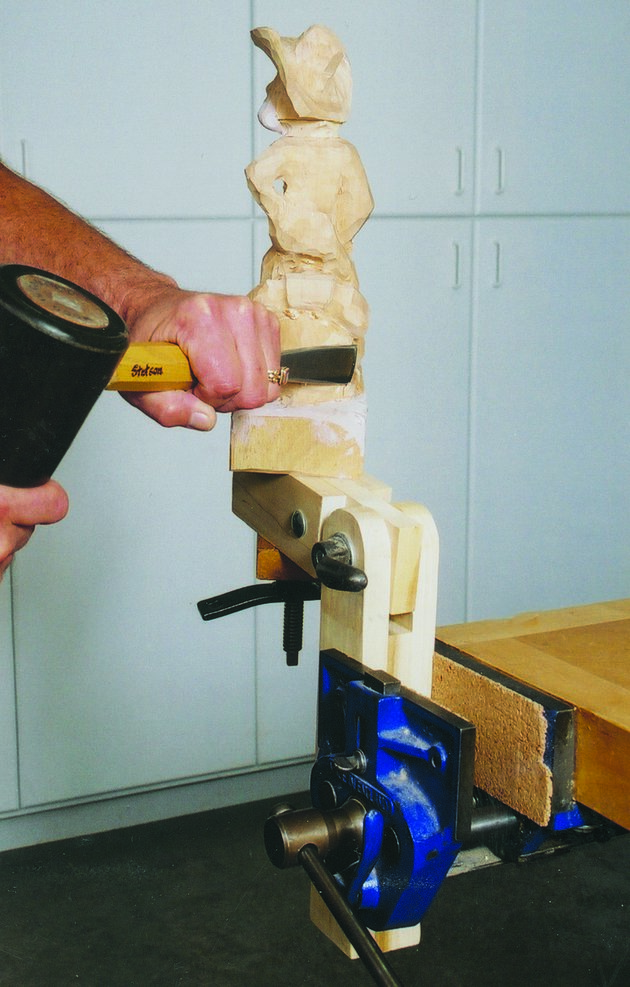
Bar and Pipe Clamps
A bar clamp, held in a machinist’s vise, is ideal for small carving projects.
A rectangular section of steel, the bar clamp has a fixed head with an adjustable screw and an adjustable tail slide. These devices were the only game in town for generations until they fell into disfavor for several reasons: Set lengths—most commonly 4 and 6-footers—had to be purchased; the clamps were expensive; and there was the advent of the pipe clamp.
Also consisting of head and tail pieces, the pipe clamp fits any available length of 3/4“-diameter pipe threaded on one end. Screw the head in place; slide the tail, which has a disc clutch to keep it from moving, onto the pipe; and the clamp is ready.
Carvers doing small figures use pipe and bar clamps as holding fixtures. To use, simply grip the project between the jaws, and tighten the clamp down in a vise. Another take on the vise would be to attach a flange to the bottom of the pipe. Bolt the flange to your workbench, and you’re on your way.
Watch your tools when using a metal clamp to hold your work—one false move will give you a nicked blade!
The new “fast action” design brings bar clamps up to date. A typical fast-action bar clamp consists of one fixed jaw and one sliding jaw with a ball-joined shoe at the end of a handle and screw. After the two jaws close on a project, the handle is turned, which locks the moveable jaw in place.
At my favorite home improvement store I find fast-action bar clamps with openings as little as 4″ and as much as 50″. But more important than length is the depth of the throat. C clamps, by comparison, rarely have a “reach” of more than a few inches. Typical medium-duty fast-action clamps, however, have a reach of 7″ with openings ranging from 18″ to 48″. For holding wide panels to my workbench or glue-joining wide blocks of wood, I gravitate to short but deep-throated bar clamps.
There’s a clamp for every project, with many available at your favorite home improvement center or hardware store. Most won’t tax your budget. So don’t be afraid to get a grip on a few good tools that will last a lifetime. They’re worth the investment.
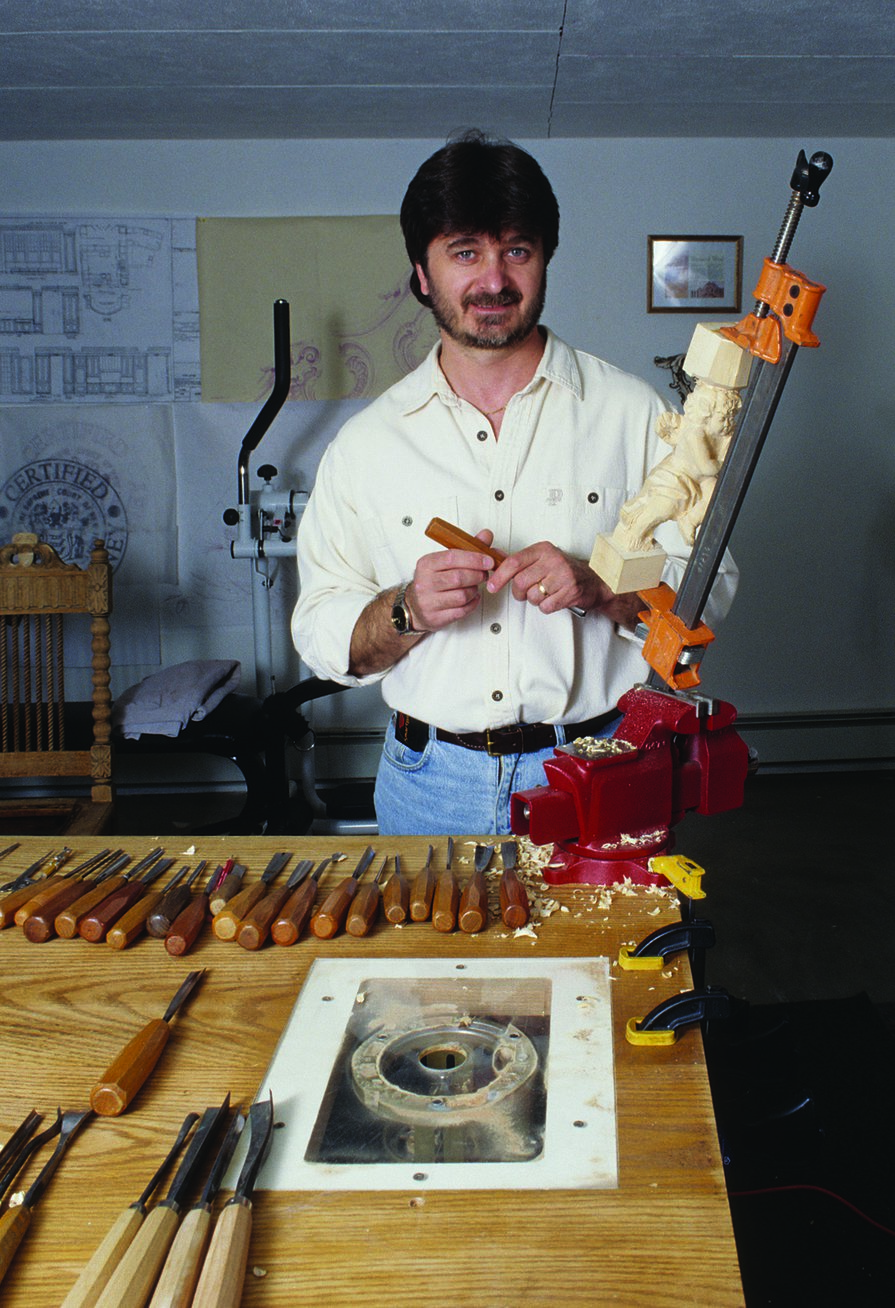
About the Author
 Roger Schroeder, of Amityville, N.Y., is a retired teacher, accomplished author, and the founding editor of Woodcarving Illustrated.
This article first appeared in Woodcarving Illustrated Spring 2006 (Issue 34).
Discuss this material on the Woodcarving Illustrated forums.


