Use simple methods to secure your blank for easier and safer carving
by Chris Pye
After sharpening your tools, how you hold your work has the most direct, mechanical bearing on your carving experience. Traditional European woodcarving uses both hands to guide the tools, so carvings must be securely and safely held by another means. Whatever method you choose, it should be easily adjustable so you can carve difficult areas.
If you always carve the same type of project, you’ll need only one good way of holding your work. However, if you carve a variety of subjects, as I do, you’ll need a repertoire of different and adaptable methods.
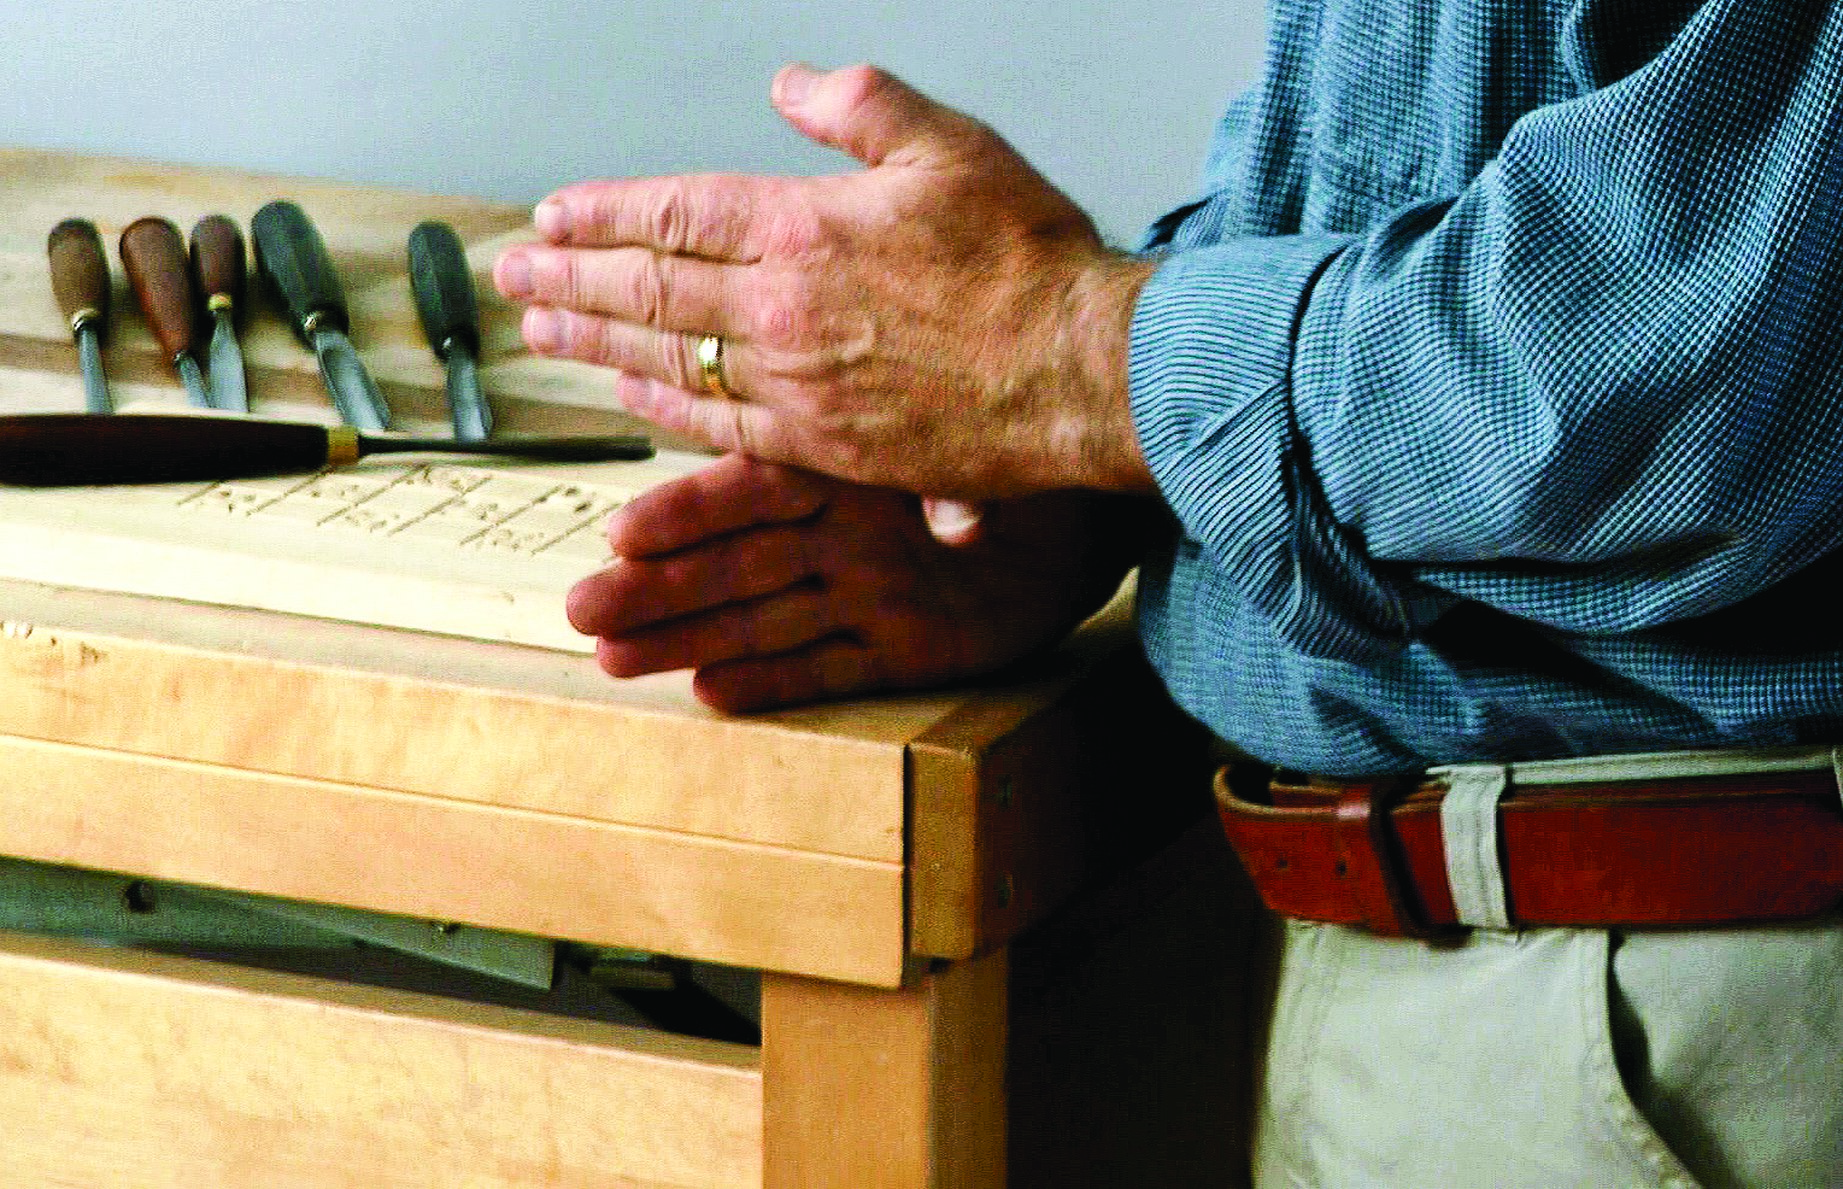
The jaws of the carpenter’s vise stood proud of the surface on my first bench. It is more useful to have the jaws flush with the surface.
All carving starts with your carving bench. But rather than a bench, think of it as a work station. It’s the center of your activity, on or by which your carvings are held; it’s where everything happens.
Carving Benches
My first bench was a simple sturdy bench with good overhanging edges for C-clamps. In hindsight, the 24“ by 24“ bench surface could have been larger (24“ by 36“ for example) to allow more space for tools. At the time I didn’t know how to fit a carpenter’s vise and made the jaws proud of the working surface—make sure your jaws are flush. Again, with hindsight, I would now use an end vise, which gives you more holding possibilities than a simple carpenter’s vise.
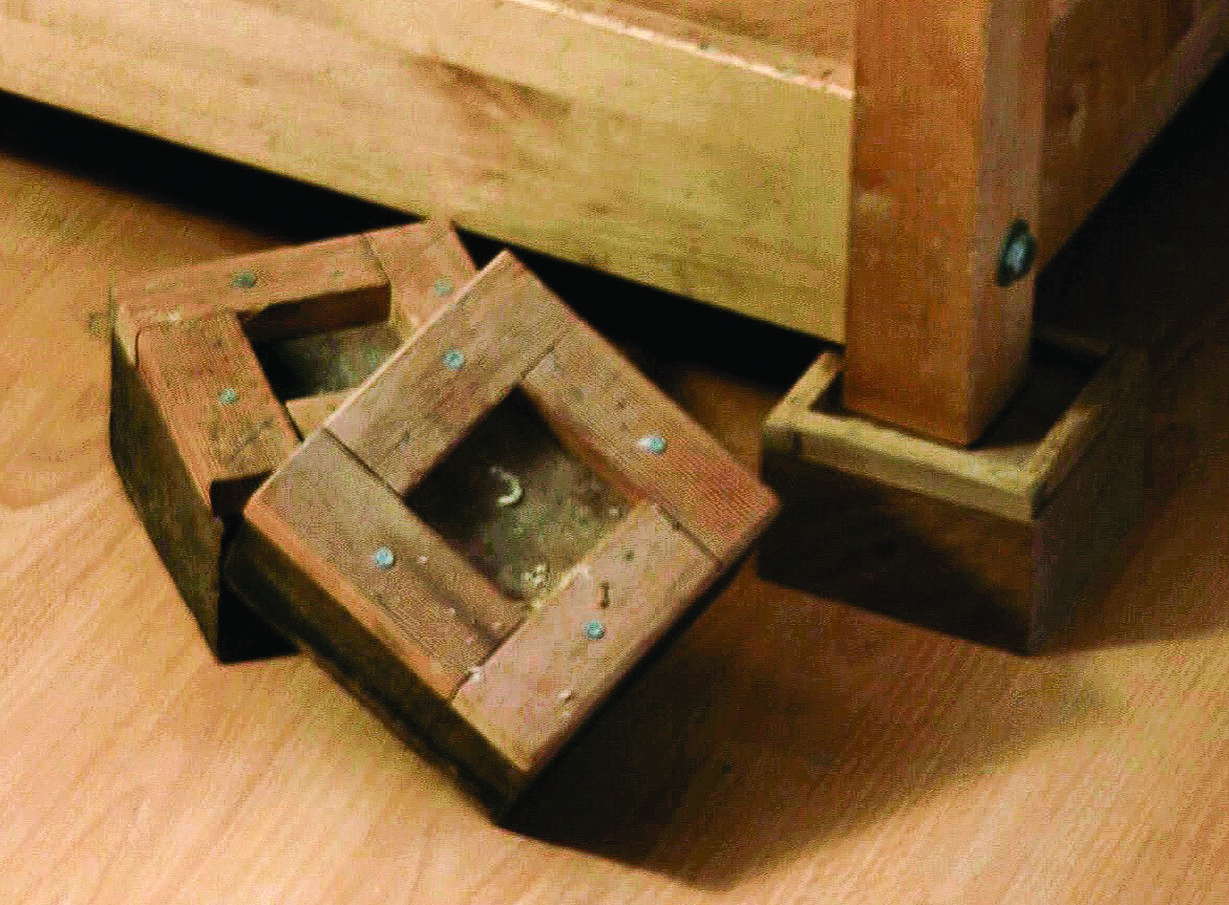
Weight the base of your carving bench with bricks, gravel, or sand for stability.
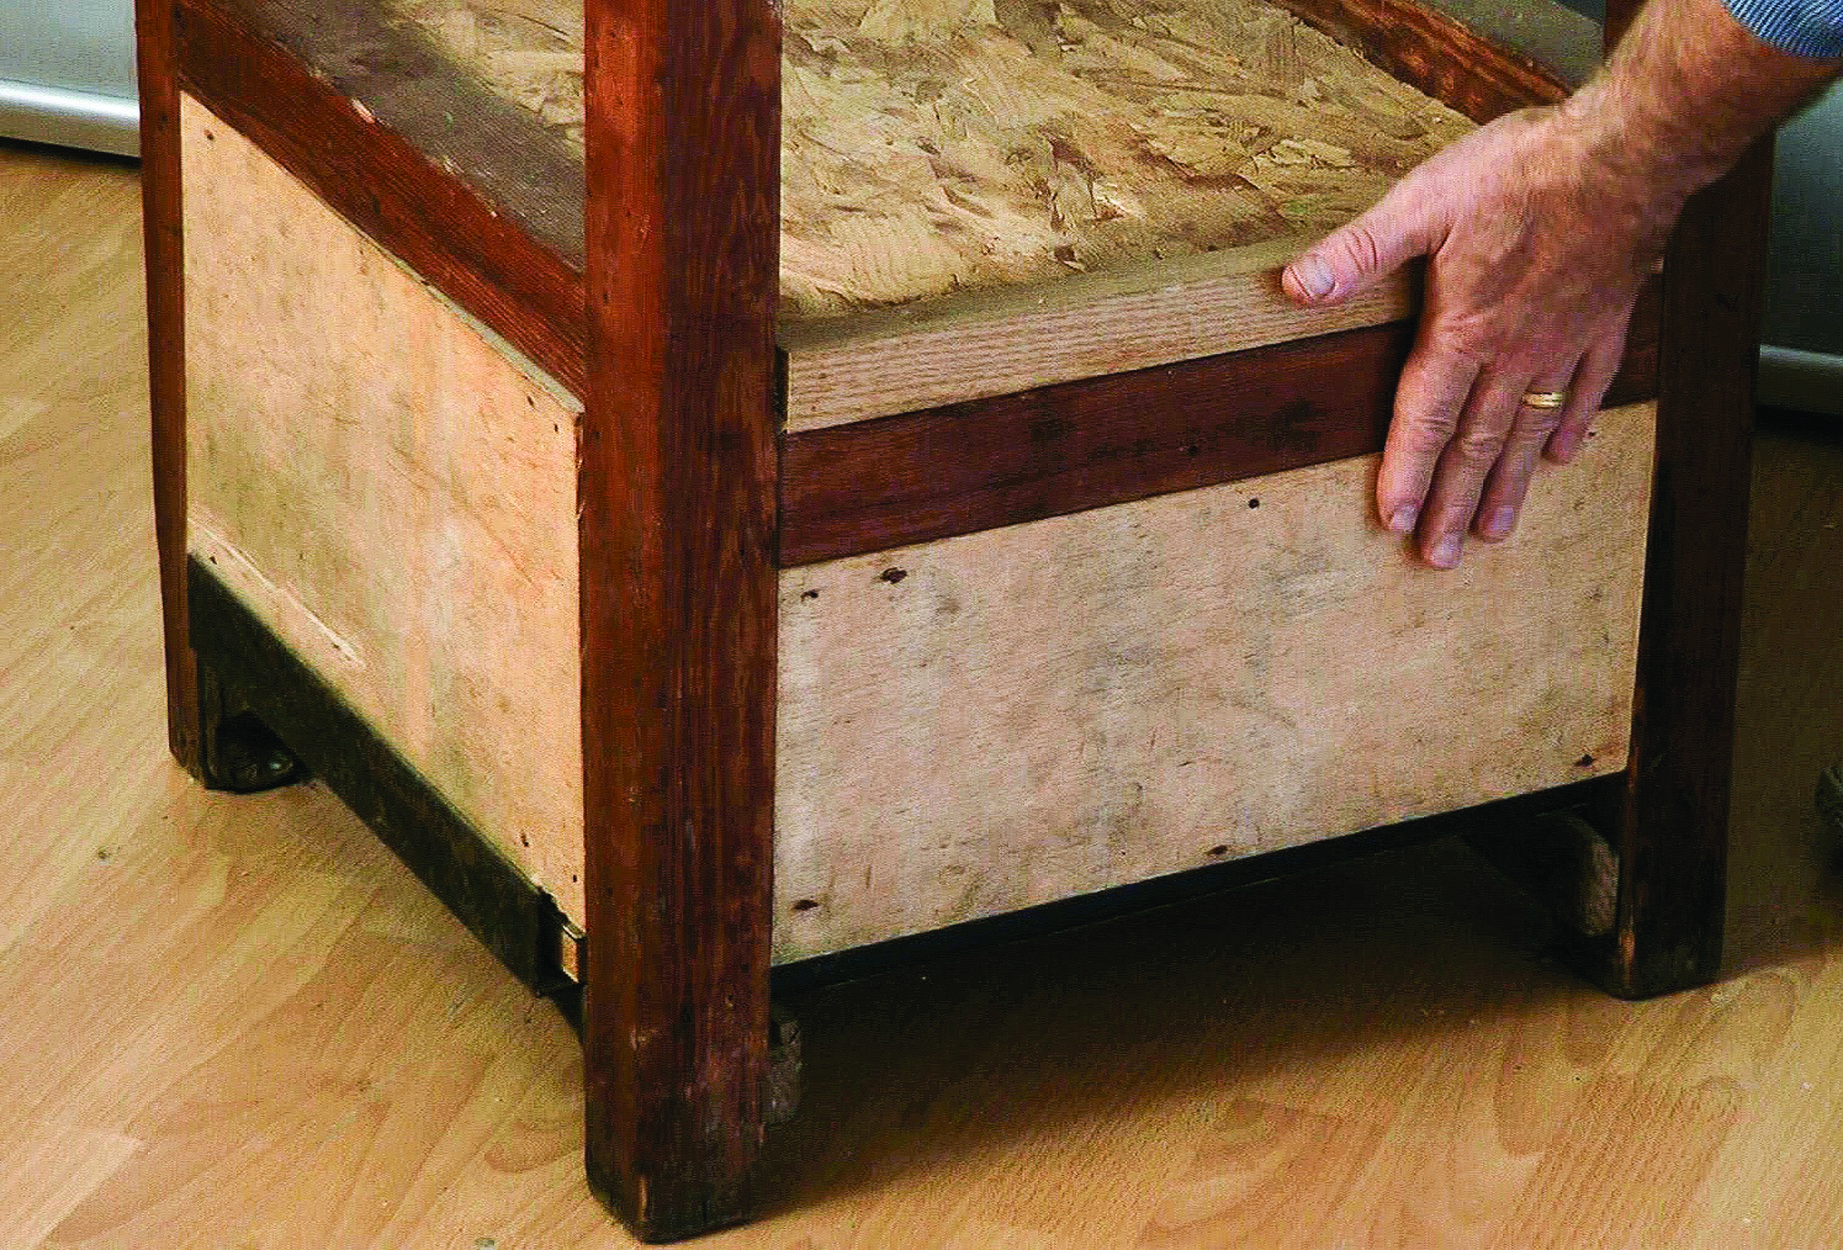
The bottom of my bench is weighted with a built-in box of bricks. Gravel or sand will also work. You generate an amazing amount of leverage when cutting into a carving, and you need to make sure your bench won’t tilt or move across the floor. Some carvers bolt their bench to the wall or floor.
I frequently use a commercial bench made by Sjöbergs. The 24“ by 36“ surface area is useful, but I miss the overhanging edges of my homemade bench. Nevertheless, it has many other features that I think are very desirable in a carving bench. For example, it has a broad end vise that metal or plastic pegs, or dogs, fit into. I can grip relief carvings between these and other dogs sited in matching holes in the bench top.
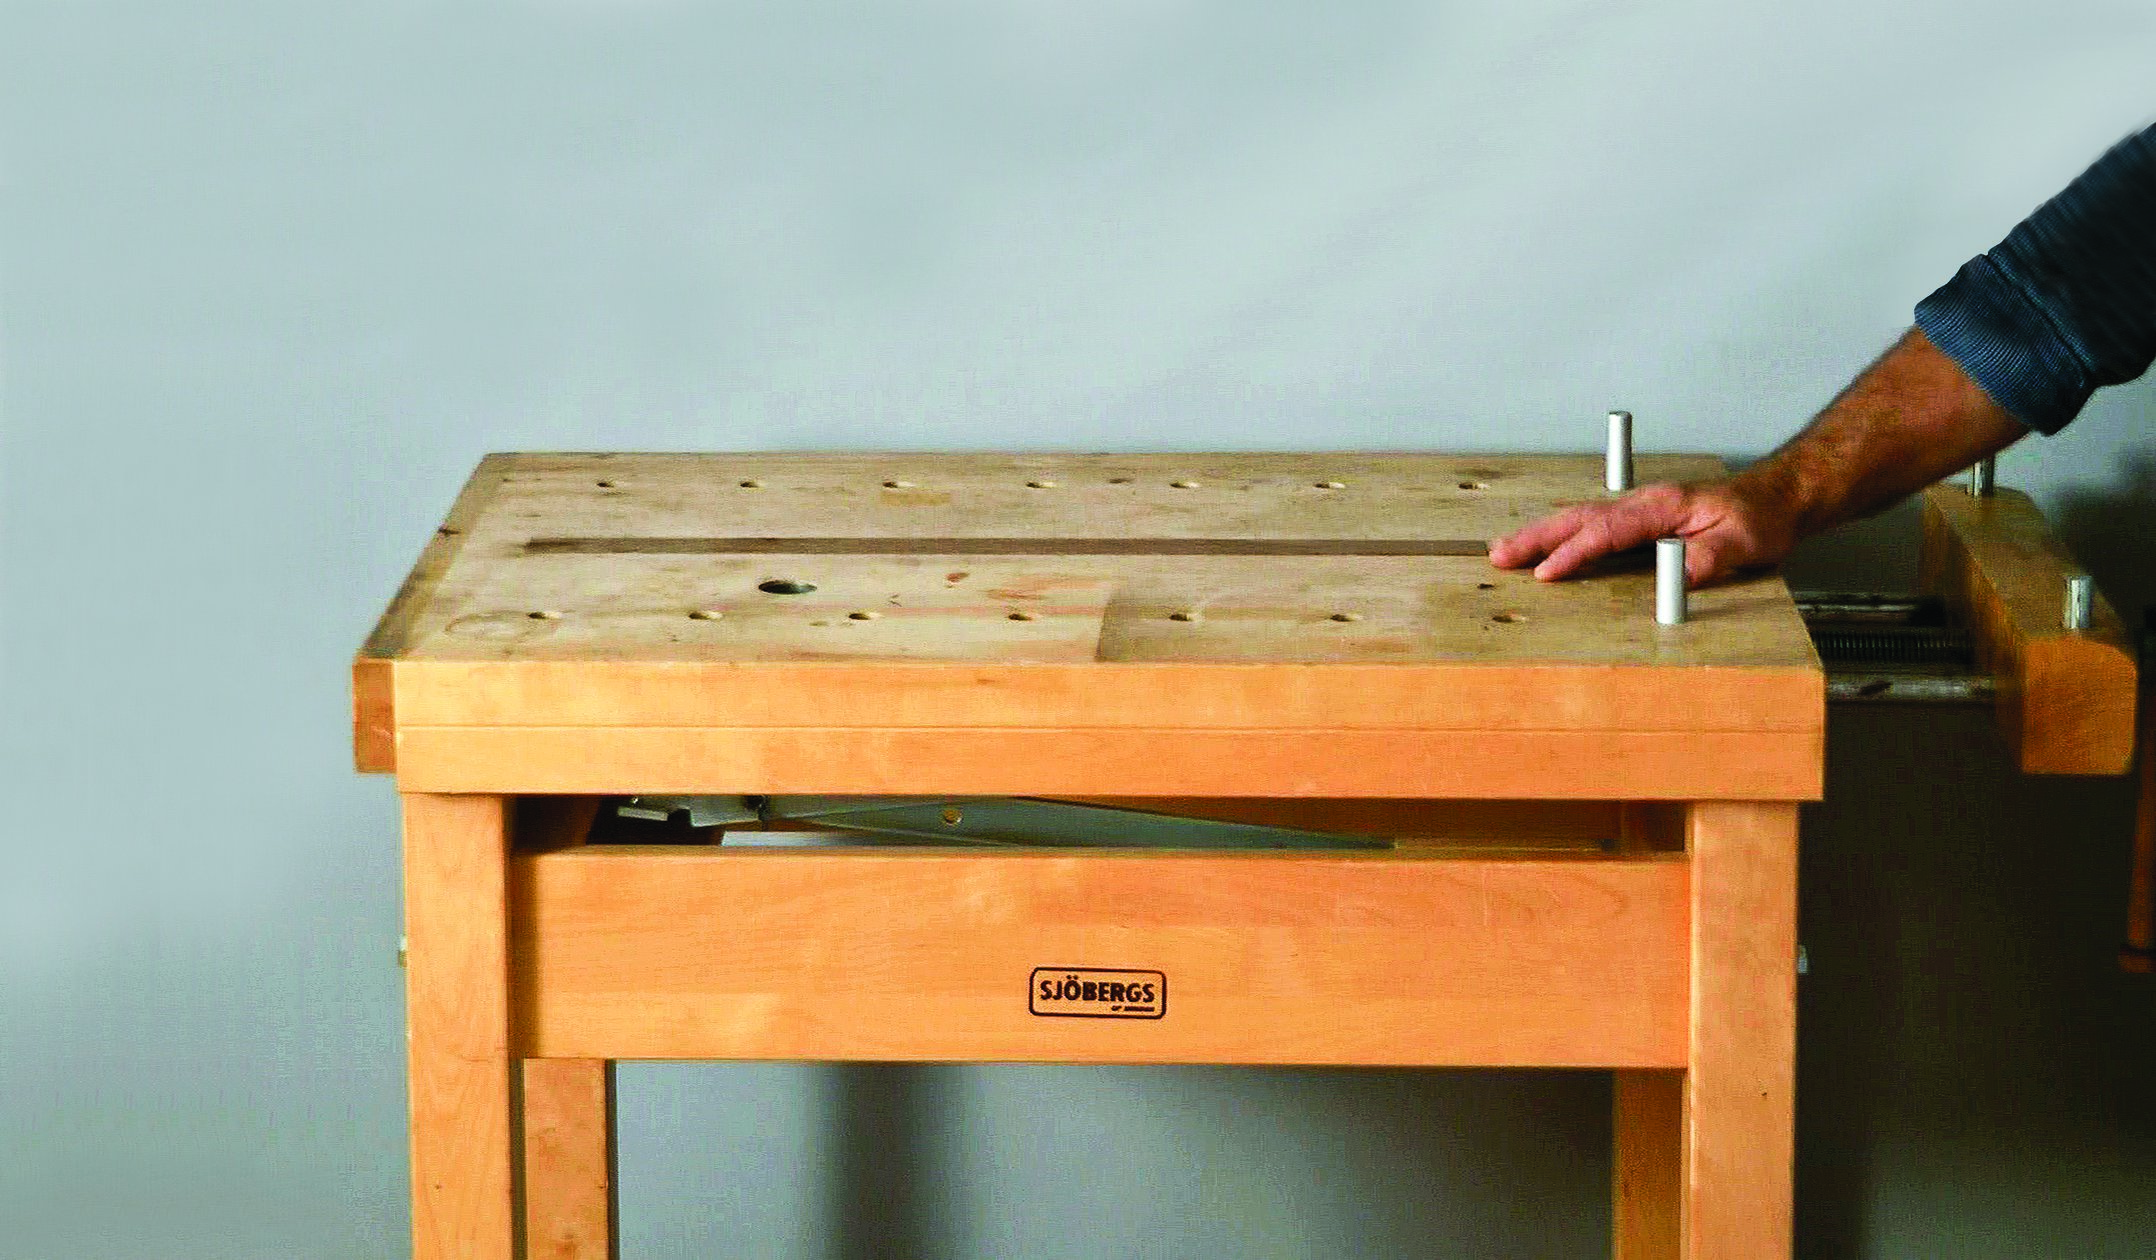
This commecial bench from Sjöbergs has many useful features for carvers.
Generally, your bench top should be a few fingers lower than your bent elbow.
When possible, it’s best to stand to carve. A carving bench is significantly taller than a carpenter’s bench—but just how much? There really isn’t one answer; it depends on what you are carving. Is your work tall or small? Good posture is essential if you want to work for extended periods of time without getting a backache. If you have no idea what height you’ll need because you don’t know what you’ll be carving, then tradition says that a good height for a bench top is a few fingers lower than the carver’s bent elbow.
Sometimes I need to increase the height of my bench, so I use simple blocks. Create a fence around the edge of the block to keep the bench foot from slipping off. Make your blocks carefully; you don’t want a wobbly bench.
Use simple blocks to adjust the height of your bench.
Using an End Vise

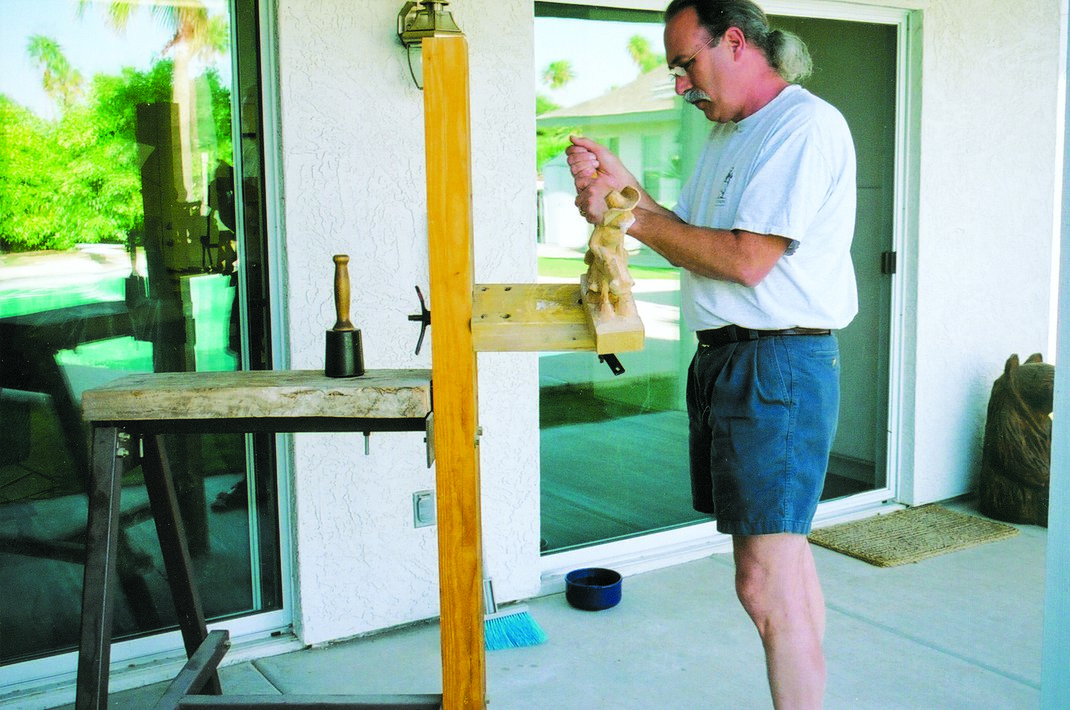
Use the end vise to hold carving devices, such as an adjustable carving stand.
An end vise is handy for gripping blocks of wood that hold either adjustable carving devices (work positioners) or woodcarver’s screws. I use my benches as starting points for holding work; the exact method comes down to one question: How do I want to position my carving?
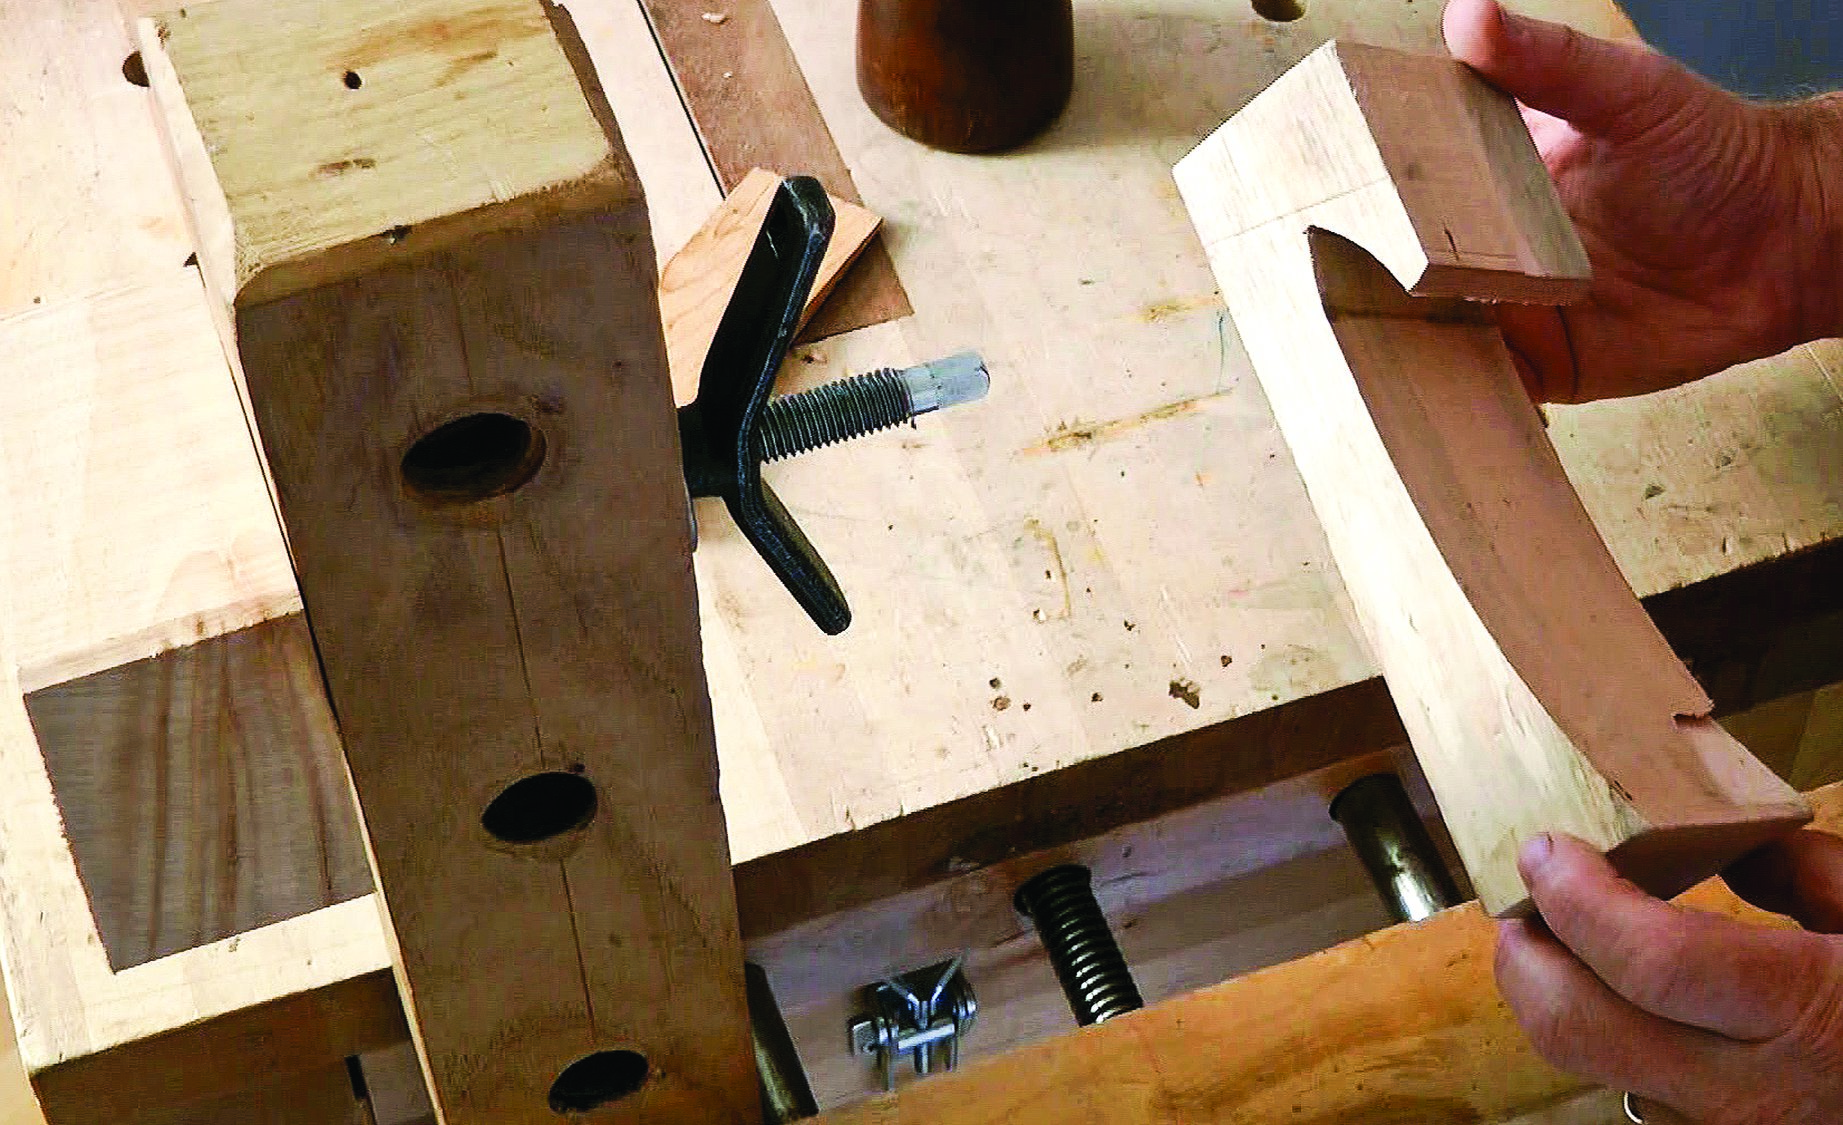
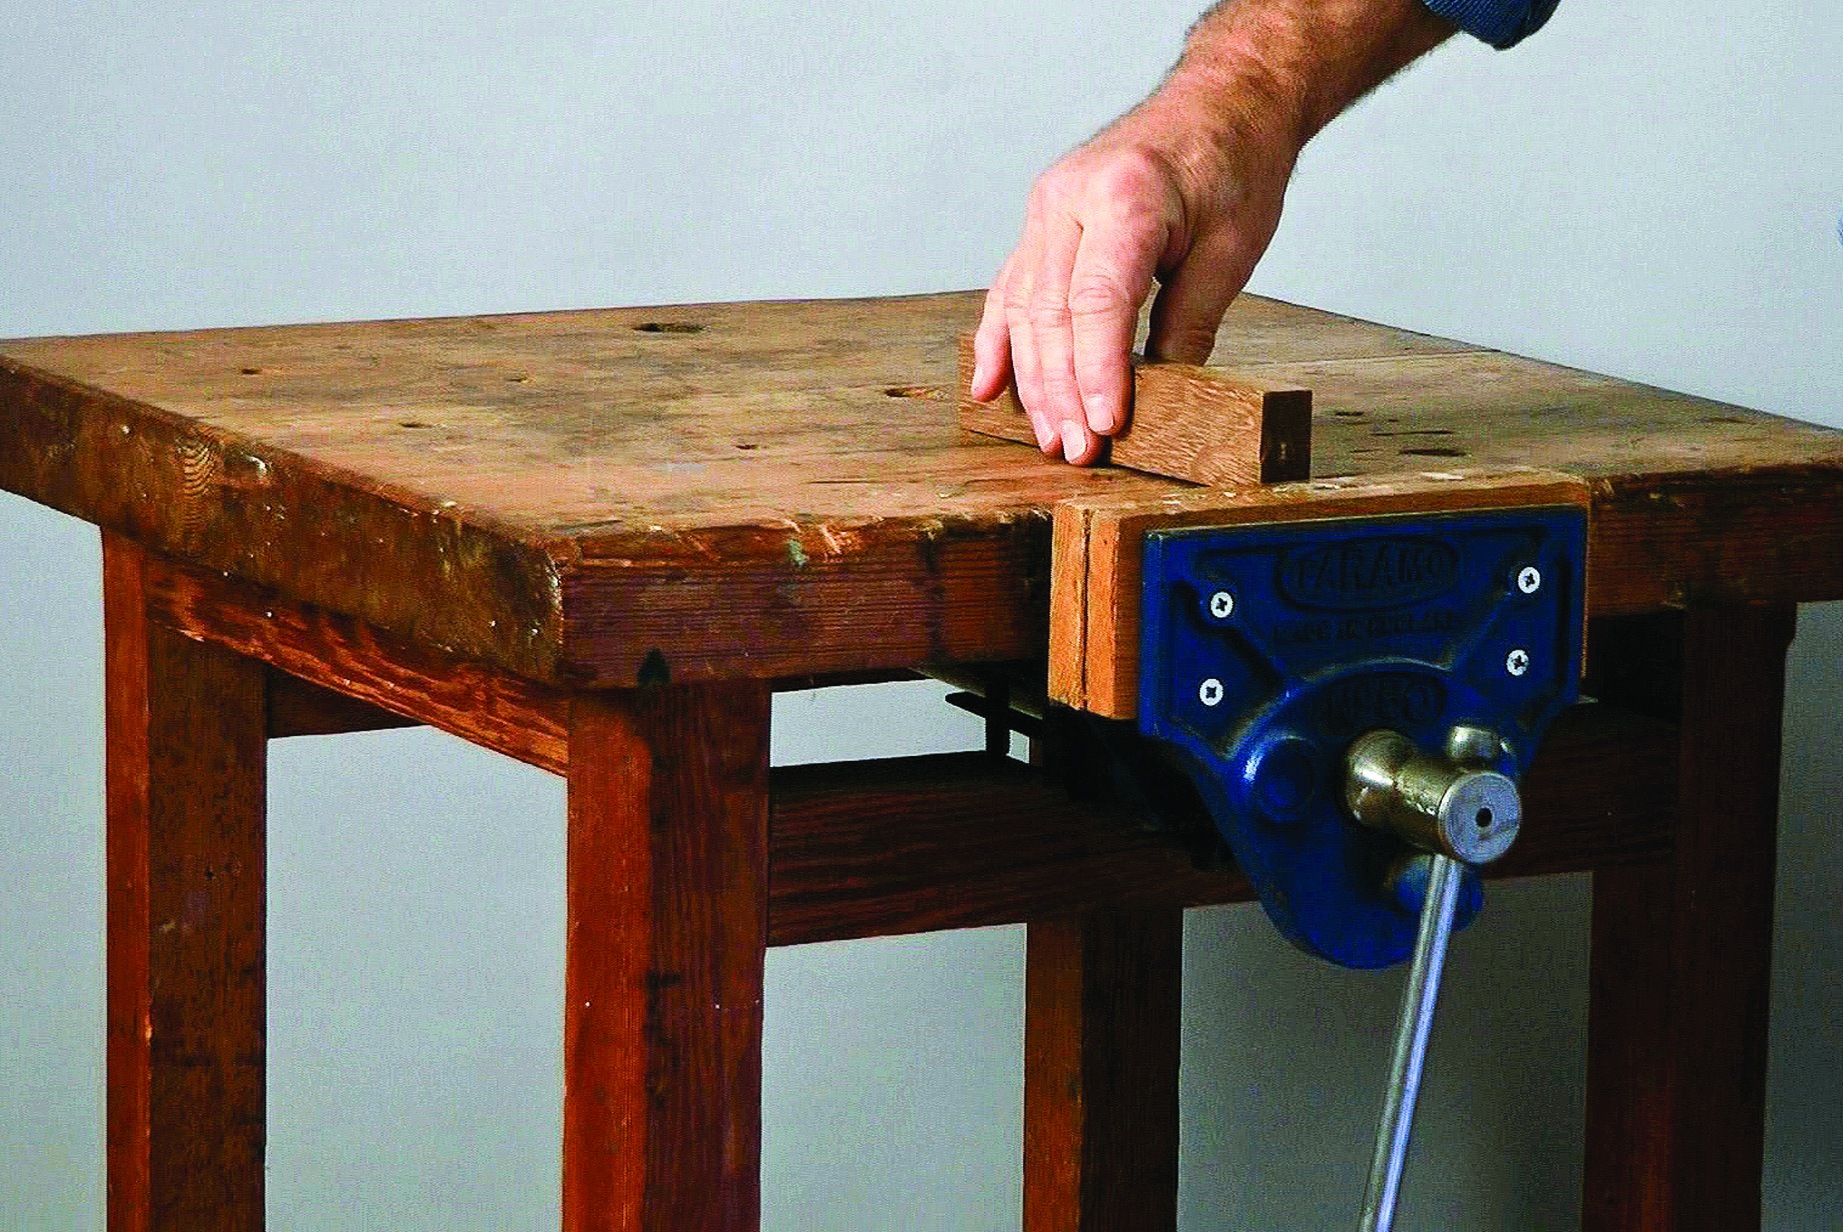
Use a notched packing block to spread the pressure across the vise so the jaws remain parallel. The notched block hangs on the rod when the vise is loosened.
If you grip a carving hard at just one end of a vise’s jaws, you can unwittingly exert enormous pressure on the vise, twisting and possibly damaging the screw threads and rods or even cracking the front jaw of a cast-iron carpenter’s vise. To prevent this sort of damage, spread the pressure across the vise so the jaws remain parallel as they close and tighten. When I need to grip something at one end of the vise, I cut a block with a notch from scrap timber the same width as the wood I want to grip. The packing block hangs by the notch on the rods at the opposite end of the vise; the notch stops the block from falling to the floor when I loosen the vise to adjust the carving.
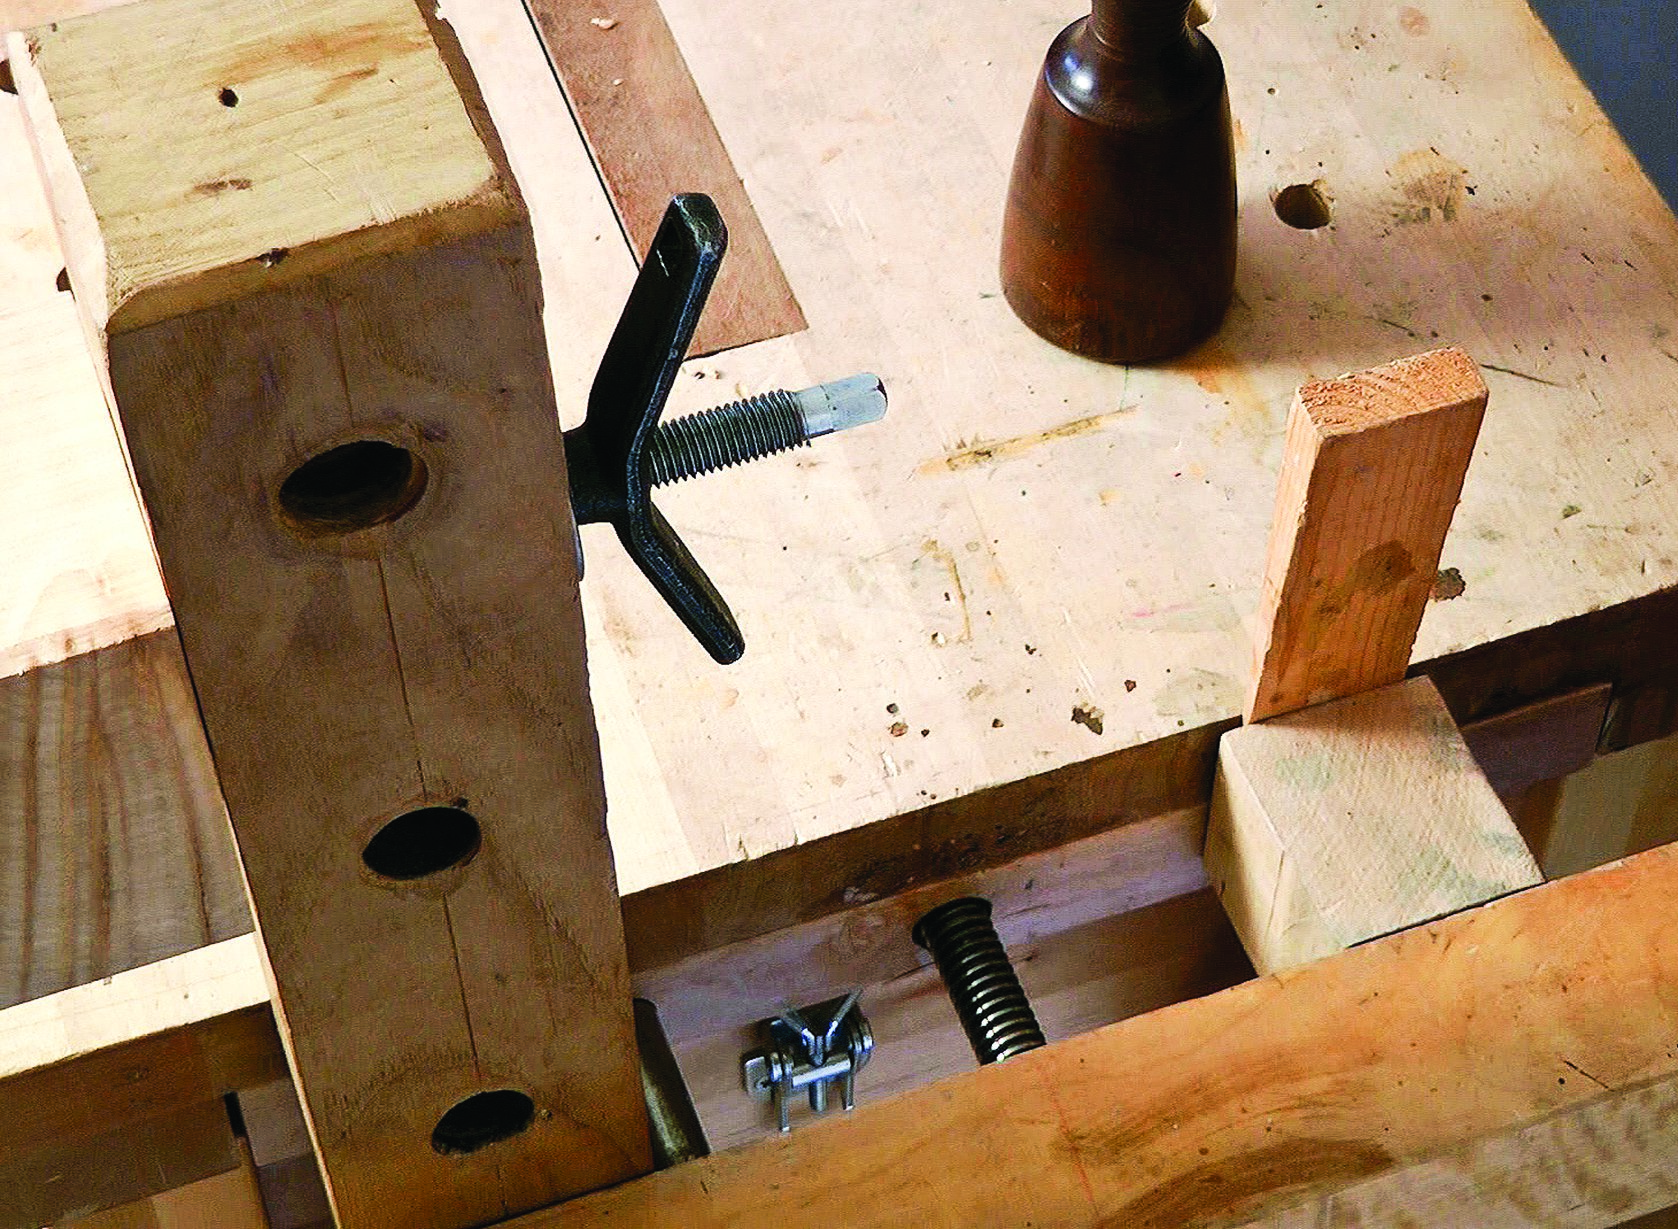
If the notched packing block is narrower than the wood held in the other end of the vise, use a wedge or shim to take up the slack.
If the notched packing block is narrower than the carving or wood held in the other end of the vise, tap a wedge in alongside the packing block to take up the slack. The wedge in the picture is a little large, but I often use what I have at hand.
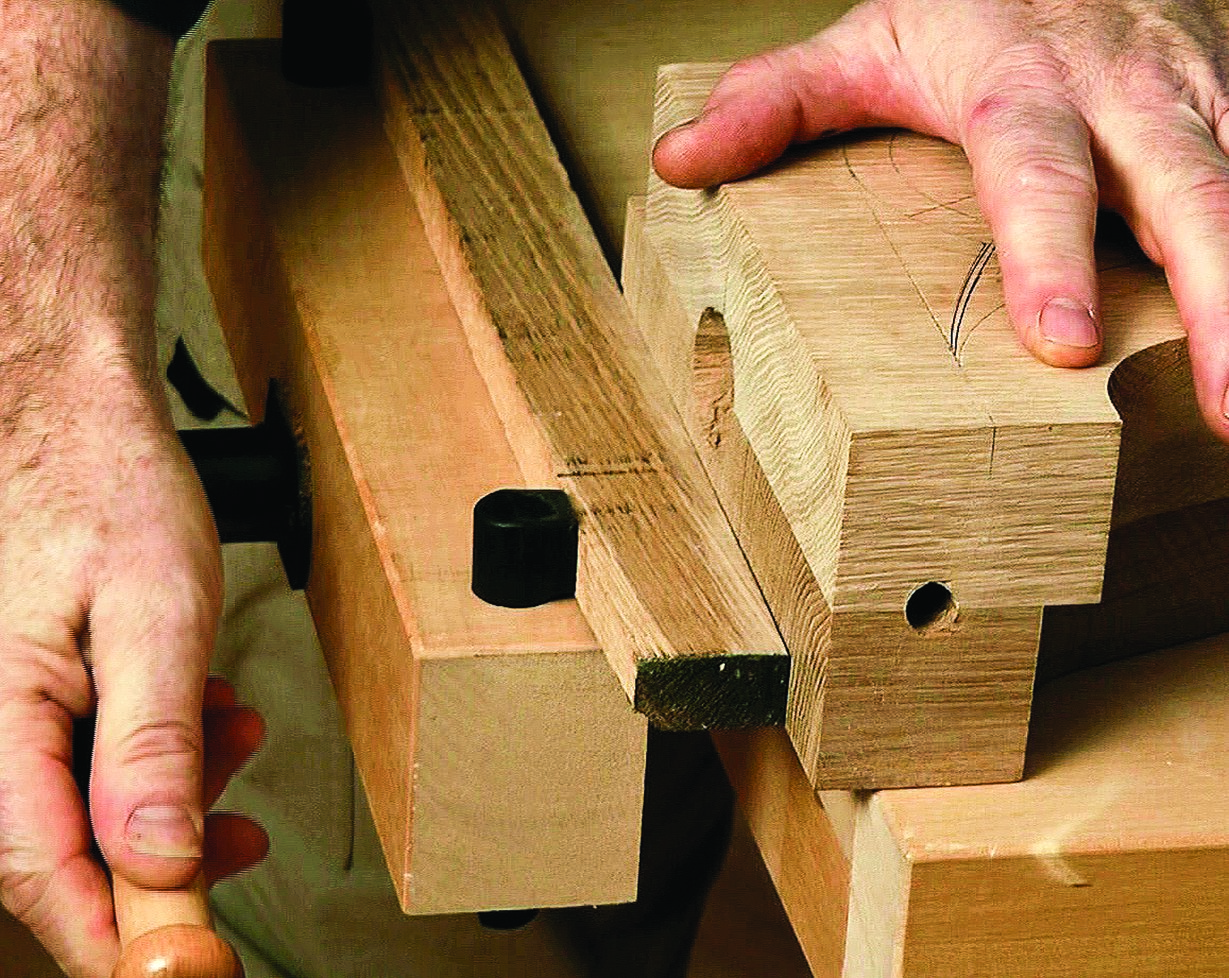
Use scrap wood to spread the pressure across the vise, keeping the jaws parallel, when using bench dogs.
Use the same logic to spread the pressure across the vise when use the bench dogs. If you need to use the bench dogs on just one side of an end vise, span across to the dog on the other side with a scrap board. Keep the vise jaws parallel as you tighten and you can safely exercise considerable gripping pressure.
Holding Relief Carvings
Insert Veritas fittings into the holes in your bench top to secure relief carvings.
You can use the holes in the bench top with fittings, such as those made by Veritas, to grip relief carvings. Brace your workpiece on one side with a Veritas brass dog or the shorter Pup©. A Veritas Wonderdog©—a dog with a threaded rod through it attached to a tommy bar (handle) at one end and a brass clamping face at the other—is used on the opposite side of the workpiece. Use the Wonderdog to clamp the workpiece against the brass dog. All of these tools are available from Lee Valley, www.LeeValley.com.
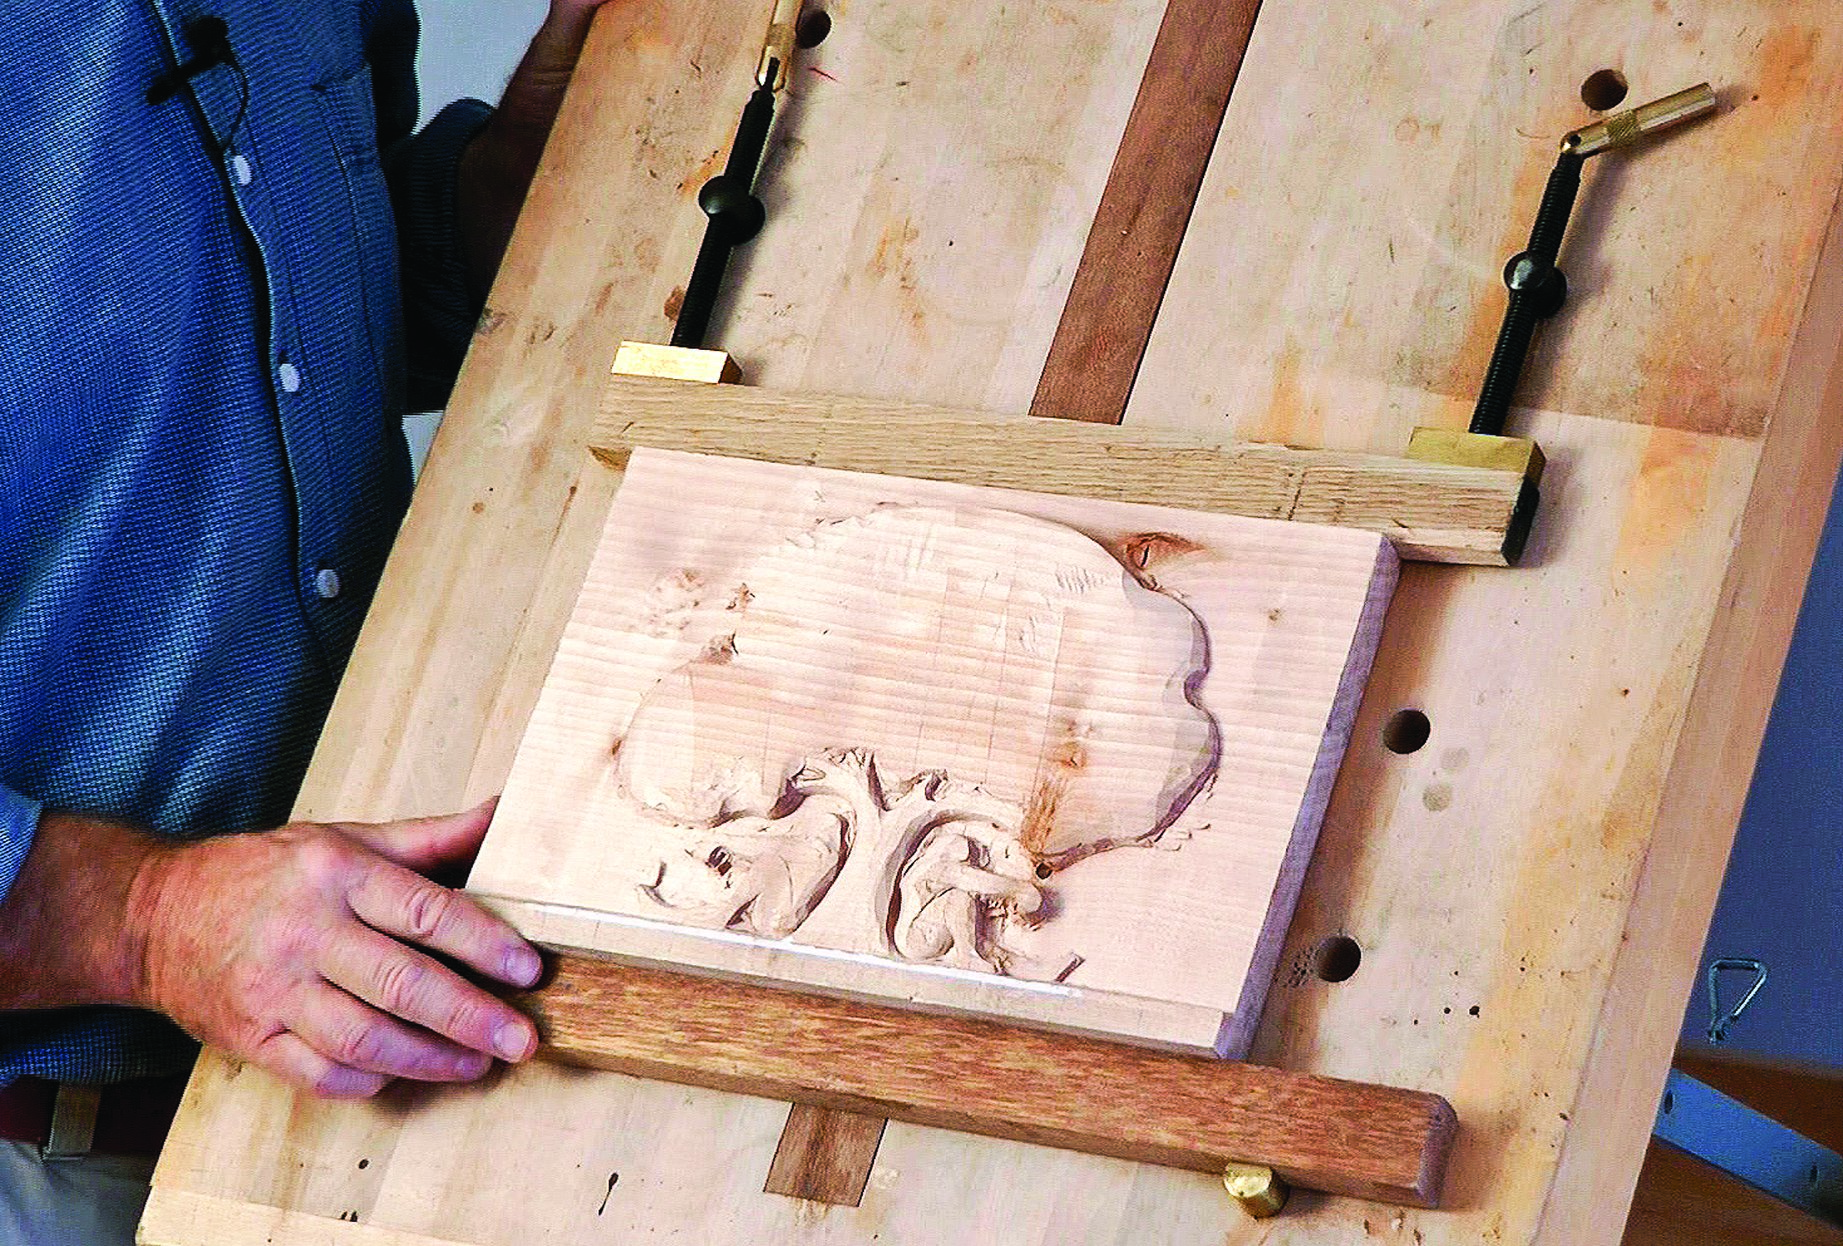
If the holes in your bench are farther apart than the width of your carving, use scrap wood to extend the grip of the fittings.
Double up and extend the grip of the Veritas fittings with strips of wood for wider relief carvings. The dog holes in this bench are evenly spaced in two parallel lines. However there is nothing stopping you from drilling appropriate holes wherever you like in your bench top to accommodate awkwardly shaped boards. Drill these holes accurately and make them perpendicular to the bench surface.
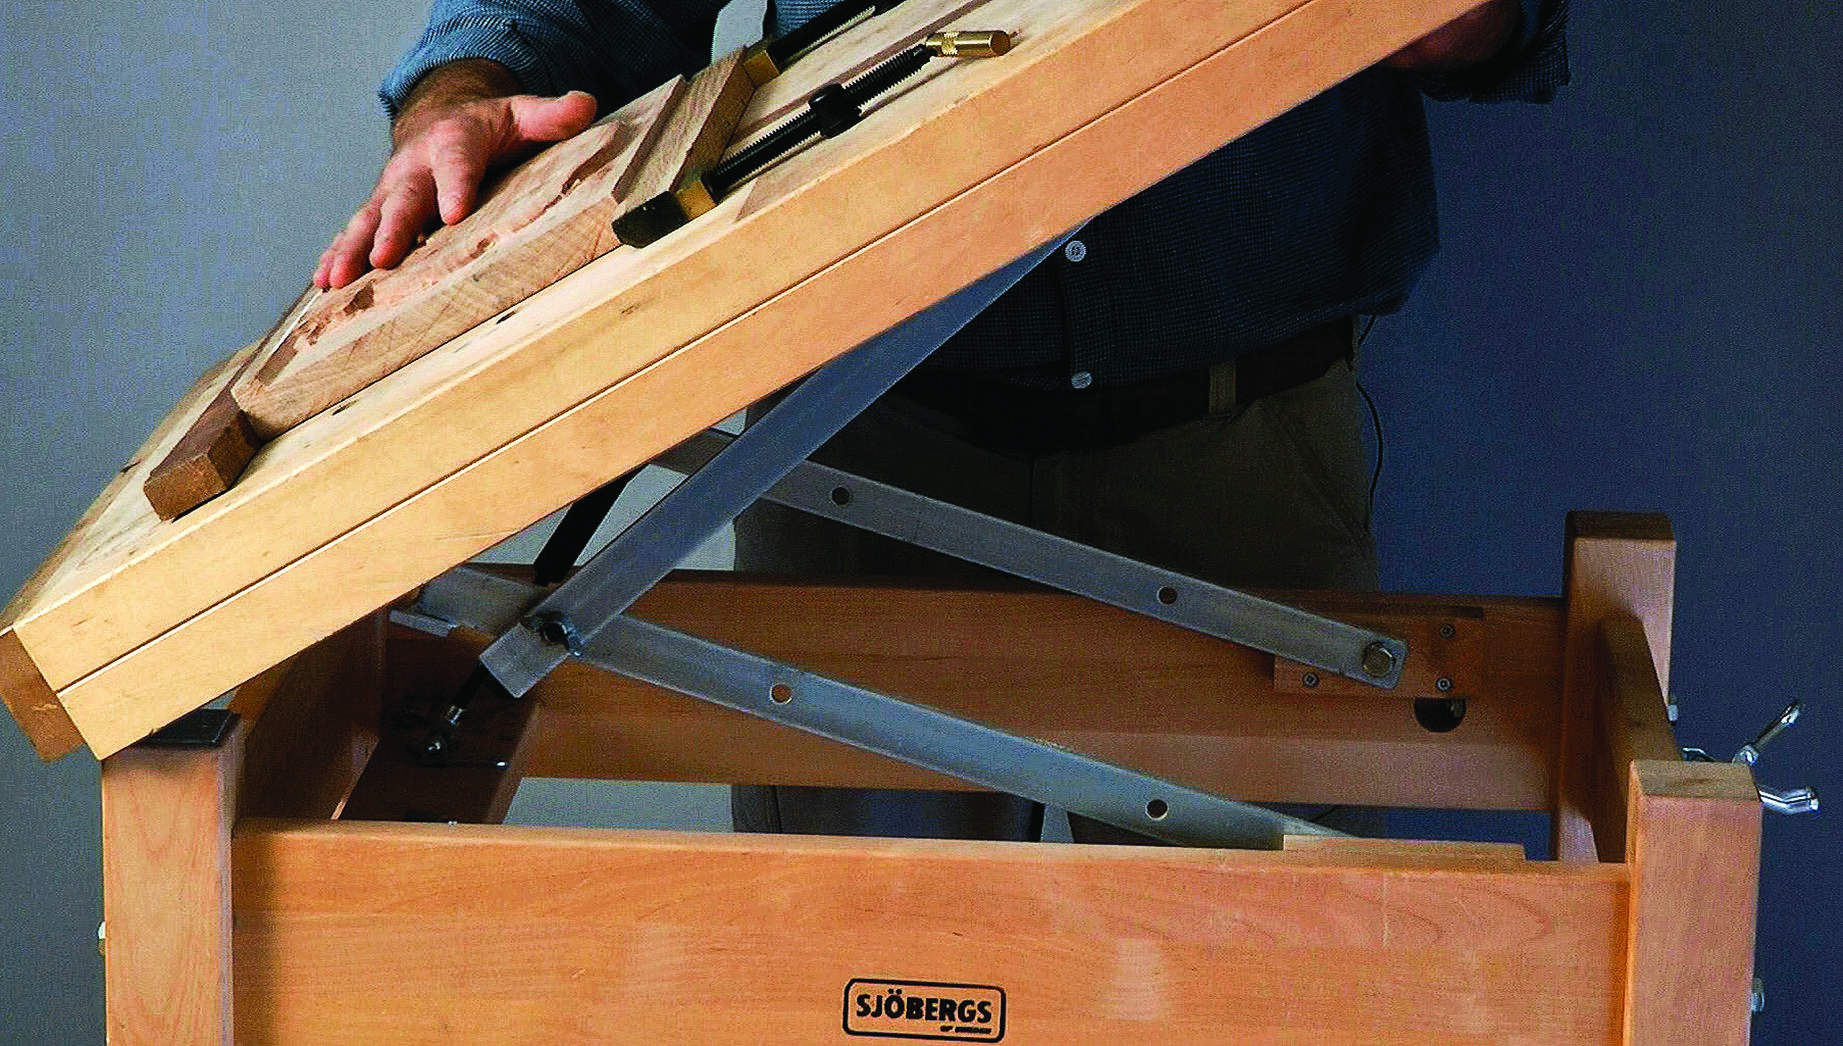
You can lock the carving at a variety of angles using the tilting system on this Sjöbergs bench.
The Sjöbergs bench features a tilting top. The top can be locked at any angle. I carve many reliefs in a more upright position, and the Veritas fittings work well to hold the blanks to the tilted bench surface. The more vertical position gives me a truer perspective and viewpoint, and the shavings just fall away. The downside is that I can’t put my tools on the bench; I move a separate table on wheels next to the bench to hold my tools.
Carving in a more vertical position gives you a truer perspective, and the shavings just fall away.
I built what is truly my favorite bench (see my book Elements of Woodcarving) using two metal arcs. Another option is wooden deckchair-like supports. Whatever you decide, build a positive-locking system to keep the top from suddenly crashing down, and use the strongest hinges you can find.
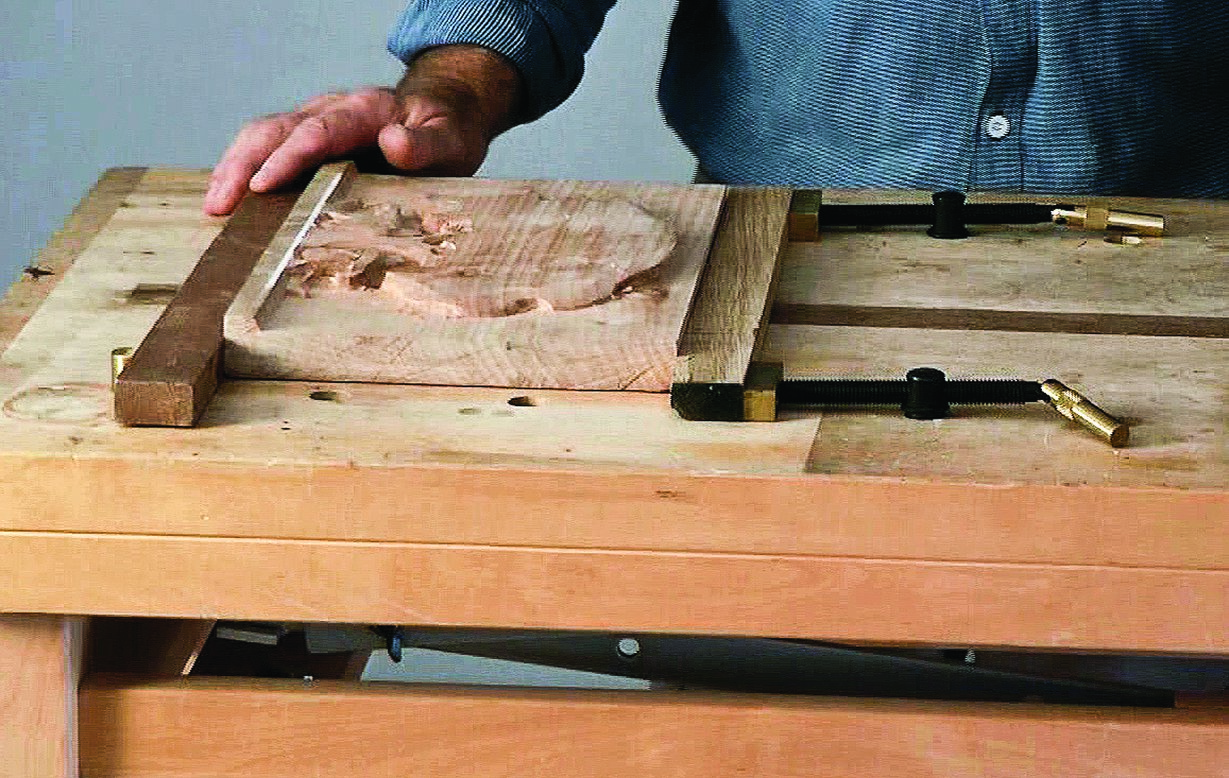
The easy-to-make fence-and-wedge system is a simple yet effective way to secure relief carvings.
Some of the most effective ways of holding your work are also among the cheapest. A simple fence-and-wedge method is particularly easy to make at home. Create an open box slightly larger than your project by screwing scrap wood to your bench top. Then, use wedges to secure the carving inside the box. I cut angles in one of the scrap wood pieces to make it easier to use the wedges. If you don’t want to screw into your bench top, keep a board of plywood or something similar for just this purpose. An effective wedge is about 10°. You can pop out the wedges and flip the work around very easily.
Holding Small, Delicate Carvings
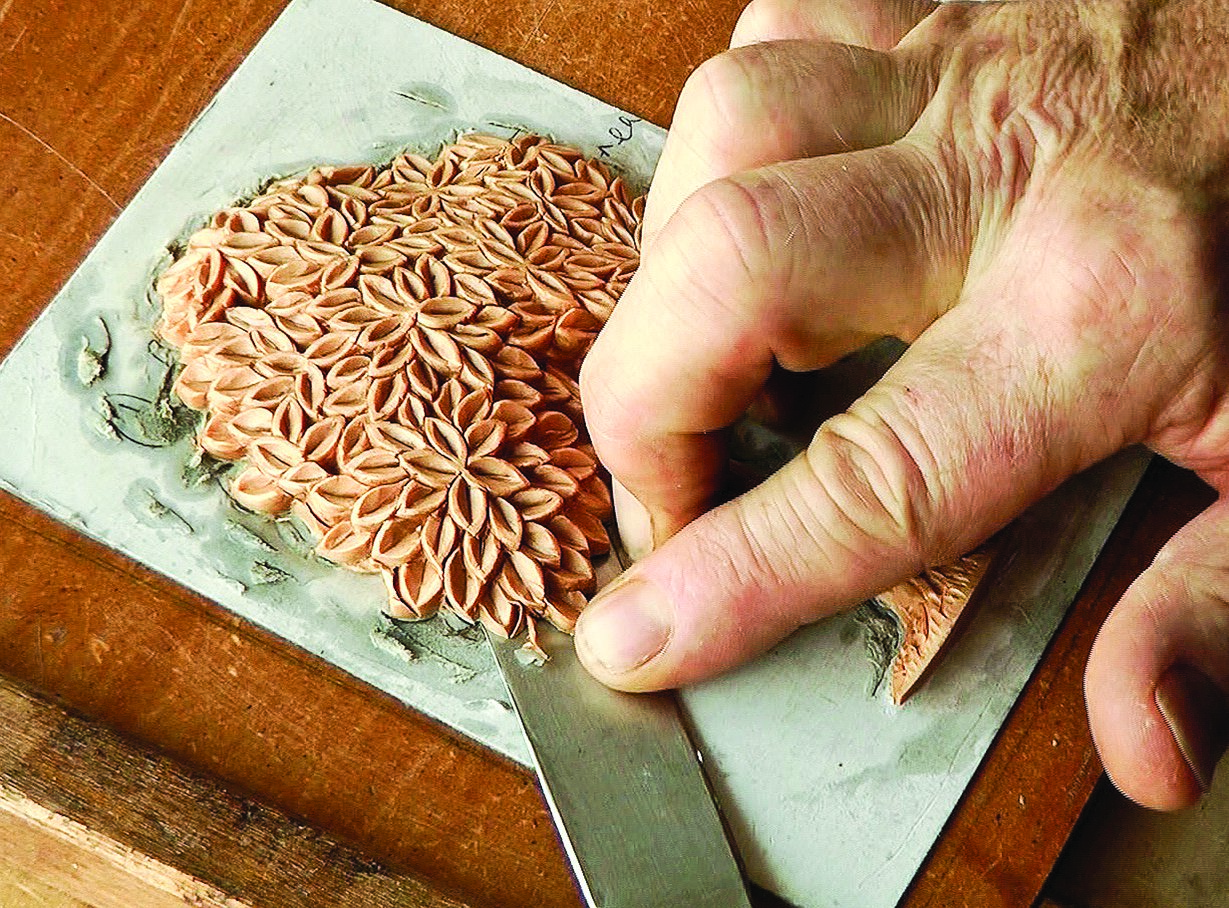
Small, delicate carvings, such as those applied to furniture (called appliqués), are difficult to hold and carve at the same time. A paper sandwich is an old and well-tried method for solving this dilemma—glue the carving to a board with a piece of paper between the carving and the board. When the carving is finished, split the paper and free the work from the board.

Step 1. Apply the glue. The back of the carving and the supporting board must be flat and fit tightly. I use manila card or brown crepe paper rather than newspaper, and dilute four to five parts wood glue with one part water. Brush the thinned glue on the board, both sides of the paper, and the back of the carving.

Step 2. Assemble the sandwich. Clamp the whole thing together and allow it to dry completely. One of the advantages of the paper sandwich is that you can carve down, across the edge, and into the backing board without splitting wood away. Thus, it’s important that the edges all around the carving are supported and firmly glued down.
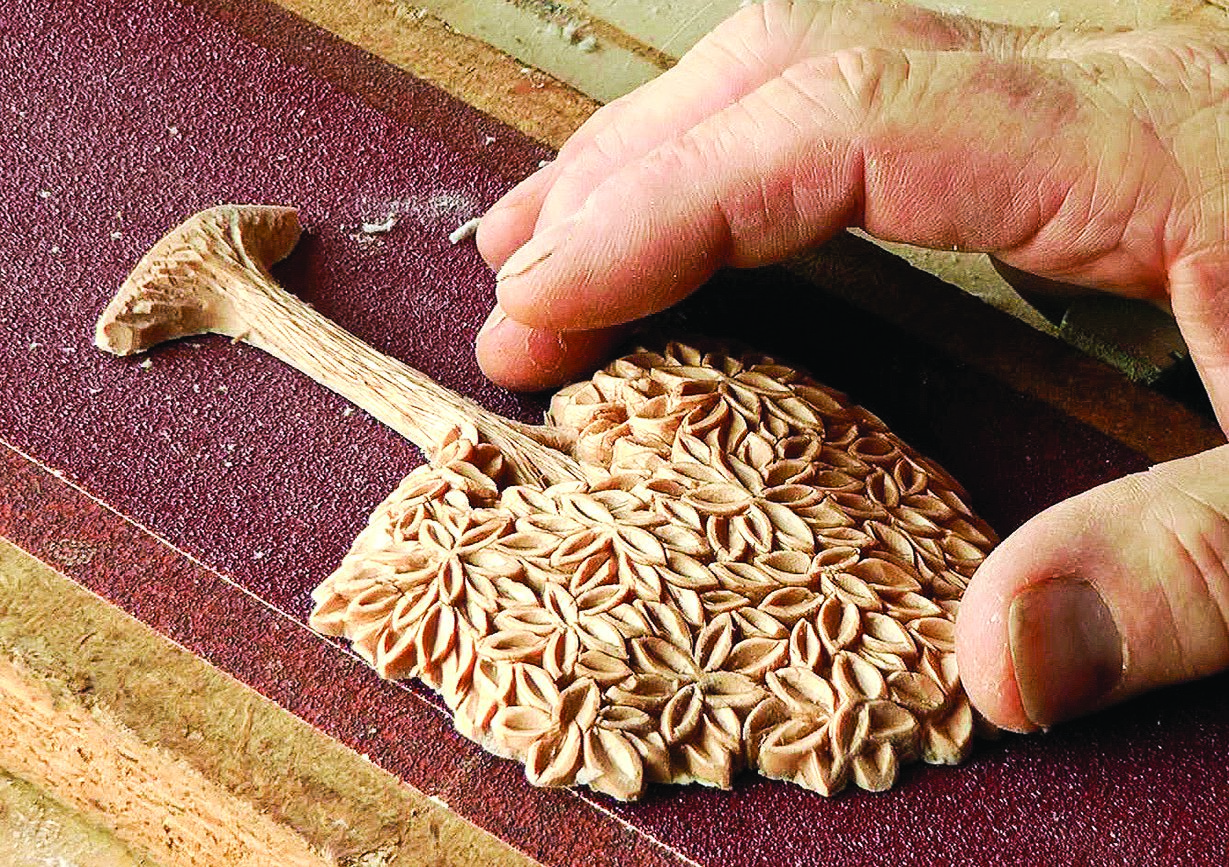
Step 3. Free the carving from the board. To release the carving you need a thin spatula or putty knife. Make sure the tool isn’t too sharp. Keep the spatula flat against the backing board—that’s the trick to releasing the carving safely from the backing board. Resist the temptation to lever the putty knife at any time. Carefully find the paper seam with the spatula edge and gently work in the corner of the blade, swinging the handle from side to side. Take care not to push the blade into the carving itself. The spatula should find its own way through the paper joint; resistance will be only moderate and quickly reduces as the paper splits. Work the tool in all around the carving and eventually the carving will simply separate from the backing board.
Step 4. Remove the remaining paper. If the remaining paper on the back of carving is really thin, you can just leave it when you attach the carving to its final resting place. You can also clean the back by rubbing it carefully on sandpaper attached to a flat surface.
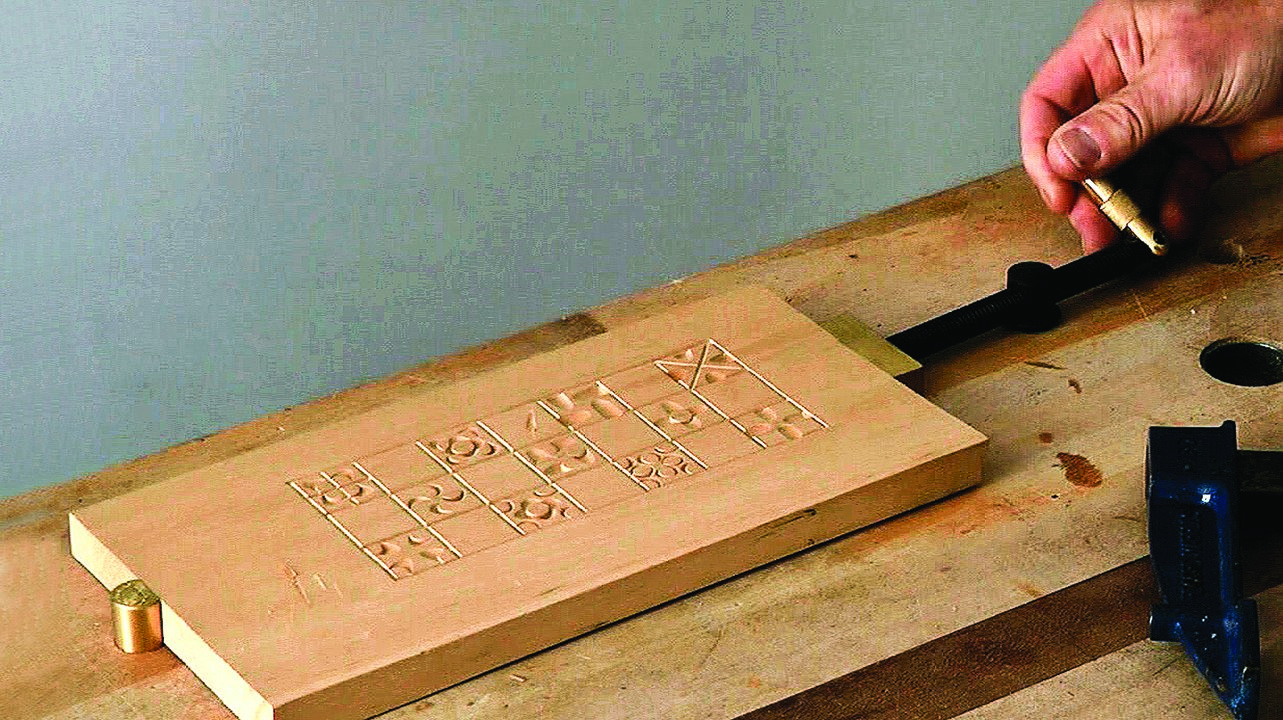
Using a Woodcarver’s Screw
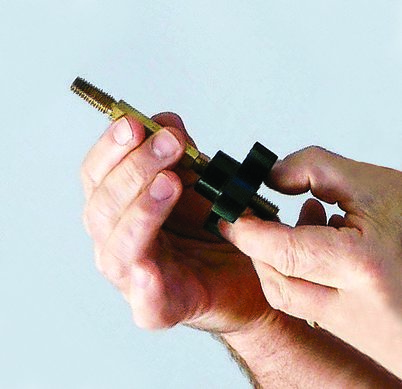
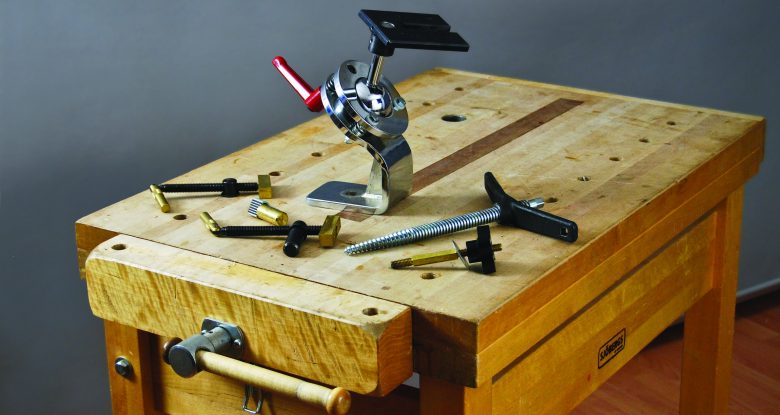
I often use a carver’s screw to hold work, both relief and in the round. The Veritas carver’s screw (pictured above) is excellent for holding small relief carvings across the grain but is less effective with the grain, like you would for most in-the-round carvings. You need to plan carefully where to fix a carver’s screw. It should go into waste wood or some thick part of the carving—certainly not where you might accidentally carve into it. A carver’s screw sometimes leaves a hole that you must repair or disguise, but the advantages are well worth the trouble, particularly if you use a screw with other adjustable devices. You can also thread the screw up through the dog holes in your bench to attach the carving right to the bench.
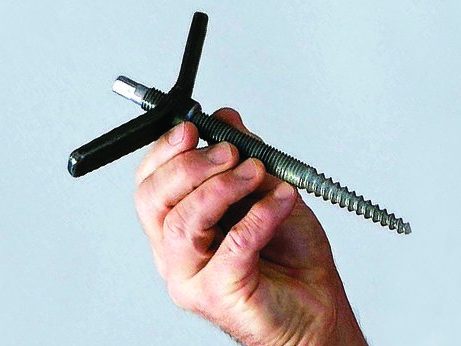
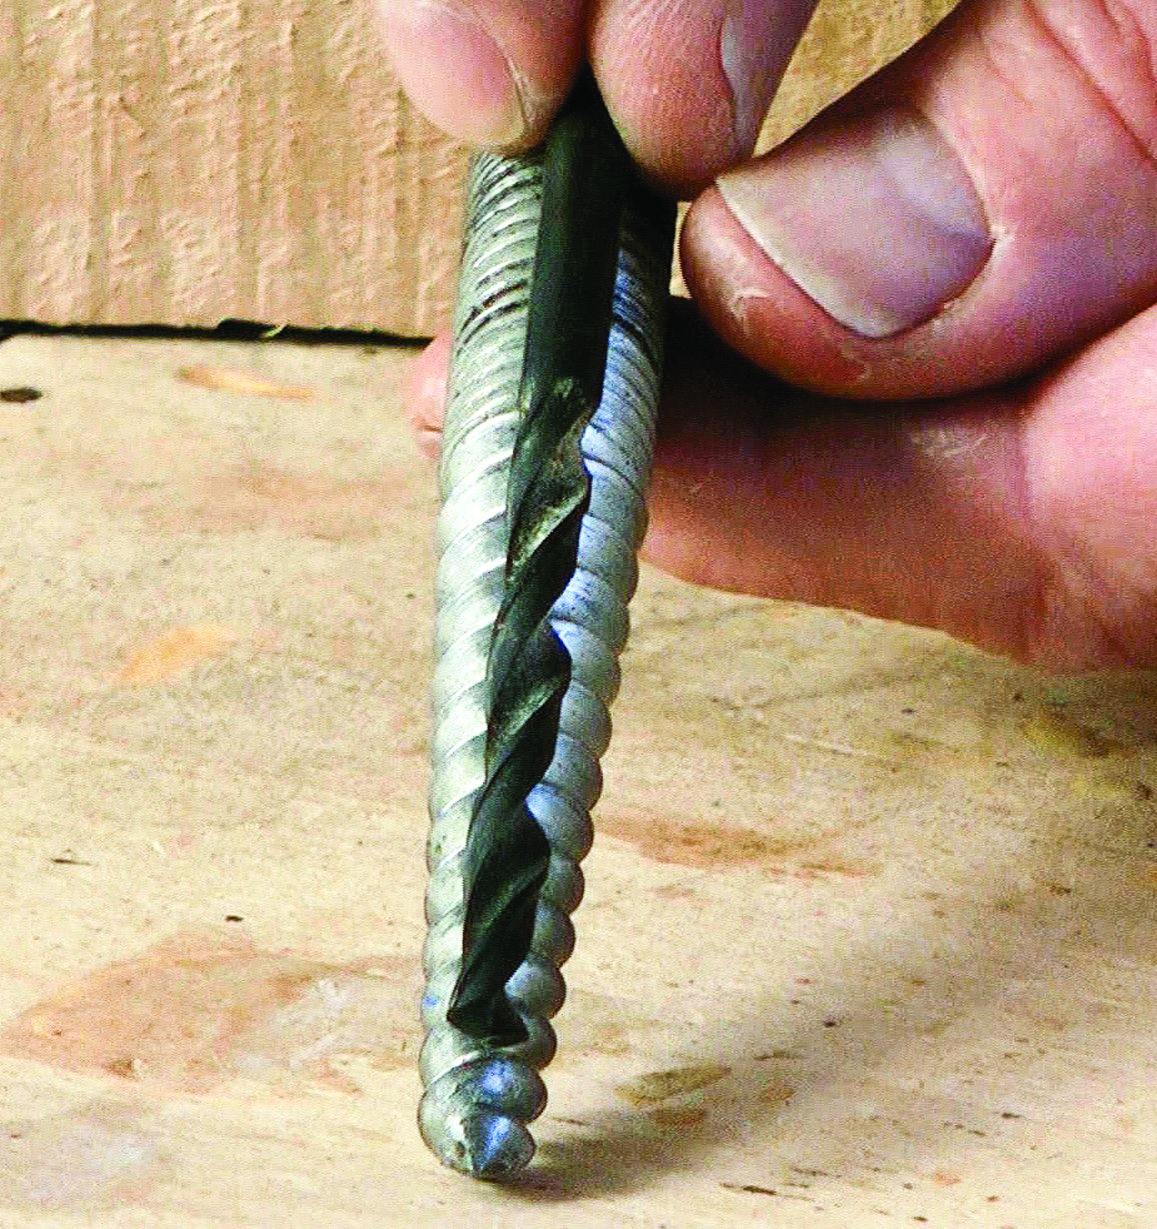
The popular Stubai carver’s screw comes in two sizes—the smaller size shown here and a larger size for heavier carvings.
The Stubai carver’s screw comes in two sizes: the most useful smaller size (top right), and a massive beast for heavier carvings. The wide open thread lets the Stubai screw grip across the grain as well as along it, so it can be used to hold both relief carvings from the back and in-the-round carvings from the bottom.
Step 1. Drill the first pilot hole. The biting end of a carver’s screw is lightly tapered (about 5°) and you must drill a pilot hole before inserting the screw. I estimate the necessary drill bit diameter by eye. Start with a bit the same diameter as the core of the woodcarver’s screw at its tip (i.e., the core diameter of the screw beneath its thread at the point). Drill a pilot hole in the blank that is square to the surface and a depth sufficient to take the screw.

Step 2. Drill the second pilot hole. Pick a second drill bit that fits the core of the screw taper about a third of the way back from its tip. Use this bit to widen the pilot hole so that, together, the two overlapping holes help represent the taper. You may need a third drill bit to create an appropriate hole for the big Stubai screw.
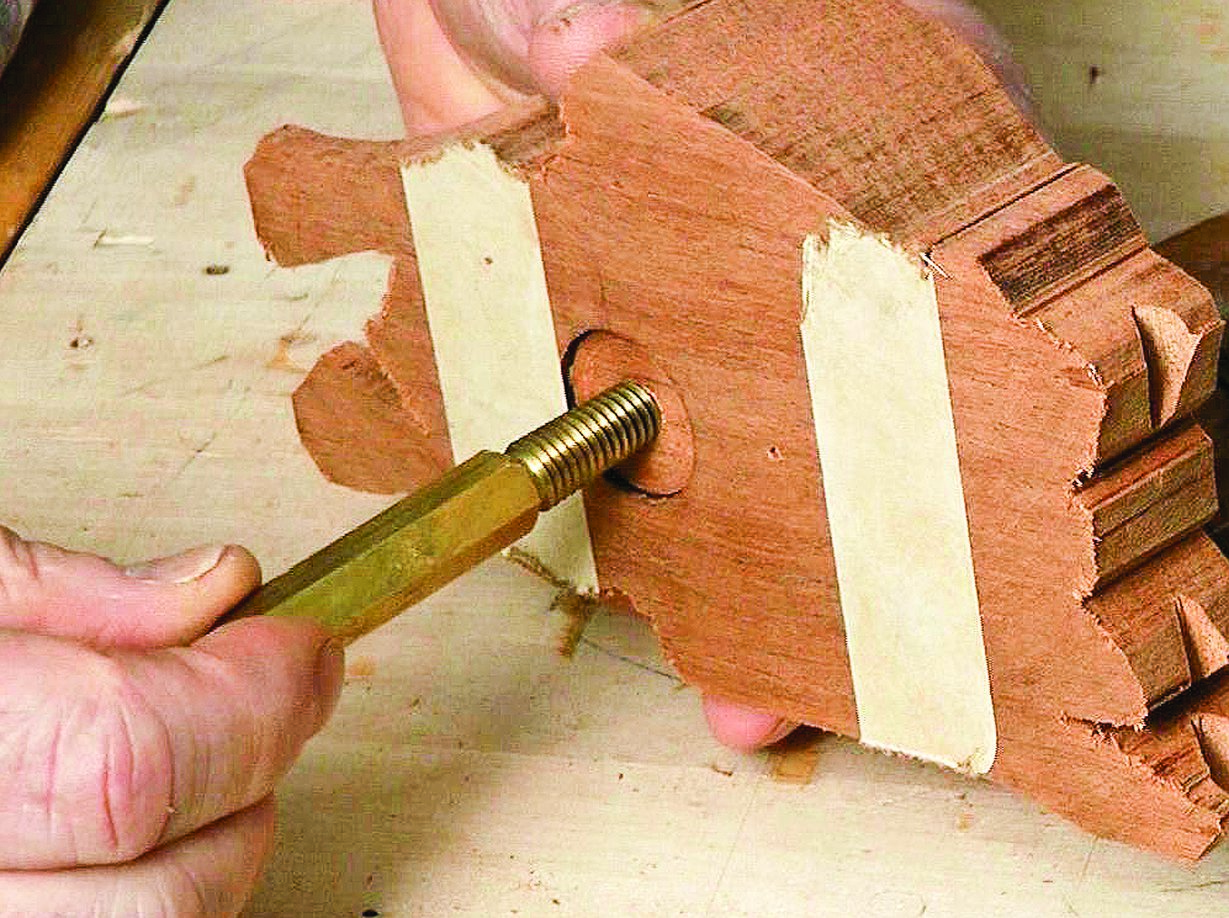
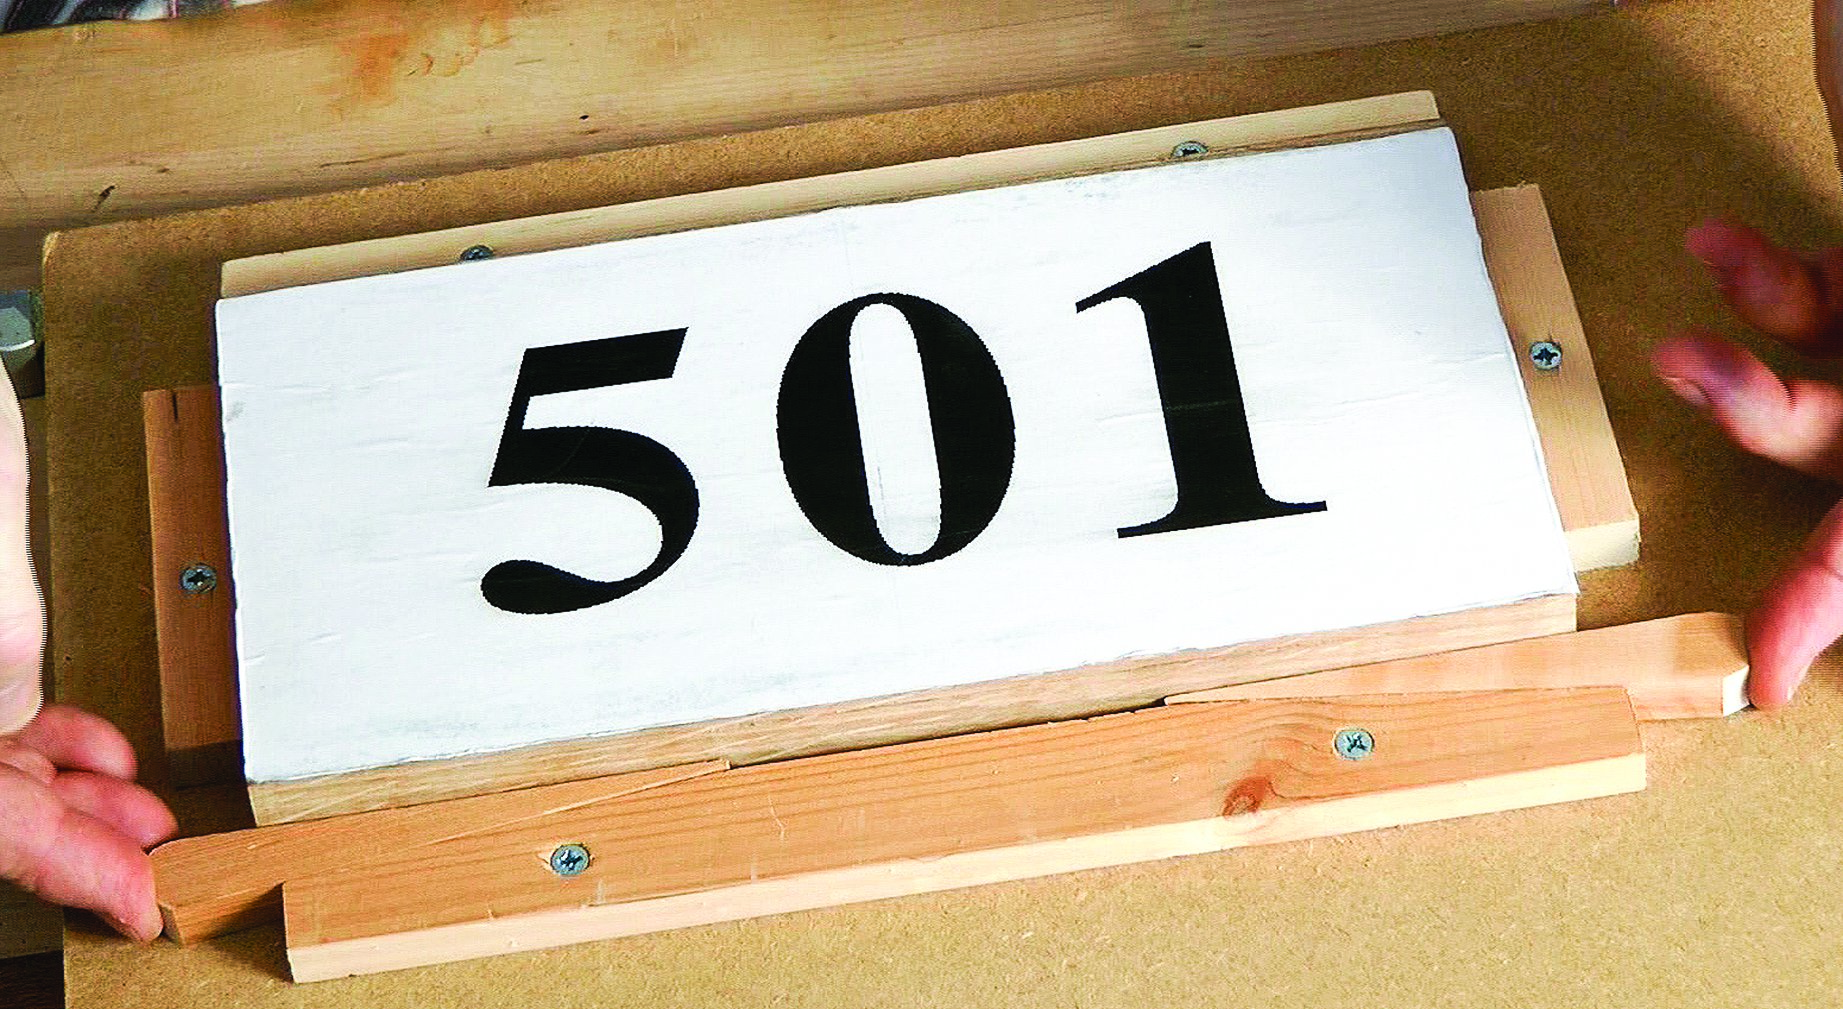
Step 3. Position the carver’s screw. Choose a waste section or a thick part of the blank that will not be carved. If you can, position the carver’s screw underneath a hanging or name plate, which disguises the hole. For the neatest effect, recess the plate before drilling and inserting the screw.

Step 4. Attach the carver’s screw to the blank. The Stubai carver’s screw has a square peg on the outer end that matches a square hole in the tightening fly, so the fly itself becomes a wrench for winding the screw into a pre-drilled hole. Use a wrench to tighten the Veritas screw into the hole. Don’t wind the screw in fully; they can work loose while you carve, so leave slack for re-tightening.
Adjustable Carving Stands
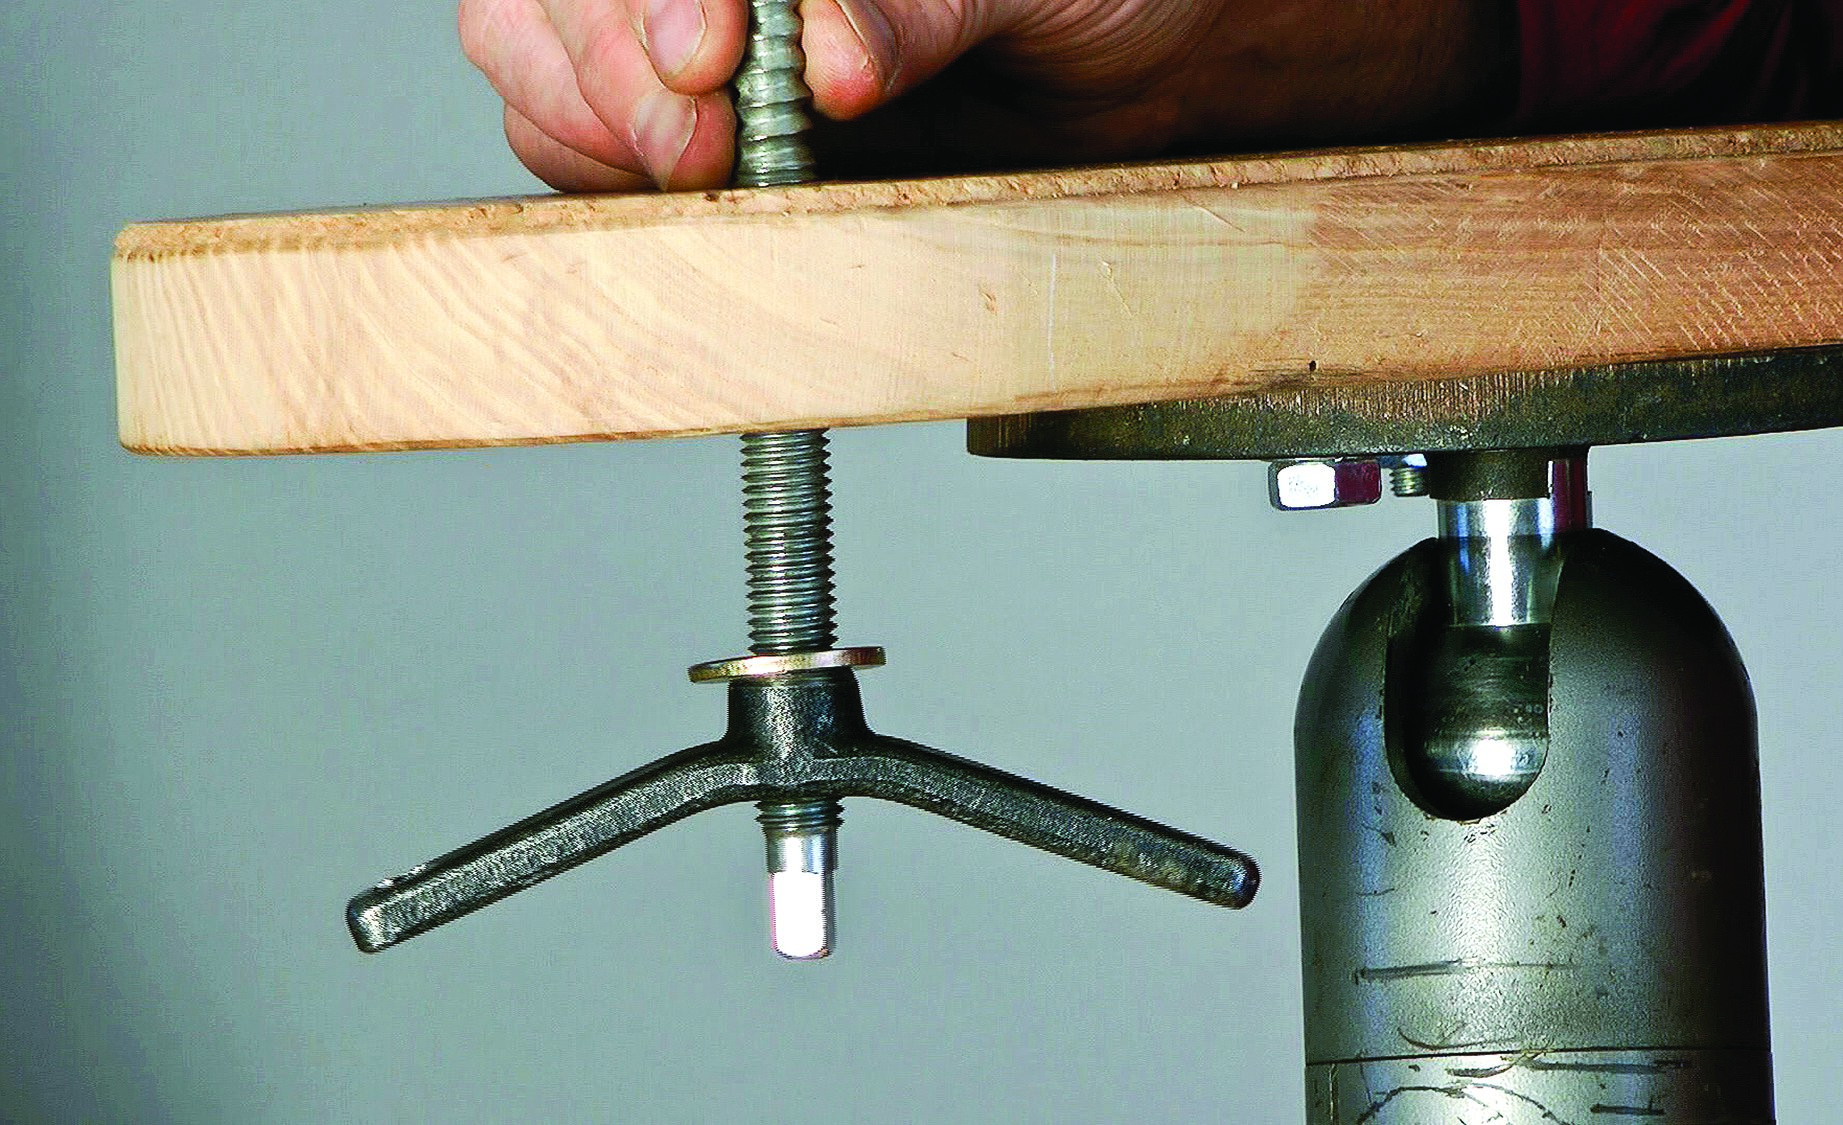
Carver’s screws are most useful when combined with an adjustable carving stand. The carving can rotate on the screw and swivel on the device.
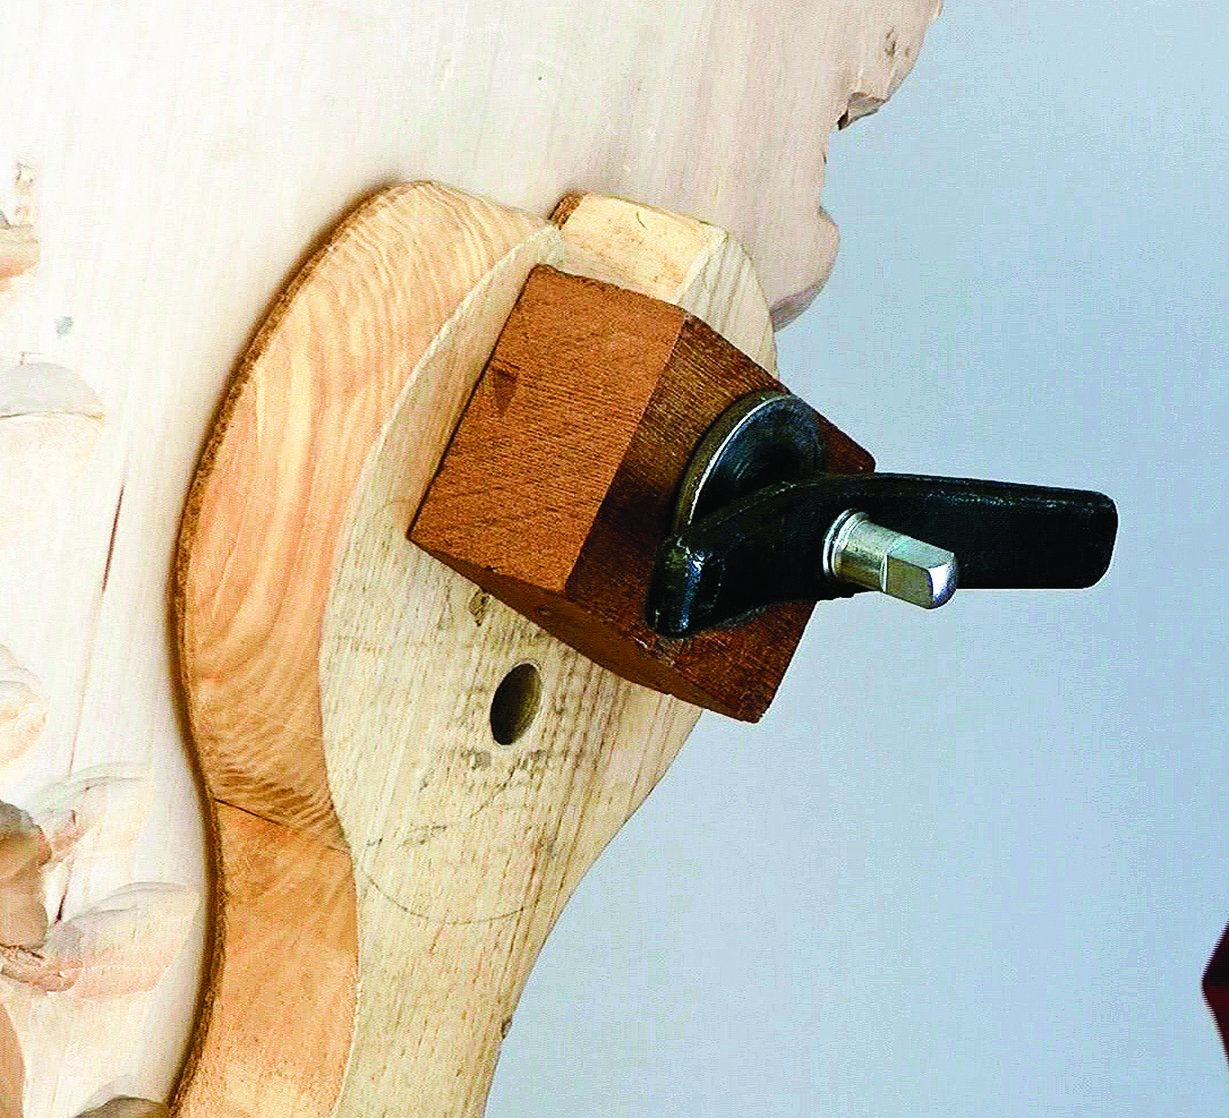
Carver’s screws are most useful when combined with an adjustable carving stand. The carving can rotate on the screw and swivel on the device so you can easily access any part of the work. Several adjustable devices are on the market. Those that work by locking a ball (shown above) are the most versatile. The best carving stands can be quite expensive, but I look at it as a lifetime’s investment in my craft. I rarely attach my carvings directly to the metal plate that comes with a carving stand. Rather, I add wooden plates of various shapes and sizes, depending on how and what I need to hold. I put holes through these wooden plates for the carver’s screws. Place the holes far enough away from the body of the adjustable device so that you have room to turn the fly or handle of the carver’s screw.
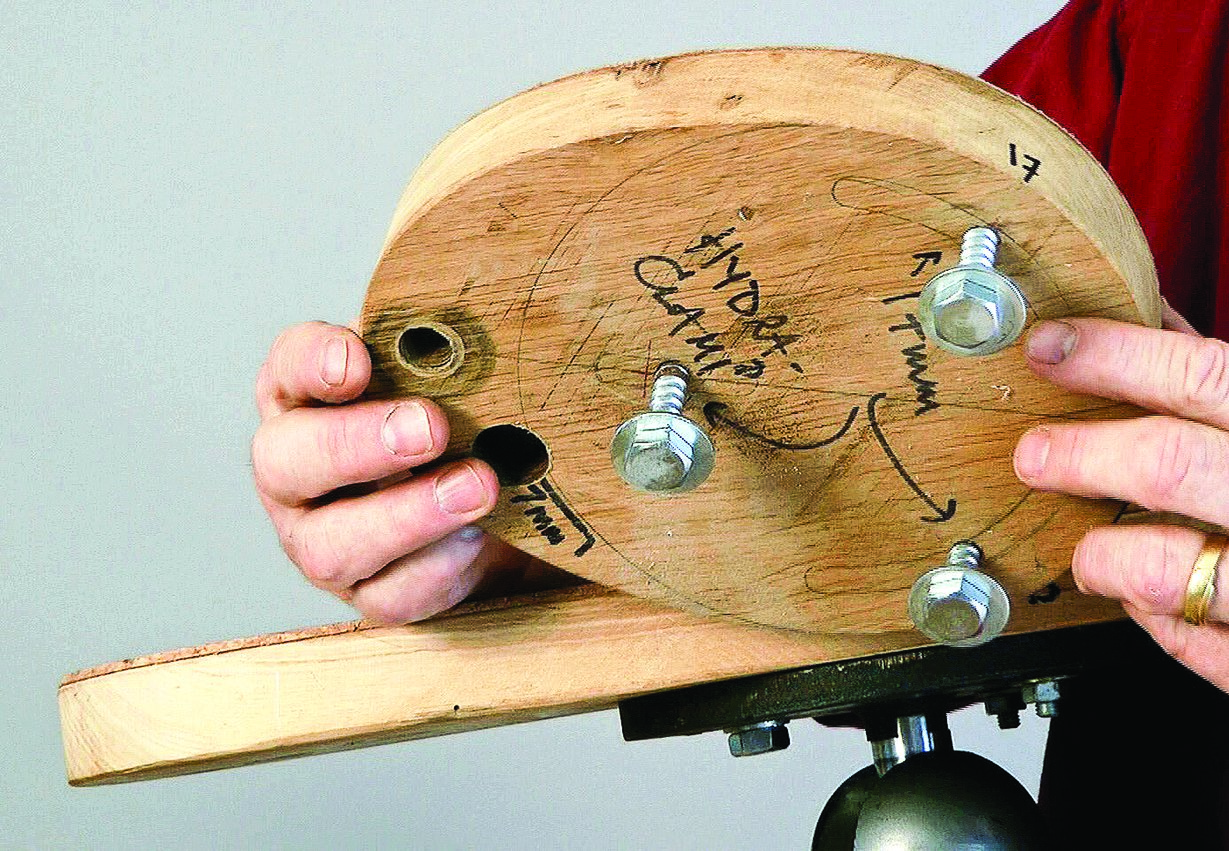
Use lag bolts to attach the wooden plate to the carving stand’s metal plate.
I use a wooden spacer or washer to use up the excess carver’s screw length at the back of the wooden plate. Having this excess is quite useful sometimes; you can switch the spacer to the front (between the carving and the plate) and lift the carving away from the plate to get at the carving’s free edges.
I use lag bolts to attach the wooden plate to the carving stand’s metal plate. Make a note of which stand you use the plate with and the size of the wrench needed to loosen the bolts. If you use through bolts, countersink the bolt heads into the working side of the wooden plate. Cover and increase the grip of the plate with a piece of cork or leather.
Use a wooden spacer to use up the excess carver’s screw length.
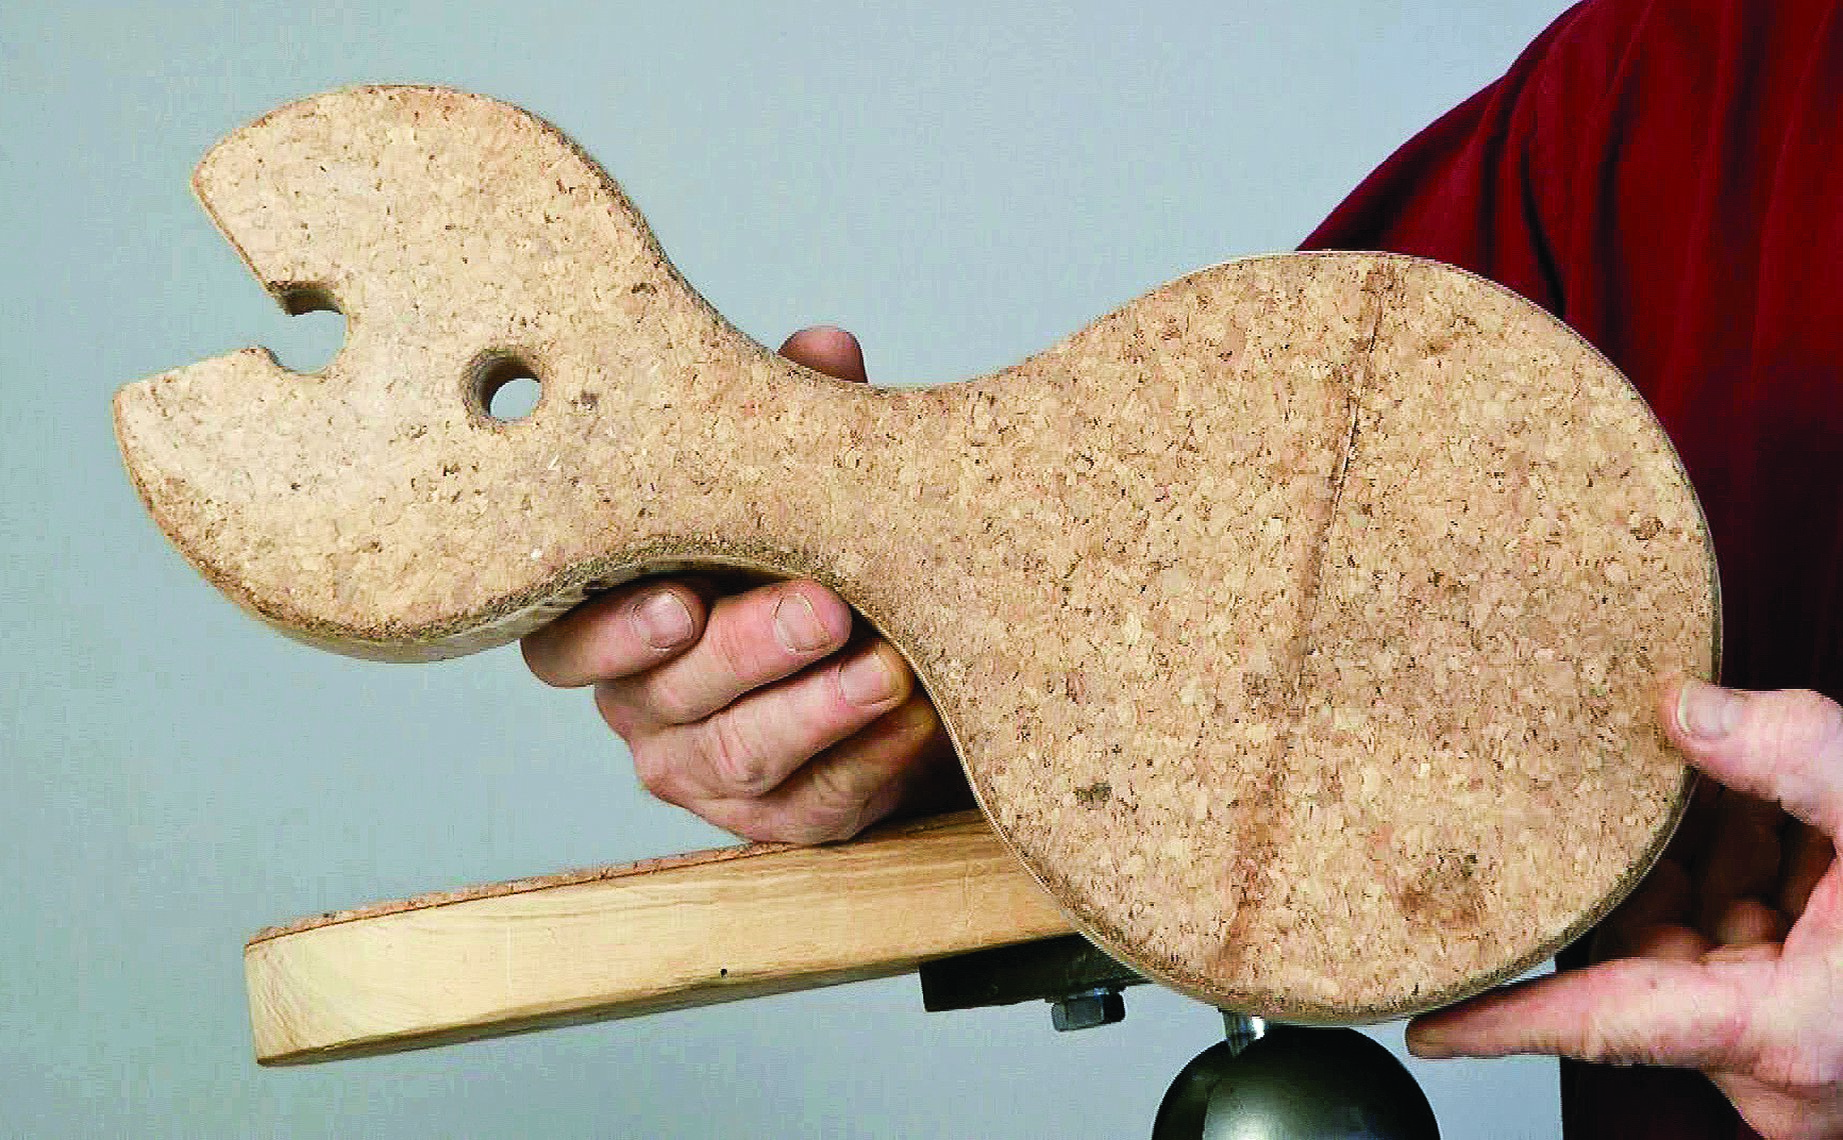
This particular shape of wooden plate has proved really useful. Cover the top with cork to increase the grip.
Create different shapes of wooden plates to accommodate different carvings. I use 1″ (25mm) hardwood topped with cork, although thick plywood would also work. A lopsided figure eight (shown above) is a useful shape. The larger round section of the plate bolts to the metal plate of the carving stand. The smaller, satellite section has holes for a carver’s screw to attach the carving. I can get at the very bottom edge of a carving through the notch in the end hole.
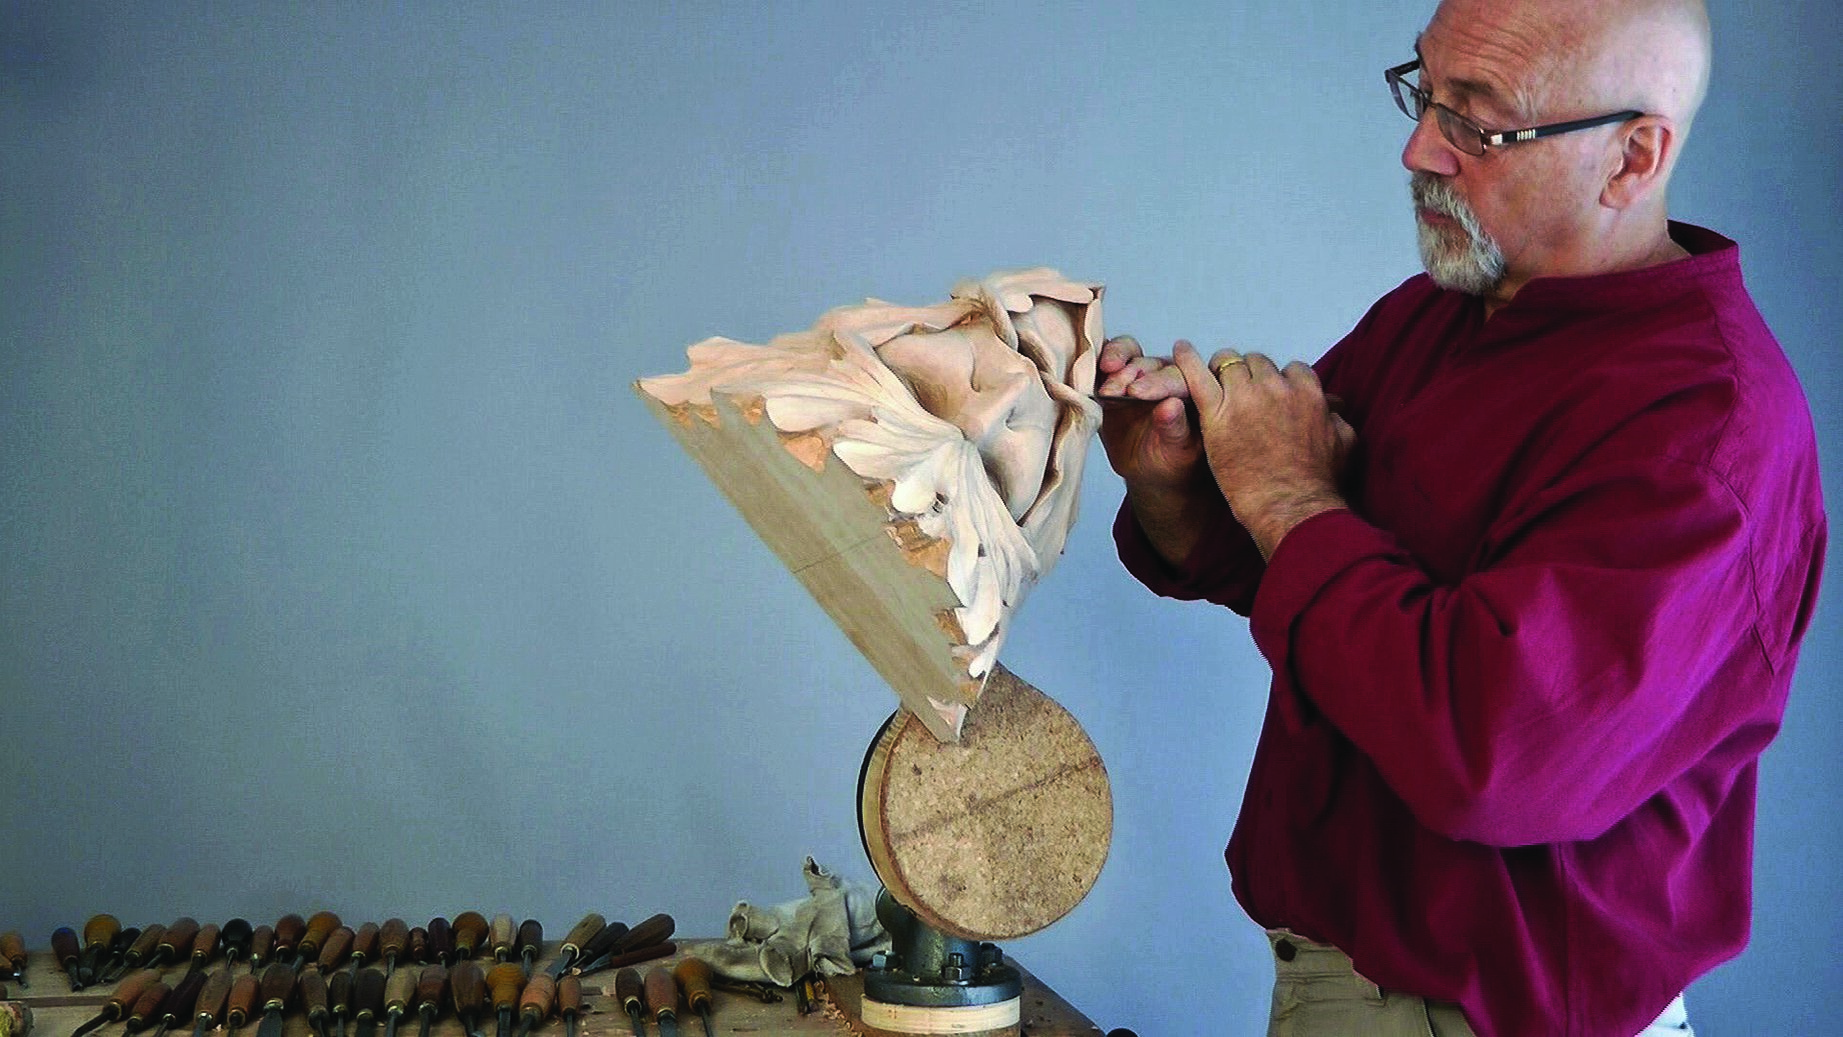
Use the right combination of holding devices to maximize your carving efficiency.
Use your imagination when creating wooden plates for the carving stand. You can create any shape or size to accommodate specific carvings. With a little creativity, you can easily adapt to different circumstances. Look at your holding device; think about where you’d like your carving to be in space and how you’d like to be able to adjust it, and then make the plate—in effect, a wooden bridge between the two.
Get carving. With a sturdy bench at the right height, a strong adjustable carving stand, and a trusty woodcarver’s screw, you can stand easily for hours and carve substantial bits of wood.
Use your imagination to create wooden plates customized to your carving needs.
About the Author
 Chris Pye is a master woodcarver, instructor and author of several books, including Woodcarving Projects and Techniques, produced by Fox Chapel Publishing. Chris runs the video-based teaching website, WoodcarvingWorkshops.tv, with instruction on tools, sharpening, lettering, relief carving, in-the-round projects and much more; and from where he writes a free monthly blog about woodcarving. You can see a gallery of his commissioned work at www.chrispye-woodcarving.com.
 This article was first published in Woodcarving Illustrated Spring 2012 (Issue 58).
Discuss this material on the Woodcarving Illustrated forums.