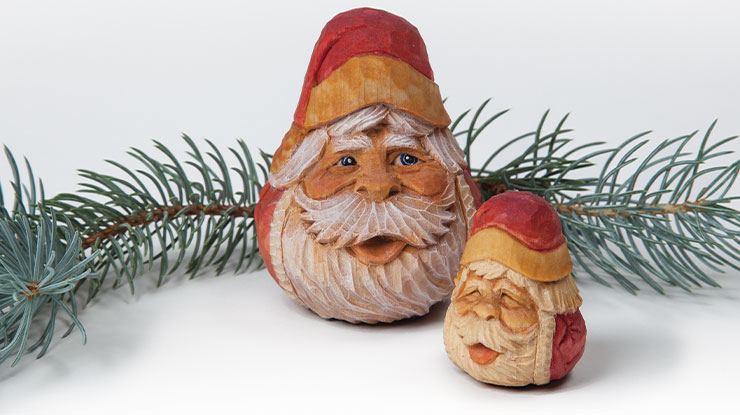
Pear-Shaped Santa
Turned blank allows you to carve without worrying about symmetry and proportions
By Roger Beane
Pear-shaped wood turnings allow you to skip the roughing out phase and jump right to carving the details. Plus, the shape offers infinite design possibilities.
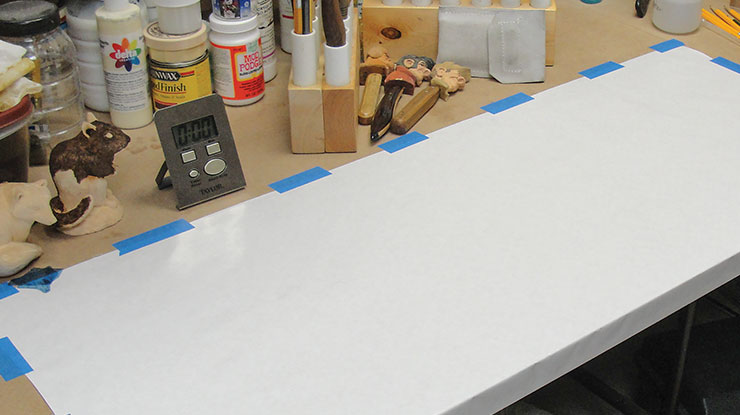
I bought two of these turnings at a carving show and carved them both while there. Before the show ended, I’d bought all of the pears the vendor had at his table, and then ordered more to be delivered to me later. The shape is so versatile that you’ll never run out of uses for it. Before you begin carving, check out how to have an easy cleanup with just freezer paper and a few pieces of tape.
Getting Started
Trace or sketch the pattern onto the pear. Carve along the pencil lines with a 1/4″ (6mm) V-tool and make stop cuts in the V-grooves with a knife.
Prepping and Carving
I adapt my typical face-carving techniques to the shape of this blank. Remember that the highest point of the face is the tip of the nose, the deepest part of the face is the eye sockets, and the narrowest part of the face is at the temples.
I add the wrinkles using V-tools and use 5/32″ (4mm) and 3/16″ (5mm) #11 gouges to add the hair and beard texture. When texturing the hair, make sure there are no straight lines. Carve a series of lazy S’s and C’s. Vary the depth of your cuts and do not leave any flat spaces.
Painting and Finishing
Wash your carving with Simple Green and water. Remove the excess water with a soft cloth or paper towels and immediately start painting (while the carving is still wet). Dilute the acrylic paint with water to create a wash. Refer to the Painting Notes for the colors I used.
While the paint dries, squeeze a 2″ (5.1cm)-long strip of burnt sienna oil paint into a pint jar full of mineral spirits to dissolve the paint. Then, add the pint of dissolved paint to a quart of boiled linseed oil. Mix thoroughly and after the paint is dry, dip your carving into the mixture and remove. Let it sit for five minutes, and then wipe off the excess with a paper towel. Dispose of the oil-soaked paper towels carefully; they can spontaneously combust. Allow the carving to dry thoroughly. Then, add the accent colors.
|
MATERIALS • Basswood turning, pear-shaped: 2 5/8″ (6.7cm) dia. by 3 1/2″ (8.9cm) tall • Simple Green® • Acrylic paints: alizarin crimson, black, burnt sienna, ivory white, medium flesh, tompte red • Finish: boiled linseed oil • Oil paint: burnt sienna • Mineral spirits • Paper towels |
TOOLS • Carving knife • #11 gouges: 5/32″ (4mm), 3/16″ (5mm), 9/32″ (7mm) • V-tools: 1/8″ (3mm), 1/4″ (6mm), 3/8″ (10mm) • Paintbrushes: assorted |
| About the Author |
|
Roger Beane is a retired middle school teacher who started carving in the early 1980s. He carves a variety of caricatures and Christmas items and teaches carving classes. He lives in Oskaloosa, Iowa, with his wife, Andrea (who helped him write this article). |

Get the Latest Issue
For more articles like this, subscribe to Woodcarving Illustrated magazine.
Plus! Get digital mini magazines in your e-mail between printed issues.