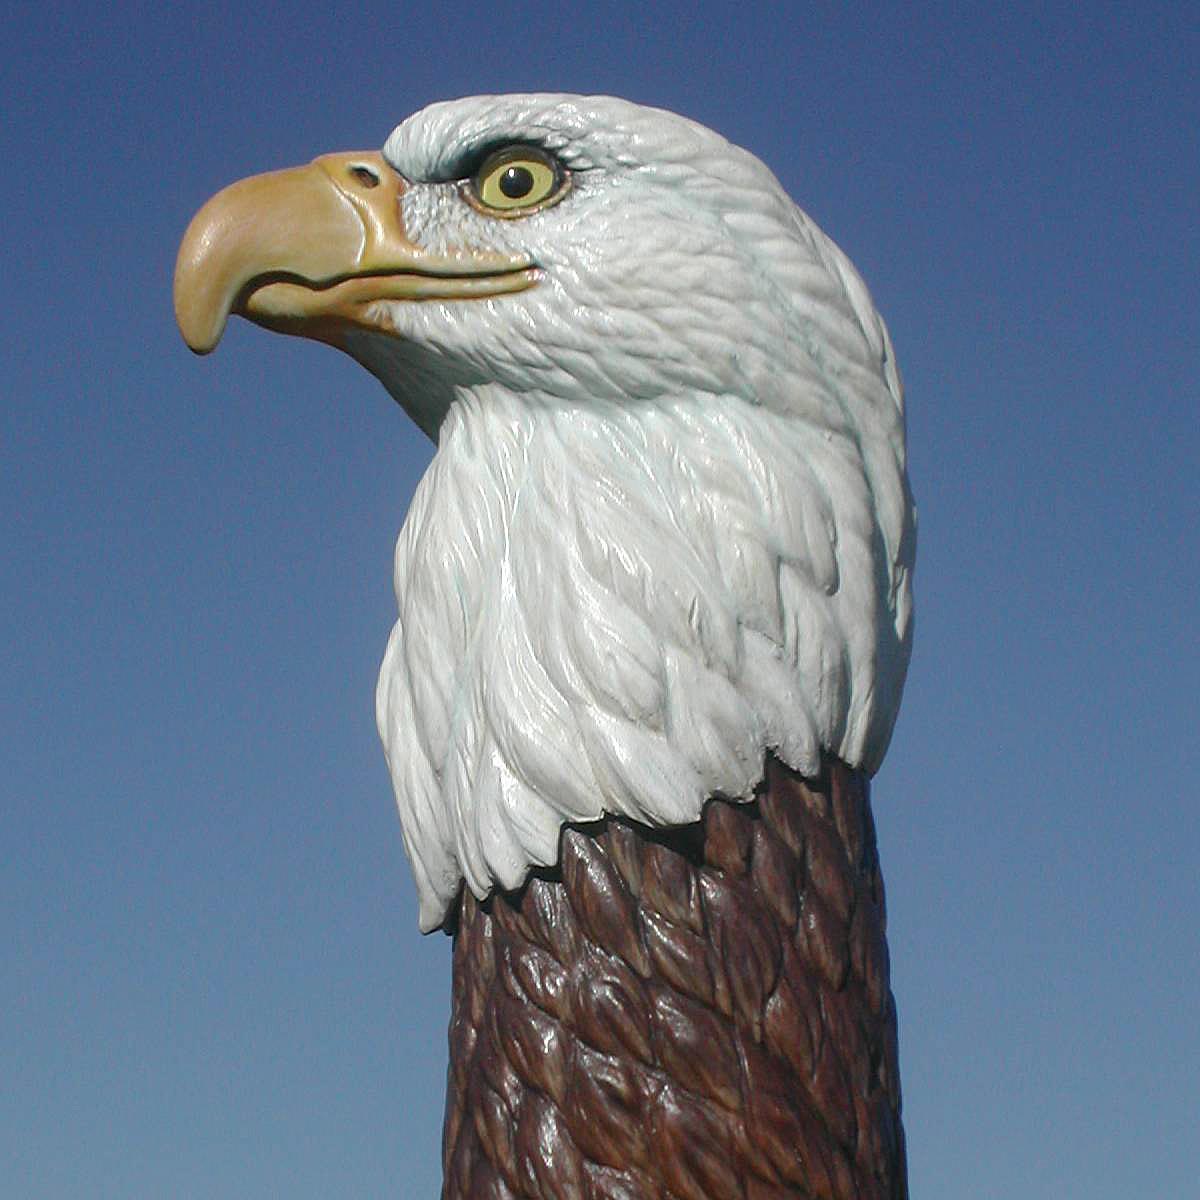
![]() An artistic presentation flows easily with rotary bits and a good paint job
An artistic presentation flows easily with rotary bits and a good paint job
By Wanda Marsh
The American bald eagle is a joy to carve. An enduring and majestic symbol of freedom, the bird captures our attention whether we see it in flight or sculpturally presented at a carving show or exhibition.
Go With the Flow
It is always wise to collect and study reference photos, and I amassed many of eagles to better understand their anatomy. Before starting with this project, I envisioned carving the bald eagle’s head and one wing soaring out of a piece of driftwood. Since I could not find a suitable piece of driftwood, I created my own from basswood. The wing feathers were done as I would do on any other wildfowl I carve—texture first with an abrasive stone, and then burn in the barbs, shaft lines and splits.
Collecting references also holds true for driftwood. I studied several pieces to capture the weathered, dried-out look in the basswood. Making the various textures was easy with a diamond disc after shaping the driftwood composition with a variety of burs. Harder and more durable than abrasive stones, the diamond disc is simple to use with a handheld grinder or a flexible shaft machine. Because the texture of most driftwood tends to flow in one direction, the edge of the disc made fast work of the details on the basswood. Driftwood usually has deep grooves from the splitting and rotting that comes with exposure to the elements. I simulated the grooves on the basswood eagle with the diamond disc. For knotholes and finer textures, I switched to a pointed diamond bit.
Painting Instructions
Painting begins with the wing feathers. Apply a thin wash of Burnt Sienna and water. When mixing a wash, add enough water to thin out the consistency of the paint without making it weak. If you are not sure how much water to add, make a wash and paint over a piece of newspaper print. When the type is barely readable, you have the right mix.
Mix a wash of Burnt Umber and Raw Umber. Then, paint “shadows” between the feathers to set them apart.
Dip the tip of a completely dry brush into Burnt Umber and work the paint into the brush by pressing it on a scrap piece of paper. Next wipe the brush dry on a paper towel until nearly all the paint is off the brush. Brush across the feathers and notice how the brush softly highlights the raised areas. This dry-brushing technique brings out the reddish-brown tone of the feathers. A more natural look can be achieved by dry brushing several light coats. A suggestion: Never dip your brush into water when dry brushing.
Mix a small amount of Titanium White into Burnt Umber, both straight from the tube. Dry brush the top edges of the feathers as well as the quill lines.
Basecoat the eagle’s head with a mixture of Nimbus Grey and Titanium White that has enough water added to make the paint workable without diminishing the texturing. After this light gray tone has dried, dry brush Titanium White over the head. It should be applied light enough to allow areas of the gray to show through as shadows.
Paint the beak with a 3:1 mix of Cadmium Yellow Light and Titanium White. Add only a minimal amount of water. To have more control over the colors, paint several thin coats rather than one heavy coat. Next, coat the beak with a thin wash of Yellow Oxide. Create a shadow that separates the mandibles or jaws with a wash of Burnt Sienna. Finally, darken the nostril holes with a touch of Burnt Umber lightly thinned with water.
Shade the eye sockets with a Burnt Umber wash; then paint the eyeballs with Carbon Black. Make sure the paint dries between these steps. You can also use a hair drier set on low heat to speed up drying. Apply a Cadmium Yellow Light wash over the Carbon Black, leaving a black circle in the middle for each pupil. Apply a few small specks of Burnt Sienna in the yellow you just washed on. Paint a small highlight of full-strength Titanium White with a liner brush in the yellow area. Then apply a thin line of Titanium White, also full strength, between the yellow and black on the rear portion of the eyes.
Begin painting the log with Nimbus Grey thinned just enough to make it workable in nice even coats. After it has dried, seal the wood with Krylon 1311 Matte Finish. The length of drying time is usually around 30 minutes, but drying times differ with the time of the year and your geographical location. I do not recommend using a hair drier on a spray finish. After the sealer has completely dried, antique the log with several different washes of color. Begin with a thin wash of Raw Umber. Working on a small area at a time, apply and then wipe the paint off with a dry rag. Repeat the technique with Burnt Umber and then Burnt Sienna. If the log’s grooves and fissures do not appear dark enough, apply a wash of Carbon Black and wipe it off. You may need to apply another wash of Burnt Sienna to contrast the dark with the light colors. After the washes have dried, apply another coat of Krylon 1311.
Use a toothpick to apply a small amount of five-minute epoxy over the eyes to give them a glossy look and finish the carving.
Materials:
White pine or basswood: 3/4″ x 3 1/4″ x 4″ (19mm x 83mm x 102mm)
Acrylic paints, such as Jo Sonja: burnt sienna (feathers, eyeballs, log, shadows between top and bottom beak), burnt umber (feathers, shadows between feathers, nostril holes/eye sockets, log), raw umber (shadows between feathers, log), titanium white (wing, head, beak, eyeballs), nimbus grey (head, log), cadmium yellow light (beak, eyeballs), yellow oxide (beak), carbon black (eyeballs, log)
Water or oil paints
Minwax Natural Stain
Brushes, round: #1, #3
Flat magnets: 3 small
Tools:
Band saw or scroll saw
Roughout knife
Detail knife
Woodburner
#3 palm gouge: 7/8″ (22mm)
#8 palm gouge: 3/8″ (10mm)
#11 palm gouges: 1/4″, 1/8″ (6mm, 3mm)
70° palm V-tool: 3/8″ (10mm)
CLICK HERE to download the Bald Eagle Portrait Pattern.
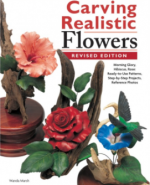 For further reading purchase Carving Realistic Flowers, Revised Edition by Wanda Marsh. Learn to carve roses, hibiscuses, and morning glories that are strikingly true to life! This beginning-to-advanced-level carving book offers three projects designed to teach the carving skills needed to recreate any flower, using a rotary carving tool for most operations. The book is available for purchase for $14.99 plus S&H from www.foxchapelpublishing.com.
 This article originally appeared in Woodcarving Illustrated Summer 2004 (Issue 27).