 Simple relief seashell is a perfect project for summer
By Cindy Joslyn
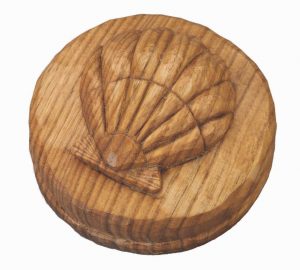
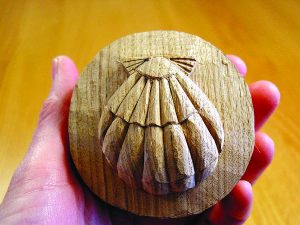
This simple shell is a great way to commemorate a beach vacation. I use mine as a paperweight, and I include instructions for weighting it, but you could also carve the shell into a box top or even a mantle. Experienced carvers could carve small shells to use as earrings or a pendant. I made the shell from rich butternut because I like the color and grain pattern, but you could also use basswood.
Click here to download the shell pattern.
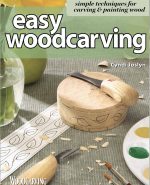
For more projects like this, check out Cindy’s book:
Materials• Butternut, 1-1/2″(cm) thick: 3″ x 3″ (7.6cm x 7.6cm) |
Tools• #3 gouge: 7/8″ (22mm) or 5/8″ (16mm) |
Roughing Out the Carving
|
|
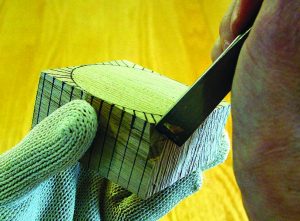
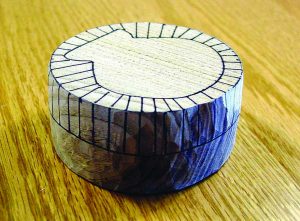
1. Draw a 3″ (7.6cm) circle on the top and bottom of the wood. If desired, add shading to show the wood that is to be removed.
Use a 7/8″ (22mm) #3 gouge to remove the wood from the shaded area. Carve with the grain as much as possible. Optional: Cut the circle with a band saw or scroll saw. |
|
|
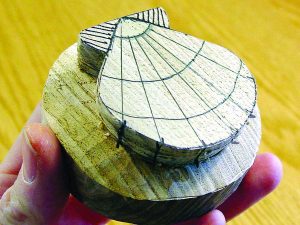
2. Transfer the shell outline to the top of the cylinder. Measure up from the bottom of the cylinder 3/4″ (19mm) and draw a line around the cylinder. |
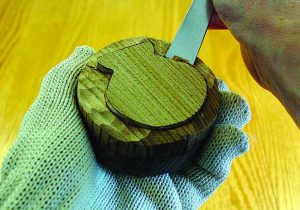 |
3. Using a 7/8″ (22mm) #3 gouge, remove the wood in the shaded area outside the shell to the line around the cylinder. |
 |
4. Compare your carving with this example. Notice how flat the ledge is. |
|
|
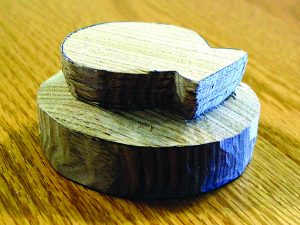
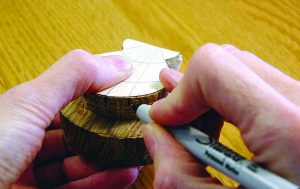
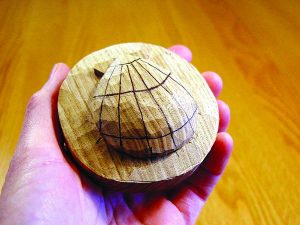
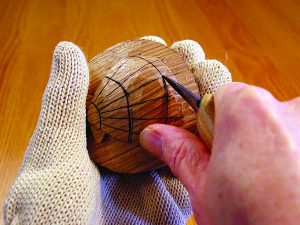
5. Transfer the shell pattern to the block. Mark the line endpoints on the sides of the shell. Extend these lines to the base of the shell. This will enable you to reestablish the ray of lines after the shell is rounded. Shade the “wings” for wood removal, and then score the lines between the shell and the wings using a bench knife or a detail knife. |
 |
6. Remove the wood from the shaded area to 1/8″ (3mm), as shown. |
Detailing the Shell
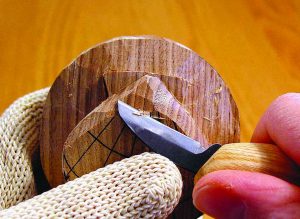 |
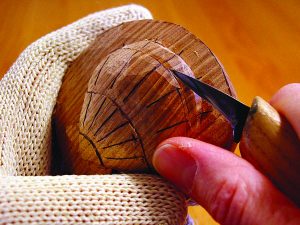
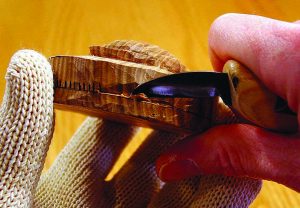
7. Using a bench knife, round the shell. Continue to pay close attention to carving with the grain of the wood. |
|
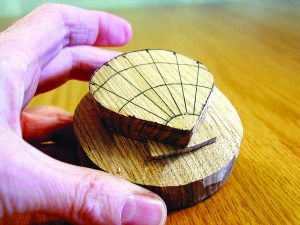
8. When the shell is evenly rounded, reestablish the shell pattern lines using the endpoint marks made in Step 5. Score the horizontal curved lines with a detail knife. |
 |
9. Remove a small amount of wood under each line using the stop cutting technique. |
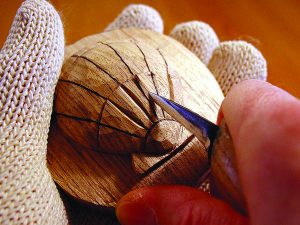 |
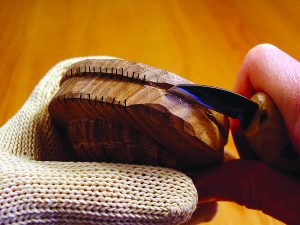
10. Score all of the vertical lines up to the small shell cap near the wings. Remove wedges of wood on either side of these vertical lines, |
 |
11. Repeat this process on the remaining two curved tiers of the shell. |
 |
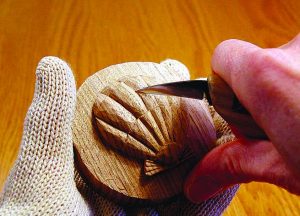
12. Maintain the horizontal curved lines while you shape the vertical rays by recarving the horizontal edges as needed. Add three vein lines on the top wings with a 1 mm V-tool. |
Carving the Base
 |
13. Draw a line 1/4″ up from the base of the cylinder. Score this line with a bench knife and remove a small amount of wood above the line in the shaded area. |
 |
14. With the bench knife, round the top and bottom edges, as shown by the shading. |
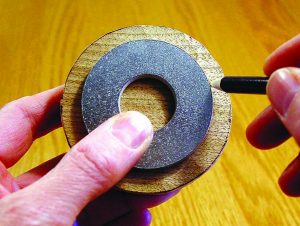 |
15. (Optional) Trace the outline of the washer on the bottom of the paperweight. |
 |
16. (Optional) Score this line and begin removing the wood inside the circle with a detail knife. |
 |
17. (Optional) Continue to remove the wood inside the circle to a depth of approximately 1/8″ (3mm). Switch to the 7/8″ (22mm) #3 gouge to complete this task. |
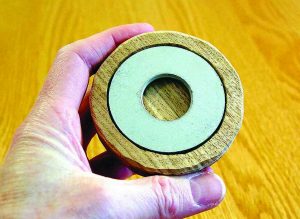 |
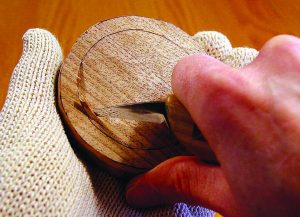
18. (Optional) This recess should be deep enough for the washer to fit flush with the bottom of the wood. When the recess is deep enough, glue the washer in place with quick grip adhesive. |
|
|
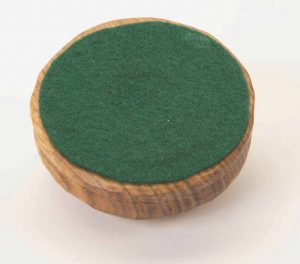
19. Cut a piece of felt to cover the bottom of the paperweight. After the finish has been applied to the paperweight, glue the felt in place with quick grip adhesive. |
Finishing the Project
|
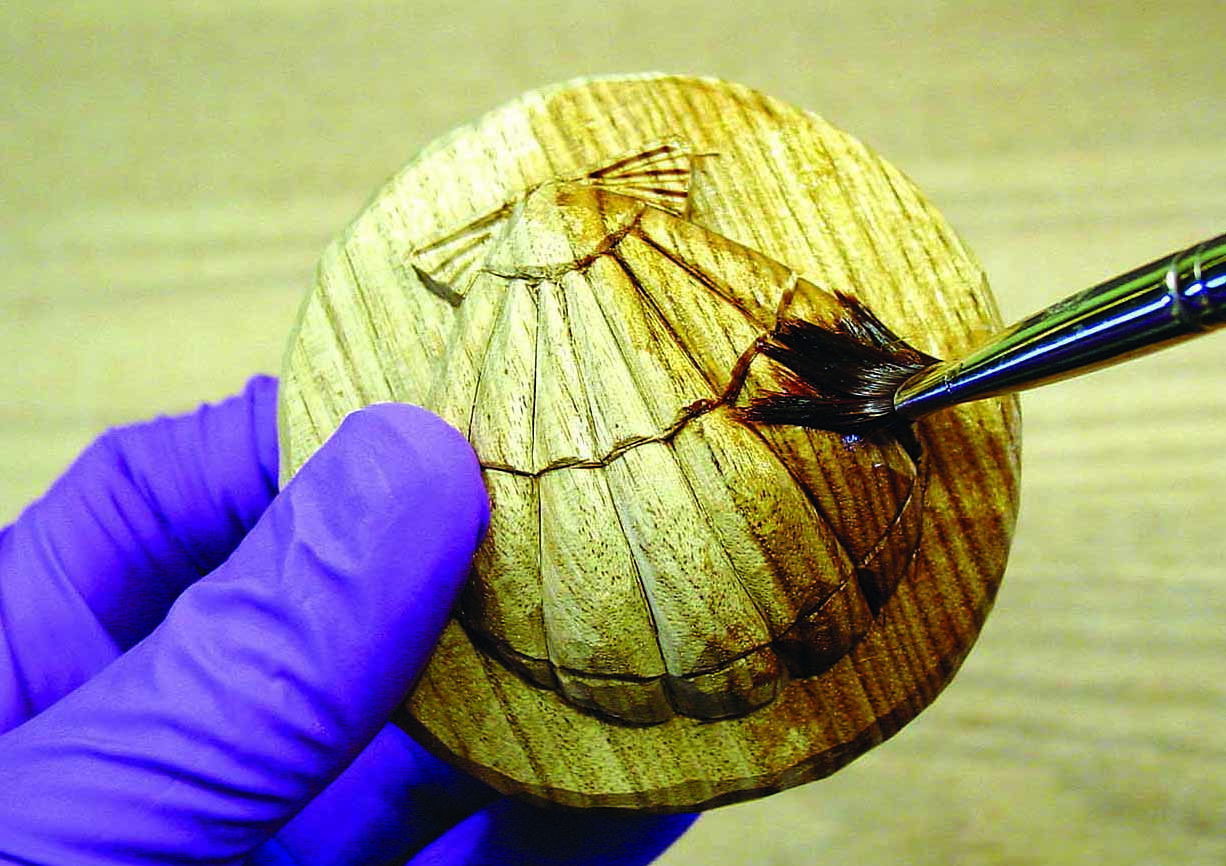
20. Apply oil to the carving with an old paintbrush or a soft cloth. Allow the carving to soak up the oil for about an hour. Then, using a soft cloth, wipe off any remaining oil. Allow the carving to dry for 12 hours. Apply a second coat of oil. After 15 minutes, wipe off any remaining oil. Allow the oil to cure for several days. Once the oil has cured, the carving can be left as it is or you can apply a coat of paste wax to finish it. |