Carve intricate loops and braids to create a holy keepsake
By Dennis Drazkowski
Design by Pat Moore
While attending a woodcarving show in Wisconsin, I came across Randy and Pat Moore’s vendor table, Moore Wood and Roughouts, and saw their “Cross Braid” pattern roughout. It ended up being the perfect gift to make my granddaughter Amelia for her First Holy Communion. This cross is a great intermediate skill-level project and makes a beautiful keepsake for your friends or family.
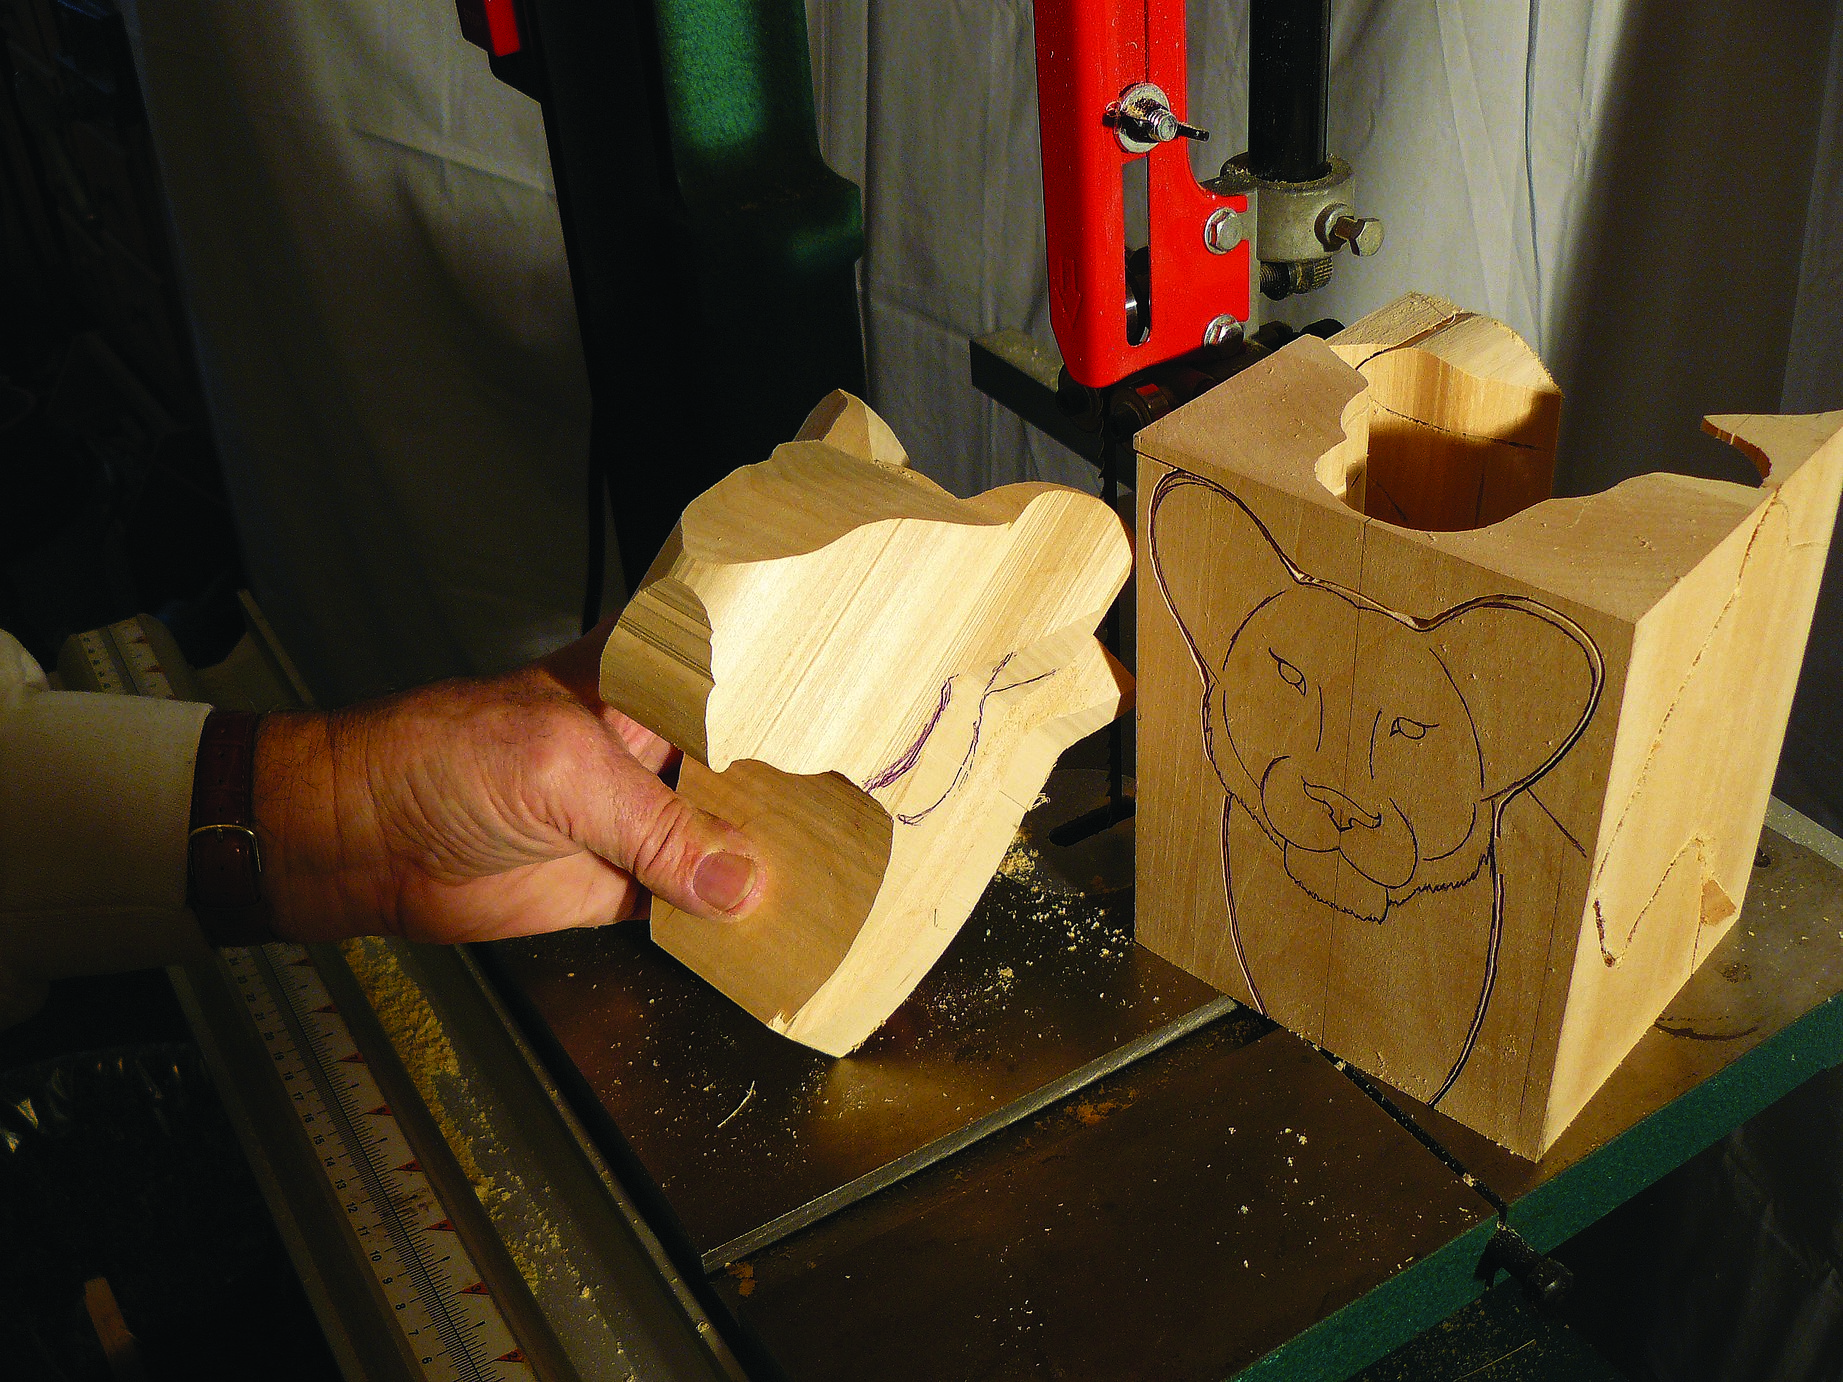
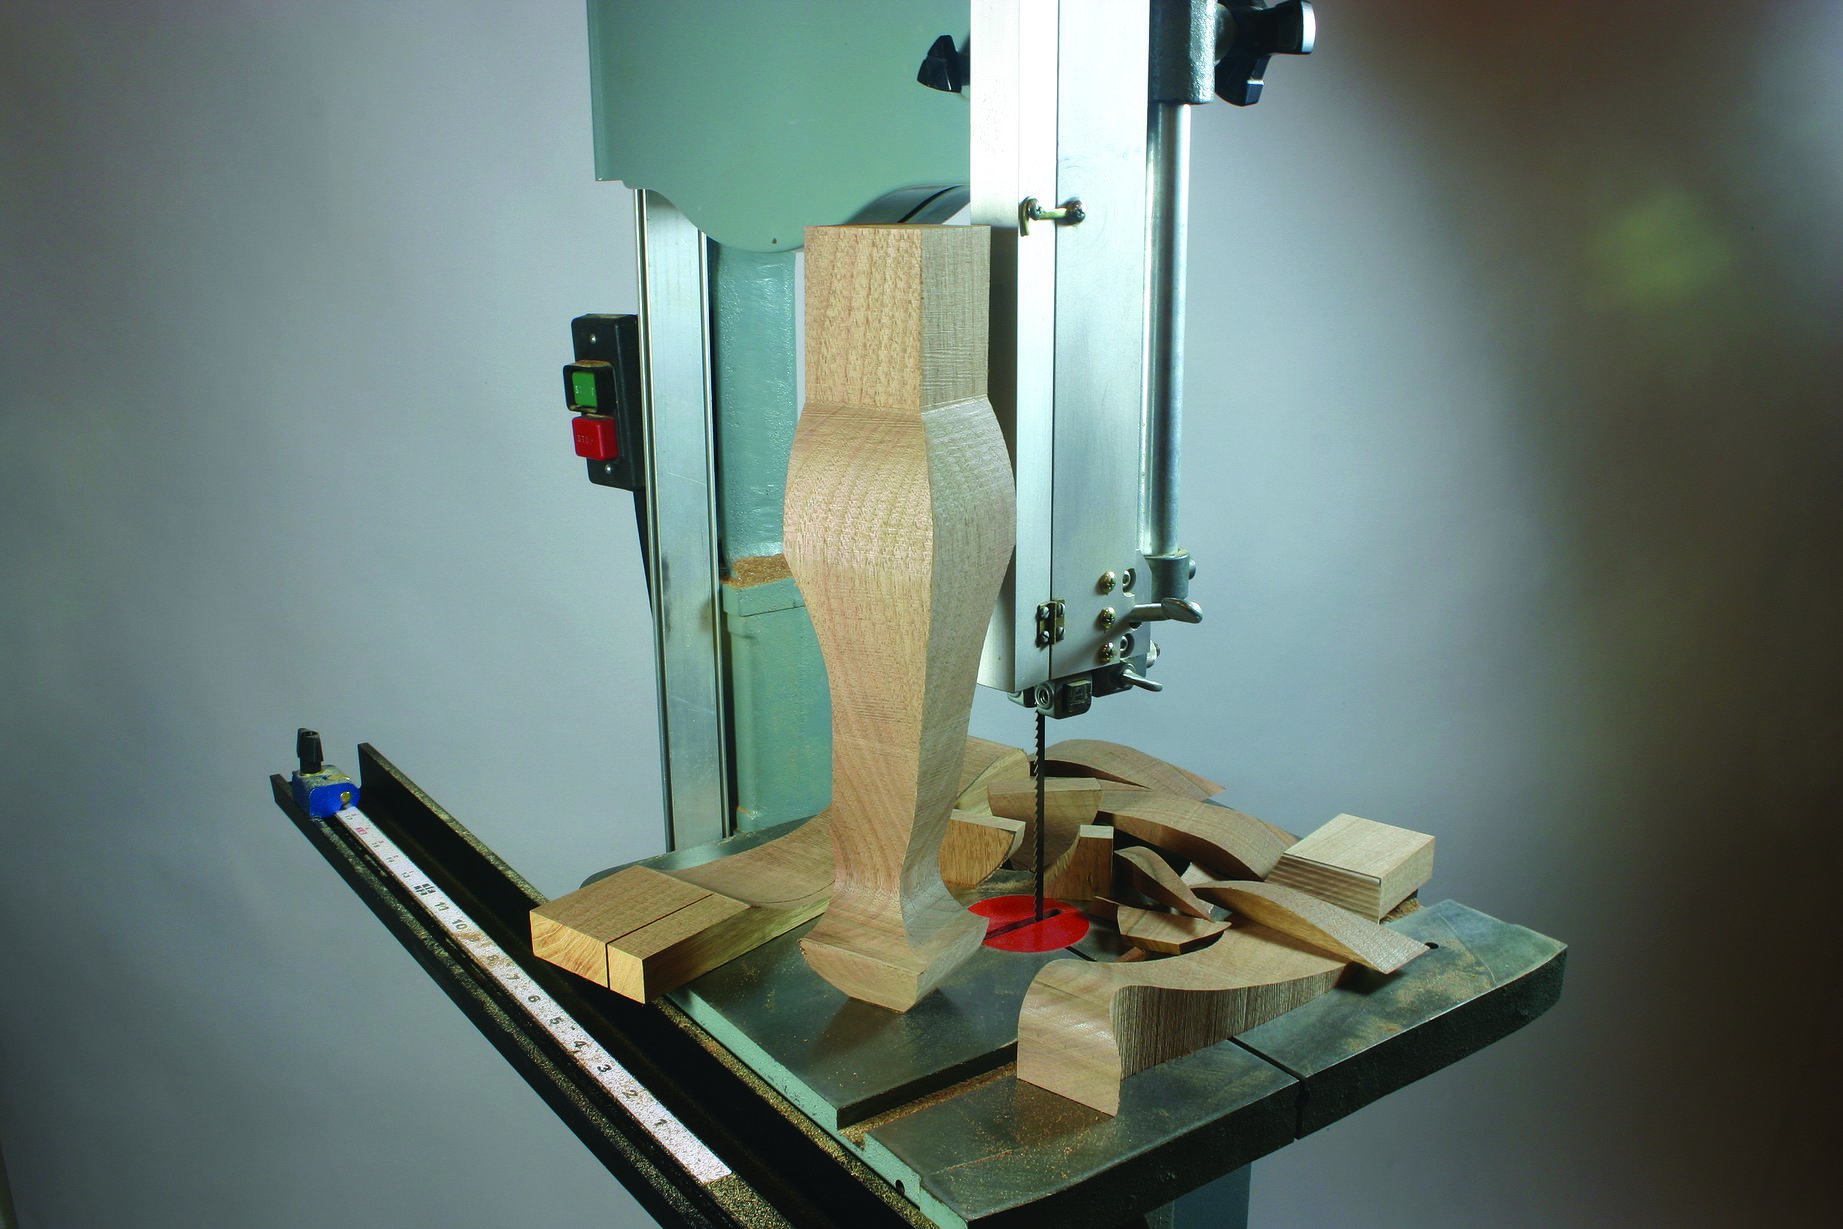
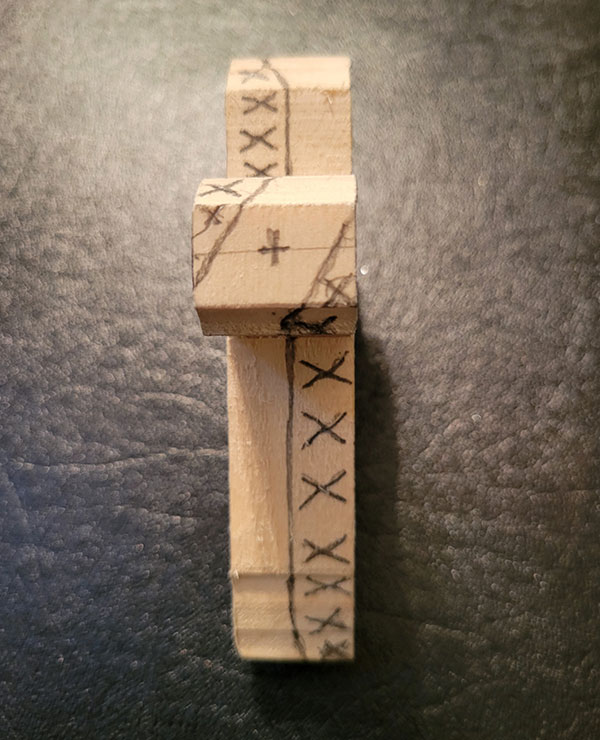
Getting StartedMake two copies of the pattern. Attach the copies to opposite sides of the blank using spray adhesive or glue stick. Note: To keep the cross symmetrical during the carving process, make sure both patterns are directly opposite each other on the front and back of the blank. Cut the blank to size on a band saw, coping saw, or scroll saw. Then use a scroll saw or coping saw to cut the four interior elliptical shapes. Strive to maintain symmetry during the carving since it is easy to get confused as the braids weave up, down, and over each other. Label the front and back of the blank with loop directional notations to indicate which braids will be overlapping each other. Mark the center point on the top, bottom, and both sides of the blank. Draw a centerline on each side profile around the entire blank. Note: The center lines on both sides should slope in the middle (the top part of the line should slope toward the left and the bottom of the line slope to the right) to follow the direction of braid. Draw “X”s on both side profiles to mark the wood that will be removed during the roughing out process. |
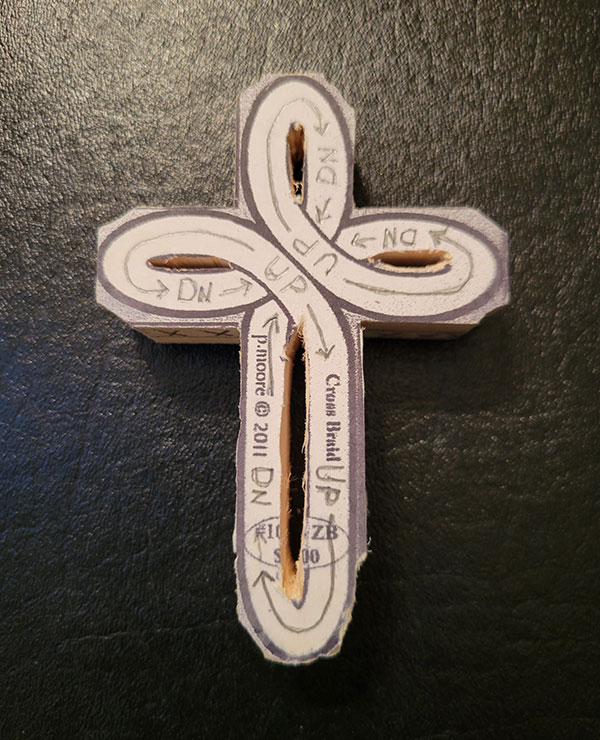 |
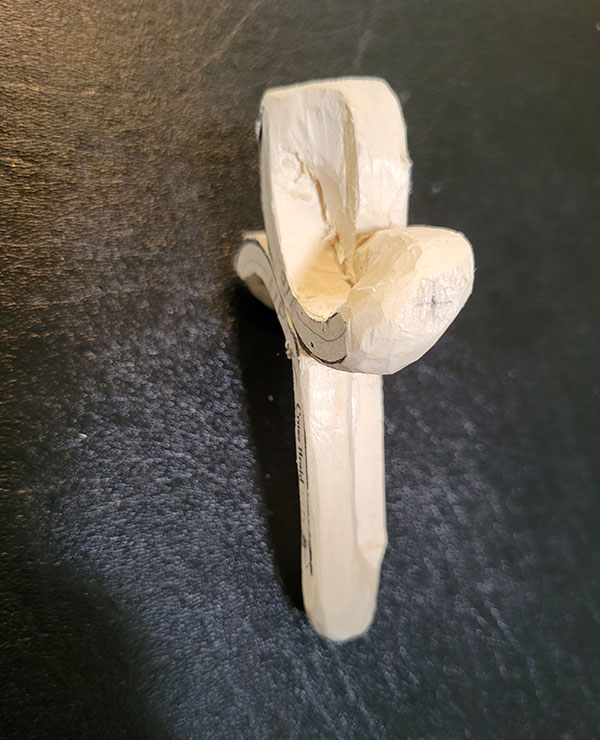
CarvingMake a stop cut around the perimeter of the top and bottom sides of the blank using a carving knife. Follow the outside lines on the cross pattern. Then make a stop cut along the side profile centerlines. Start shaping the cross by removing areas marked with “X”s on the side profile with the carving knife or gouges of your choice. Be mindful of the grain direction as your tools could sever the braids or remove too much wood that would severely diminish the symmetrical shape and diameter of the braids. Round the inside and outside of the individual braids with the carving knife and gouges; I used a 3/16″ (5mm) micro gouge from the inside of the four loops to maintain an equal braid diameter. Then use a detail knife to separate the braids where they meet in the middle and on the side profile. Aim for the cross braids to be about 3/8″ (10mm) in width. |
|
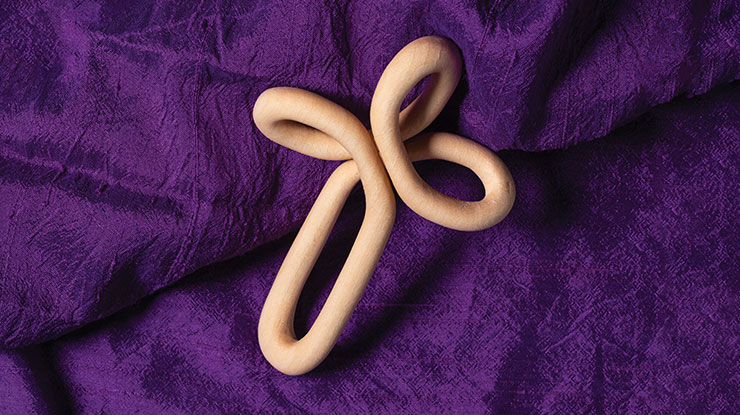
Sanding and FinishingSand the cross; I used Abranet sanding mesh in assorted grits up to 320 that I cut into thin strips about 3/16″ (5mm) wide and 3″ (7.6cm) long. Alternatively, you can use sandpaper in assorted grits. Loop the 80-grit sanding mesh strip or sandpaper around the individual braid and sand in a back-and-forth motion along the braid’s length and end loops. Use this sanding technique to smooth out the area where the braids intersect in the middle of the cross. Do not rush this process. Continue sanding through the other grits until you reach 320. After sanding, use a digital caliper to measure the braid. The braid should have a final diameter of about 5/16″ (8mm). Remove excess dust and dirt from the cross and apply three to four coats of a wax finish such as Howard Feed-N-Wax®. Then saturate narrow strips of a cloth with the finish and loop it around the braids to apply the wax in narrow areas. Let sit for 20 minutes and wipe off excess finish. Then polish the cross with a clean, soft cloth. |
Materials• Basswood, 3/4″ (1.9cm) thick: 3″ x 4″ (7.6cm x 10.2cm) • Spray adhesive or glue stick • Pencil • Sanding mesh (Abranet) or sandpaper: 80-, 120-, 240-, 320-grits • Clean, soft cloths • Finish, such as Howard Feed-N-Wax® |
Tools• Band saw, coping saw, or scroll saw • Knives: carving, detail • #3 gouge: 5/8″ (16mm) • Micro-gouge: 3/16″ (5mm) • Digital caliper • Ruler |
SPECIAL SOURCES:The Cross Braid pattern and roughout (#1004ZB) are available for sale at Moore Wood and Roughouts, www.roughouts.com. |
| About the Author |
|
Dennis Drazkowski lives in The Villages, Fla. and North Prairie, Wis. He has been woodcarving since 2018. His father, August, inspired his interest in woodcarving at an early age while both were actively involved in the local Boy Scout troop. Since his retirement from law enforcement, Dennis has been further inspired by members of The Villages Woodcarvers Club. Contact Dennis by emailing him at ddrazkowski@gmail.com. |
 |
Get the Latest Issue! Purchase the IssueFor more articles like this, subscribe to Woodcarving Illustrated magazine. Magazine SubscriptionPlus! Get digital mini magazines in your e-mail between printed issues.
|