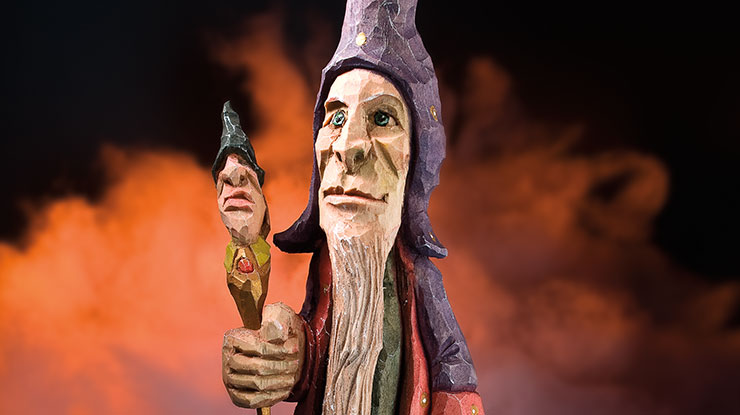
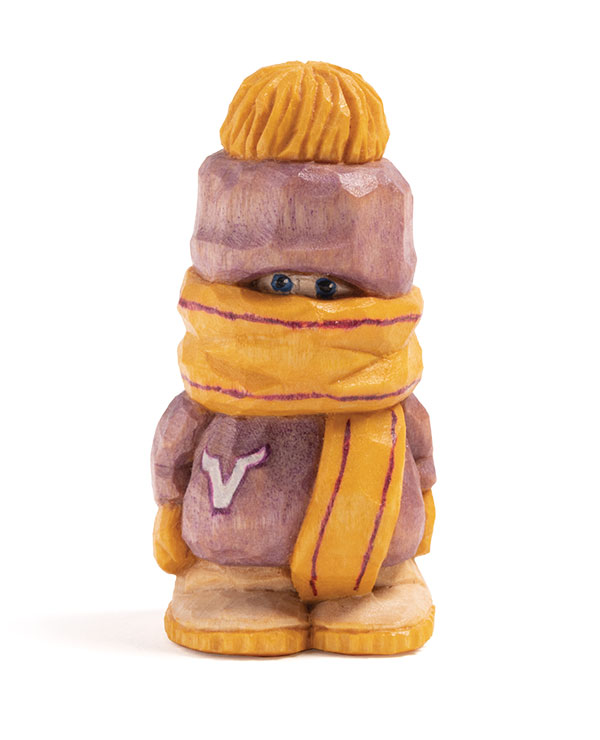
Herman from Minnesota
Carve a little football fan who’s ready for the cold
By Karen Scalin
It’s football season again and this guy from the Land of 10,000 Lakes is ready for the weather. This character has uncomplicated lines that make him a great beginner project. More advanced carvers can switch him up. Move his scarf down and hat up to add facial features. Create fringe on the scarf, texture the hat, and put pockets on his jacket. However you decide to carve him, be sure to finish him with your team’s colors.
Getting Started
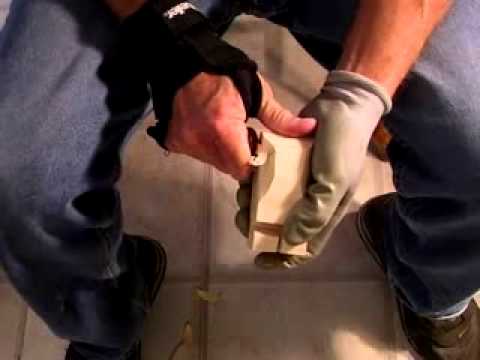
Transfer the patterns to the block with graphite paper and a pencil or sketch them by hand. Note: Always wear a carving glove and thumb guard. The photos were taken without them to clearly show hand and knife positions.
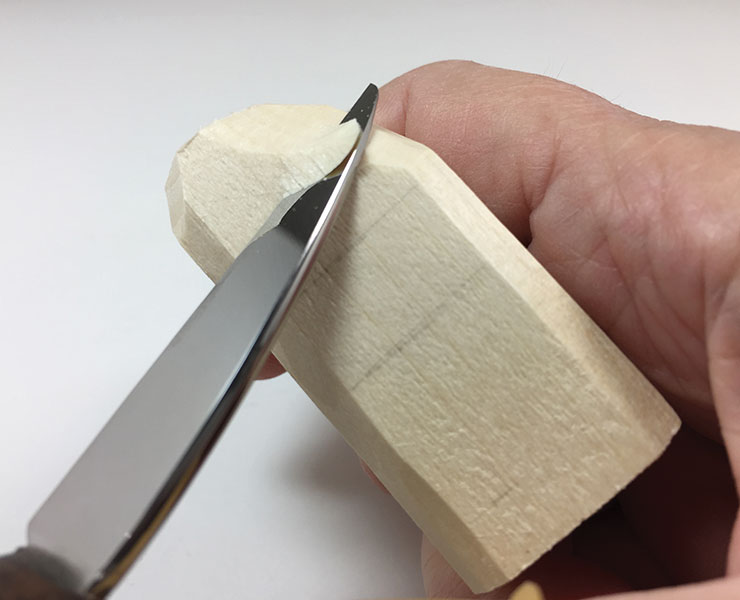 |
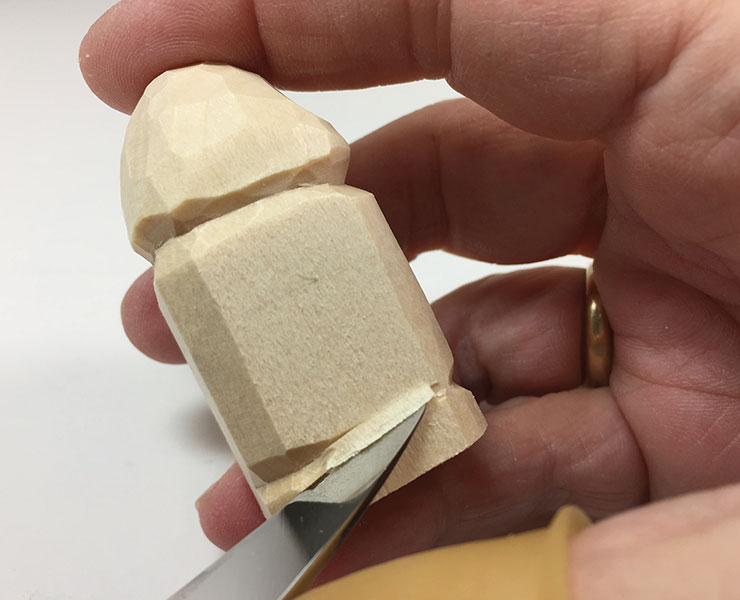
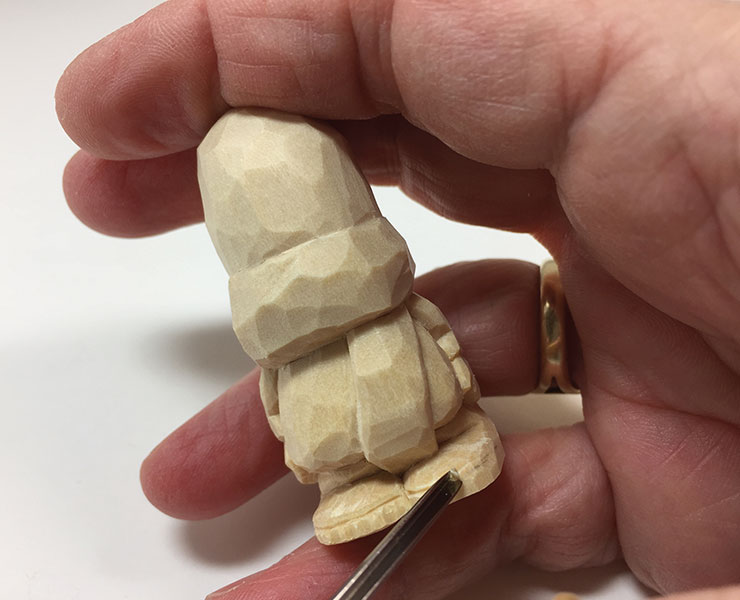
1. Block in the hat. Use a knife of your choice. Carve off all four corner edges from the bottom to top of the block. Starting at the upper scarf line, round and shape the hat by carving up at an angle toward the top of the block. |
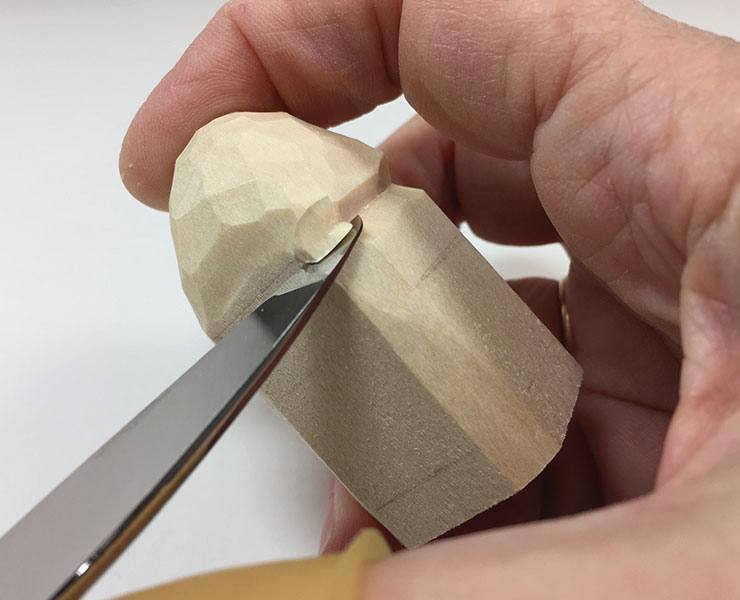 |
2. Rough out the scarf. Using the knife, make V cuts on the upper scarf line. Two cuts are made, one angling down and the other up and in, to form the V shape that meets at the upper scarf line. |
 |
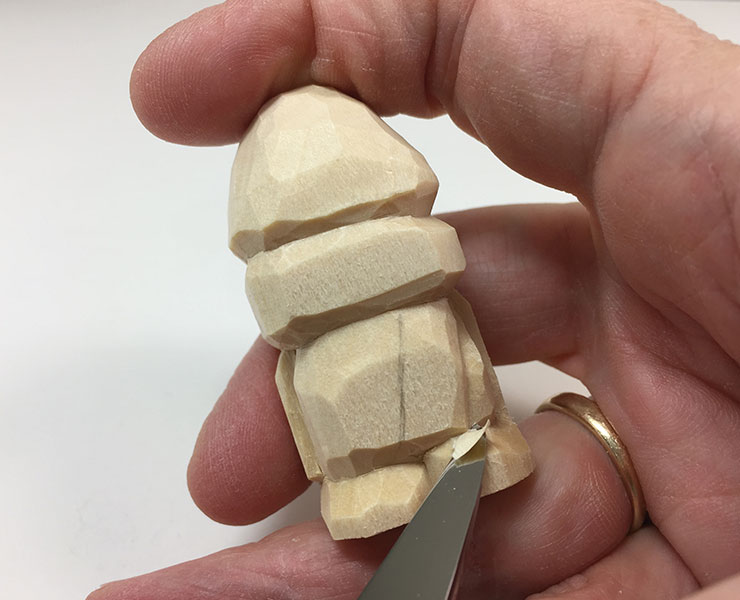
3. Rough out the boots. Use the knife to make V cuts on the boot line. Carve in at a slight angle from above and below this line to create a V-shaped cut. Extend these cuts a little to the left and right sides of the block. |
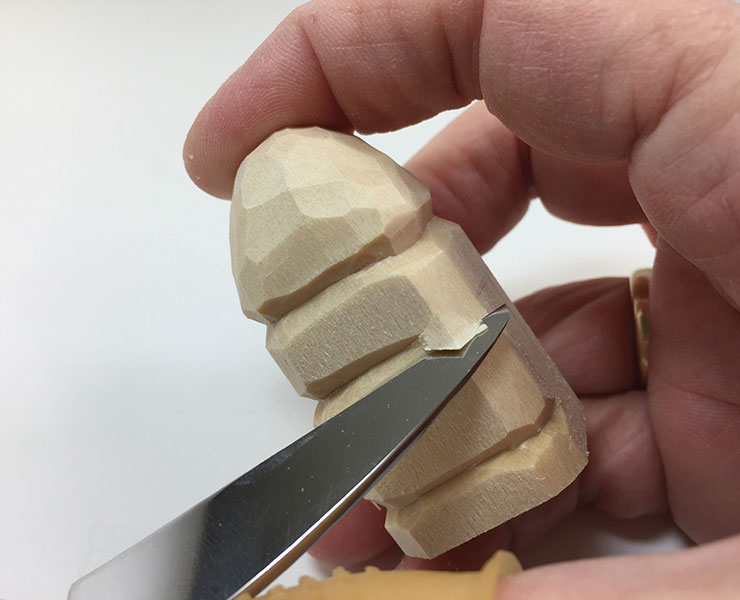 |
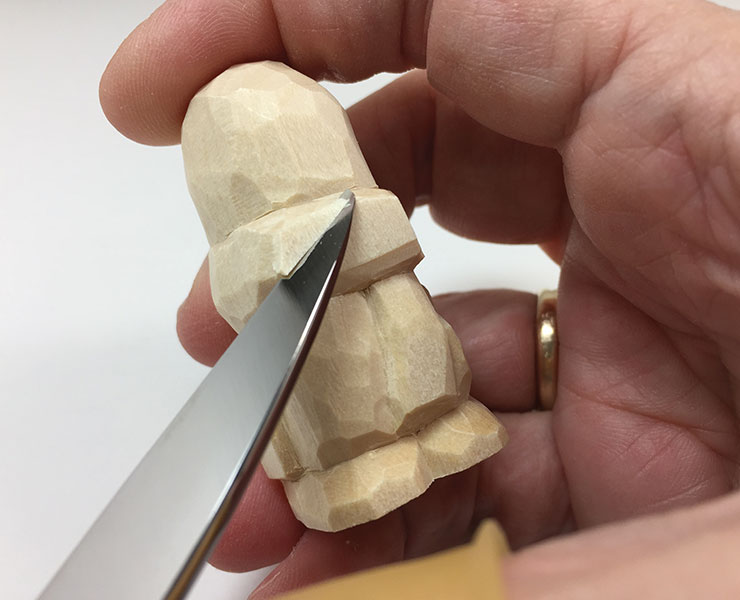
4. Rough out the scarf. Cut in the bottom of the scarf. Following the same instructions as in Step 2, use the knife to make V cuts on the lower scarf line. Two cuts, one angling down and in and the other up and in, form the V shape that meets at the lower scarf line. |
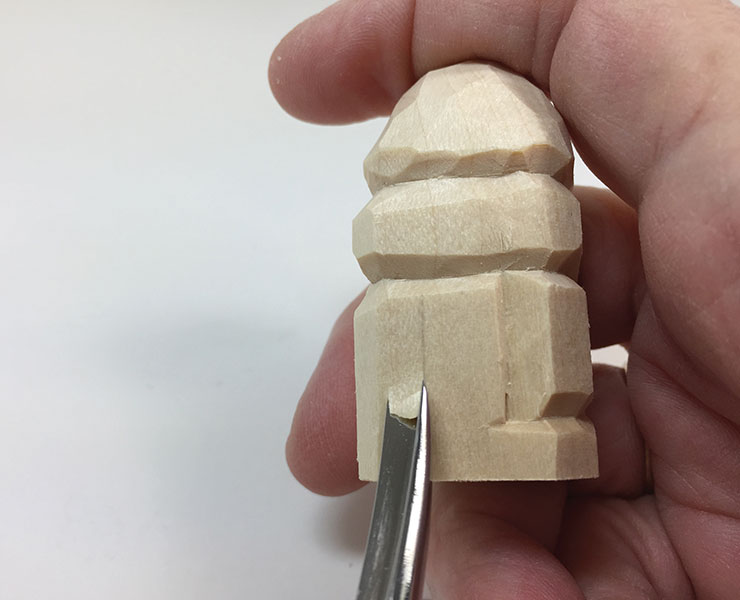 |
5. Set up the arms. Use a 1/4″ (6mm) 90° V-tool to establish the arm blocks. Starting at the boot line, lay the V-tool on its side and follow the arm lines up to the scarf. As you approach the scarf, raise the V-tool out of the wood to prevent running the tool into the scarf. |
 |
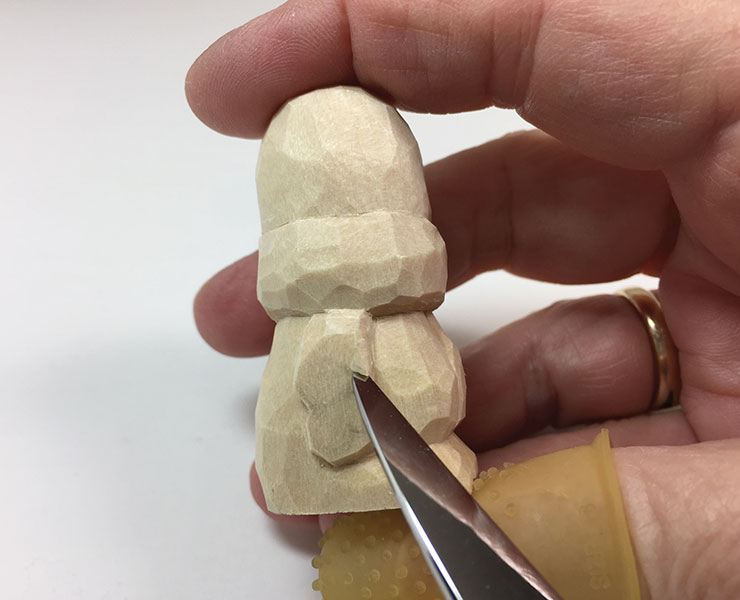
6. Roughly shape the body. Use the knife to roughly shape the upper body and back. Make cuts that angle up and in toward the scarf all around the body. |
 |
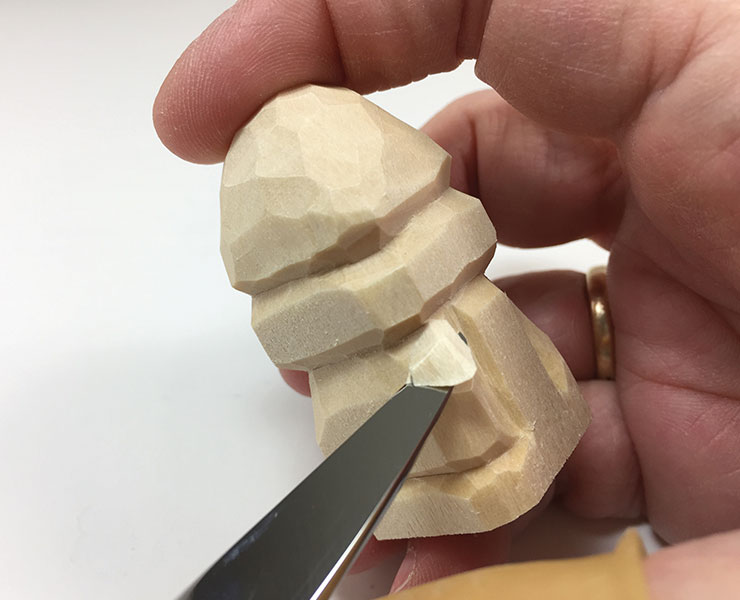
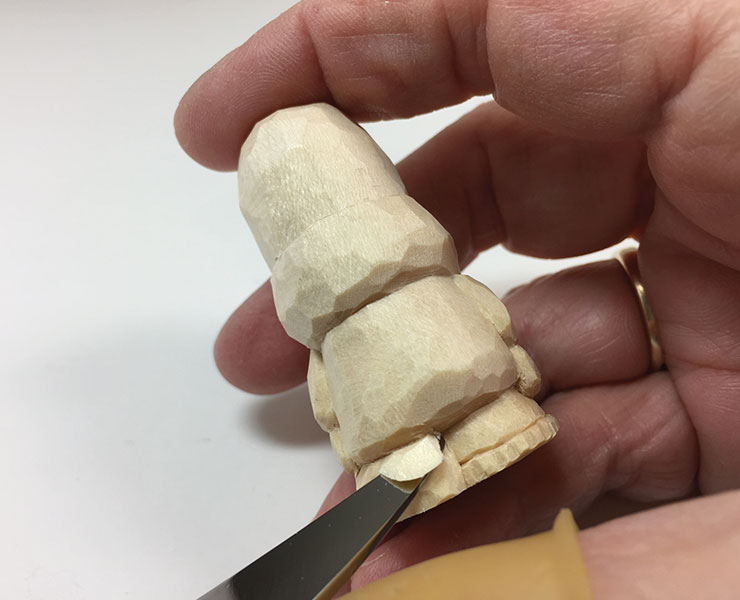
7. Carve the boots and the tail of the scarf. Draw the tail of the scarf on the chest. As with the arms, lay the 1/4″ (6mm) 90° V-tool on its side and carve up the scarf lines. Use the knife to separate the boots with a V cut. Then cut back in to the boot line at a slight angle to shape the boots. |
 |
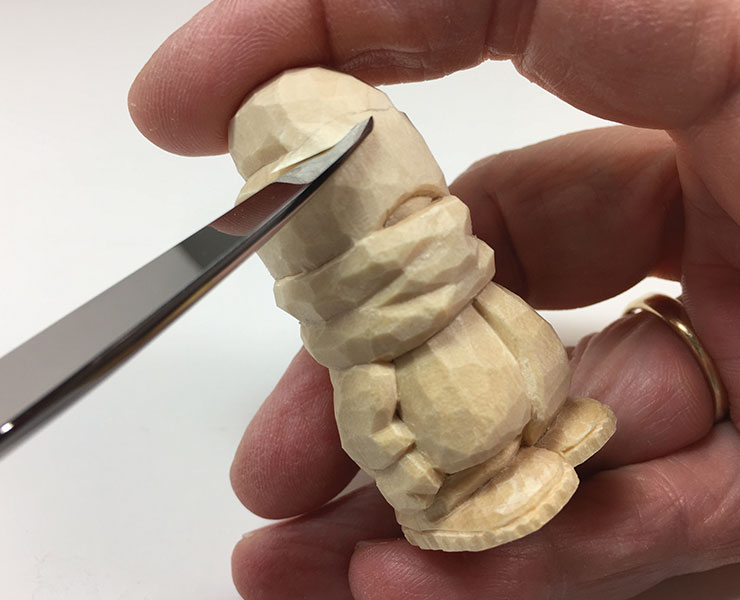
8. Taper the hat and scarf. Narrow both areas with the knife so they’re slightly less wide than the body. |
 |
9. Shape the arms. Continue to shape the upper body and draw the arm shapes on. Following the pattern, use the knife to cut in the arms and mittens. Cut a separation between the coat sleeve and the mittens, bringing the mitten slightly under the end of the sleeve. Make a three-sided triangular chip cut at the crook of each elbow for depth. |
 |
 |
10. Carve the coat and boots. Draw a line for the bottom of the coat. Using the knife, stop-cut the line. Shape the back of boots, carving from the bottom of the boots up and in to the stop cut. In front, shape the top of the boot by cutting straight back toward the leg. Round over the bottom edge of the coat. Draw a line for the sole of the boot, and then cut the line with a 1/16″ (2mm) 90° V-tool. Use a 1/16″ (2mm) micro gouge to cut in a Vibram sole for the boot. |
 |
11. Carve the hat and scarf. Use the knife to make soft V cuts in the scarf to shape and add form. Draw a small opening for the eyes. Stop-cut the line and the scarf line just below it, and then slowly shave wood out from between the cuts. Draw a line at the top of the hat. Make V cuts separating the pom-pom from the hat. |
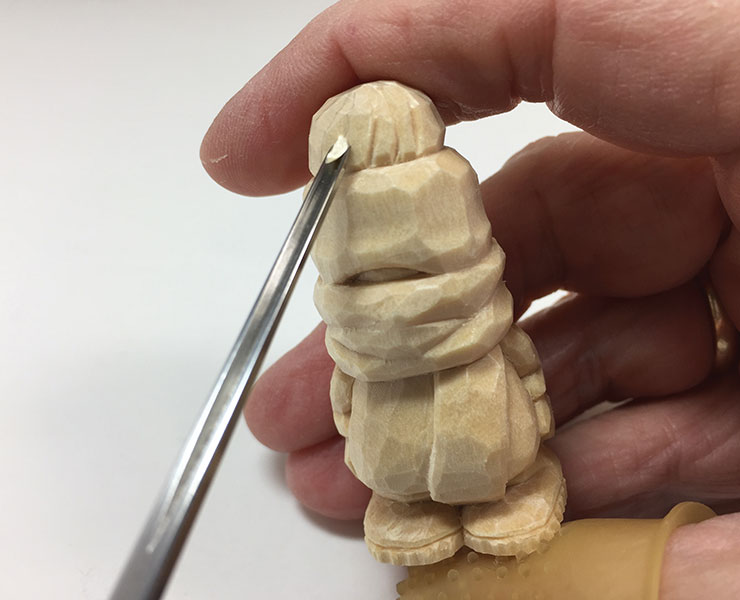 |
12. Finish the hat. Use the knife to create hat texture. Carve facets using a sweeping or rolling motion with the knife blade all around the hat. Use the 1/16″ (2mm) 90° V-tool to create the texture for the pom-pom. Draw a series of swirling lines meeting at the top. Then carve in the lines with the V-tool. |
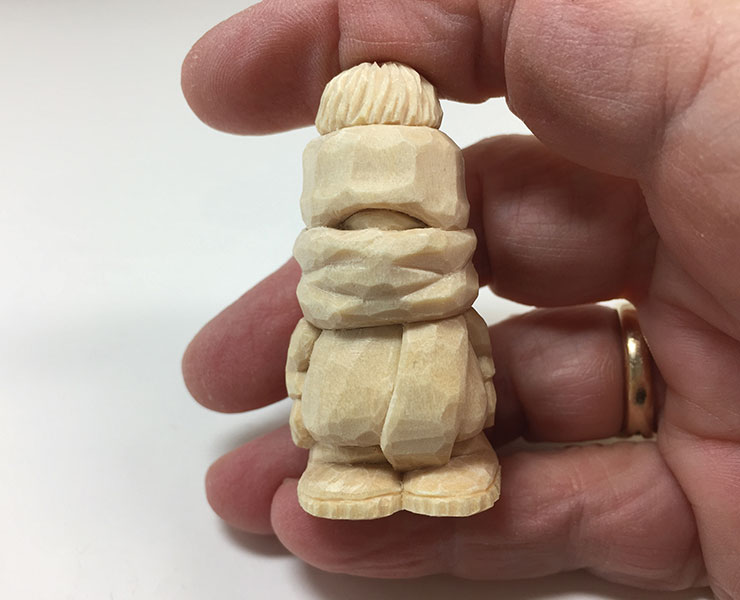 |
13. Add final details. Use the knife to undercut the arms, scarf, and pom-pom. A thin sliver of wood is removed from all these areas to add the appearance of depth and roundness. Cut along the edge of the feature, and then cut at a tiny angle just above or below the first cut to remove the sliver of wood. |
|
Paint Notes Pom-pom: antique gold Eyes: oyster white, denim blue, charcoal Scarf: antique gold Scarf trim: Sharpie® ultra fine, purple Jacket: purple V on jacket: oyster white V outline: Sharpie® ultra fine, purple Mittens: antique gold Boots: oyster white Vibram soles: antique gold |
 |
Painting and Finishing
I paint directly onto dry wood with very watered-down acrylic paint, generally one drop of paint to 10 drops of water. Apply lighter colors first, then proceed to darker. Because the carving is so small, be careful not to transfer wet paint from the hand holding the piece to other areas on the carving. An alternative to holding it in your hand is to mount it on a paint stick or base.
Next, it’s dipped in boiled linseed oil that has been thinned with 30% mineral spirits (to speed up the drying process). Boiled linseed oil enhances paint color. Note: Make sure to dispose of oil-soaked rags following the instructions on the finish packaging, as they can spontaneously combust.
Seal, and then antique. I use Delta® Ceramcoat All-Purpose Sealer, a water-based sealer. Follow the sealer with FolkArt® Antiquing Medium Plaid 811, a water-based stain (or similar product), used at half strength on the face and light-colored areas and full strength on all others. Work very quickly to apply the stain, and immediately pat most of it off with a soft cotton rag so that the stain remains mostly just in the cracks and crevices. Finally, apply Howard Feed-N-Wax®.
|
MATERIALS • Basswood, 1″ (2.5cm) square: 2″ (5.1cm) long • Graphite paper • Pencil • Boiled linseed oil • Mineral spirits • Delta Ceramcoat® All-Purpose Sealer • FolkArt® Antiquing Medium Plaid 811 • Acrylic paints: antique gold, charcoal, denum blue, oyster white, purple • Howard Feed-N-Wax® • Paper towels • Soft cotton rag |
TOOLS • Carving knife • Micro gouge: 1/16″ (2mm) • V-tools: 1/16″ (2mm) micro, 1/4″ (6mm) 90° • Paintbrushes • Purple ultra fine Sharpie® |
| About the Author |
|
Karen Scalin has been carving for more than 25 years. She lives in a suburb of Chicago. See more of her work on Etsy at WoodCarvedMinisByKLS. |

Get the Latest Issue
For more articles like this, subscribe to Woodcarving Illustrated magazine.
Plus! Get digital mini magazines in your e-mail between printed issues.