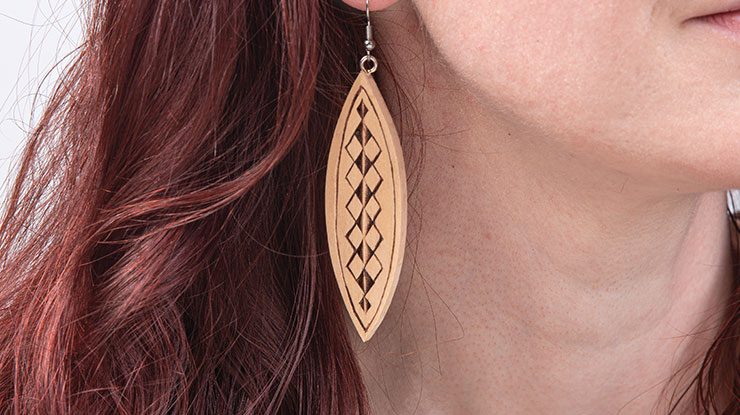
These earthy baubles are so easy and satisfying to make, you might just fill a jewelry box
By Jan Jenson
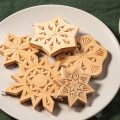
At a carving show last summer, a woman asked me if I could recreate one of her earrings because she had lost its mate. This project is the result of our conversation. It was challenging, but also interesting, to make something so small. I experimented with different designs and finishing techniques, such as staining before or after carving. Because they’re made from wood, these earrings are very light and they don’t get cold on your neck in winter!
Getting StartedPhotocopy the patterns. Then sand the 3″ by 3″ (7.6cm by 7.6cm) piece of basswood with 220-grit sandpaper. I recommend using this specific size of basswood as it is safer to use a larger piece than the exact size of the pattern. Remove the dust with a tack cloth. Apply a coat of wipe-on polyurethane, such as Minwax®, and allow it to dry. The polyurethane helps prevent an uneven finish when you apply the final coats of finish or stain after carving. Trim the patterns to fit the earrings. Then apply rubber cement to the back of the pattern and center it on the wood. Set up your workspace; I carve against a nonslip mat. |
CarvingCarve the pieces according to the patterns. Most of the chips in this project are old-world style. These chips use two vertical cuts and a diagonal cut to create triangles. On the patterns, the dots mark the deep end of each chip. After I carve the earrings, I cut each one out on a scroll saw, cutting just outside of the pattern line. Then I sand them up to the line on a sanding belt to get a smooth edge. I then hold the earring at an angle to bevel the edges. Try to get the bevel angle even all around. |
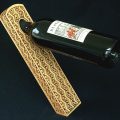
FinishingRemove any remaining pattern paper. Apply two more coats of wipe-on polyurethane. Use a toothbrush to get the finish into the deep chip cuts. Buff the piece between coats with a soft cloth. Carefully drill a 1/8″ (3mm)-dia. hole at the top of each earring to add the earring hooks. Insert a mini screw eye pin into the hole, using a tiny drop of cyanoacrylate (CA) glue to secure it. Besides earrings, these carvings can be used to make necklaces, keychain fobs, pins, zipper pulls, or enlarged to become a luggage tag. I never thought I would wear large earrings, but these are fun and light. Enjoy! |
|
MATERIALS • Basswood 3/16″ (5mm) thick: 3″ x 3″ (7.6cm x 7.6cm) square or larger • Sandpaper: 220-grit • Rubber cement • Tack cloth • Toothbrush • Clear finish, such as Minwax® wipe-on polyurethane: satin • Gel stain, such as Old Masters®: assorted colors (optional) • Acrylic paints: assorted (optional) • Glue: cyanoacrylate (CA) • Earring hooks • Mini screw eye |
TOOLS • Scroll saw with blades: #2/0 reverse-tooth • Knife: chip carving • Belt sander • Drill with bit: 1/8″ (3mm)-dia. • Nonslip mat (optional) |
| About the Author |
|
Jan Jenson lives in Eau Claire, Wis., and Pharr, Texas, and loves to teach chip carving. She has written three chip carving books, Blue Ribbon Chip Carving, More Blue Ribbon Chip Carving, and her third book is available digitally and includes 50 pages of new patterns. Her other hobbies include box-making and quilting. Contact her at JOJenson@gmail.com. |
 |
Get the Spring 2024 Issue Purchase the IssueFor more articles like this, subscribe to Woodcarving Illustrated magazine. Magazine SubscriptionPlus! Get digital mini magazines in your e-mail between printed issues.
|