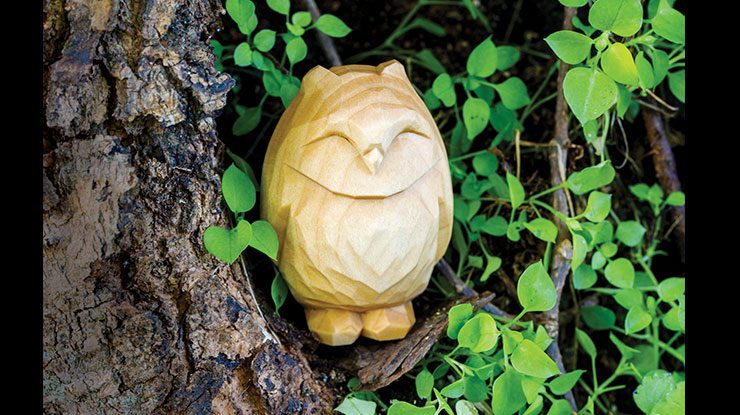
One-knife whittle is a perfect beginner project
By James Ray Miller
The easily recognizable appearance of owls makes them a great subject for a fledgling woodcarver. One common beginner-friendly design does not even involve rounding the wood at all; instead, key details like the beak, talons, and wings are suggested in a carefully simplistic manner, with the beak situated on a corner of the stout block. This design focuses on other aspects of an owl’s form: roundness, plumpness, and a serene stature. It requires more cuts to complete than the classic rectangular design, but in doing so, it further strengthens skills. I will leave this owl unpainted and not worry about making it represent any specific owl species. But, if you’re keen on a specific owl species, make slight design changes and add specific paint colors.
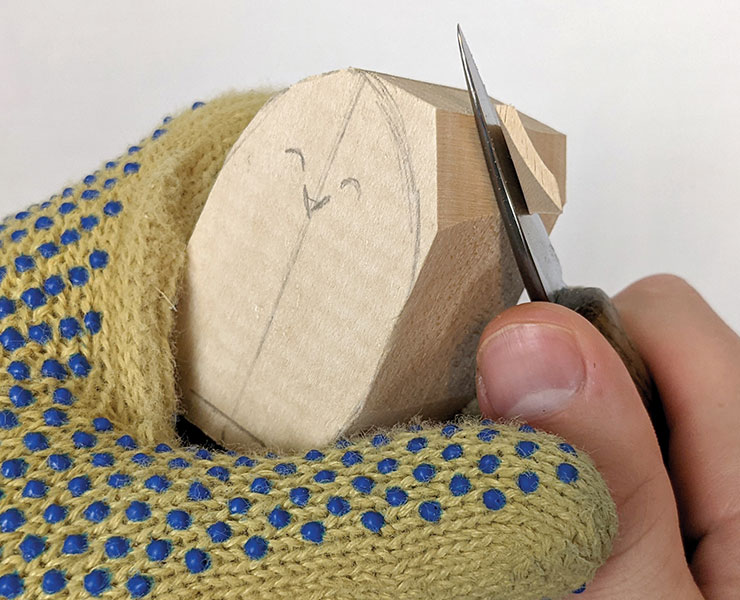
Getting StartedBrace your middle finger on the side of the basswood block to sketch a centerline all the way around the top, front, bottom, and back faces. Then sketch on the main details from the front view pattern: the overall shape and the positioning of the face and feet. |
Step 1Slice around the front view. Start by slicing to the sides of the head. Position your knife near the top of the wings and slice upward. Continue this on both sides, angling each cut until all waste around the front view pattern is gone. Repeat toward the bottom. |
 |
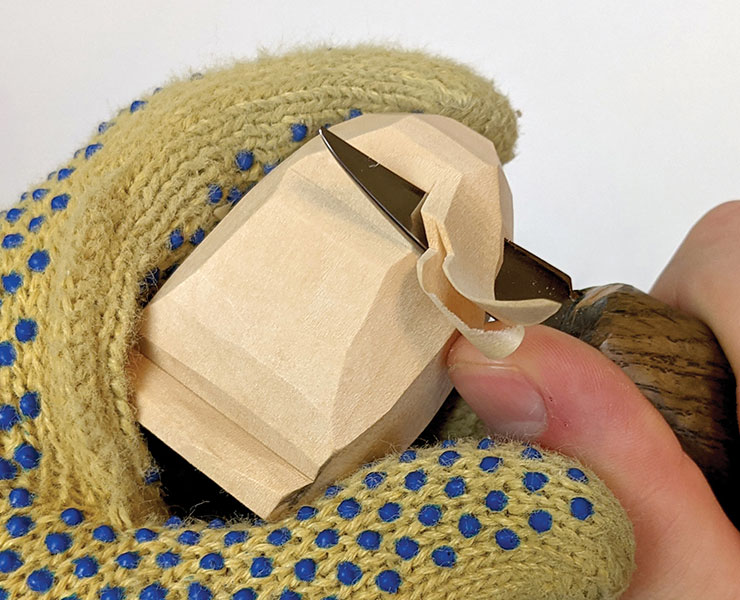
Step 2Slice around the side view. Sketch the side view pattern onto the wood. To help keep things even, sketch this pattern on the opposite side as well, making sure to make it face the same way. Then, similar to the previous step, slice all the way around it. Stop-cut above the feet and to separate the beak from the body to form V-shaped cuts across these areas. |
 |
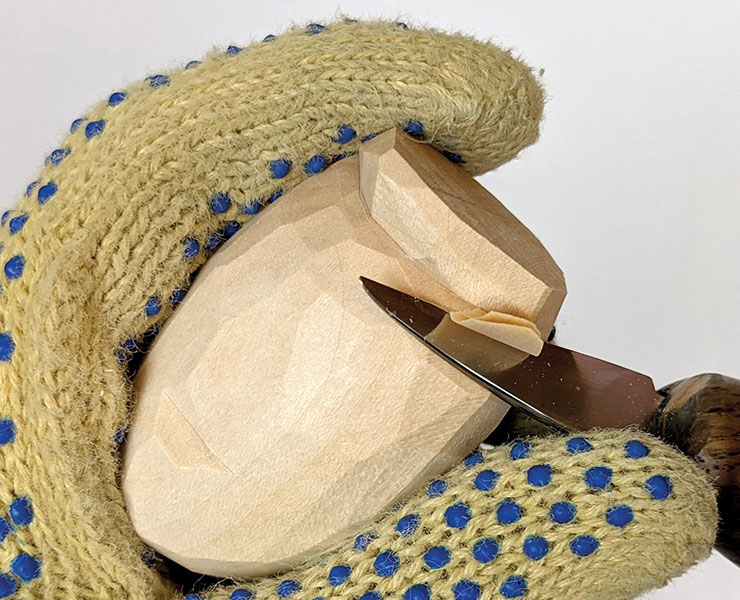
Step 3Round off the corners. Using slices as bold as you are comfortable with, remove the corners all the way around the owl. You will have to slice up from about halfway to round the head and down from a similar point to round the bottom half. |
 |
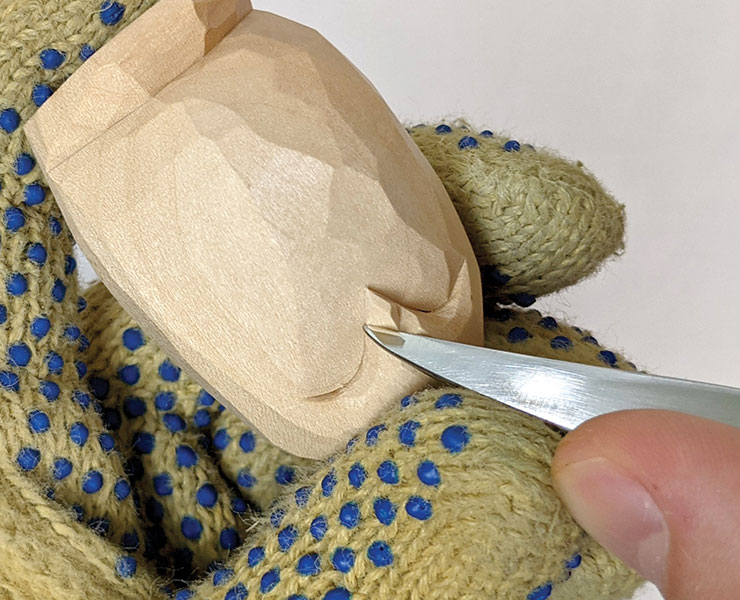
Step 4Separate the feet from the body. Deepen the separation between feet and body and round the corners of this protruding shelf with stop cuts that angle slightly downward toward each end. At this point, you can still leave the feet thicker than they will be at the end for added strength during the carving process. |
 |
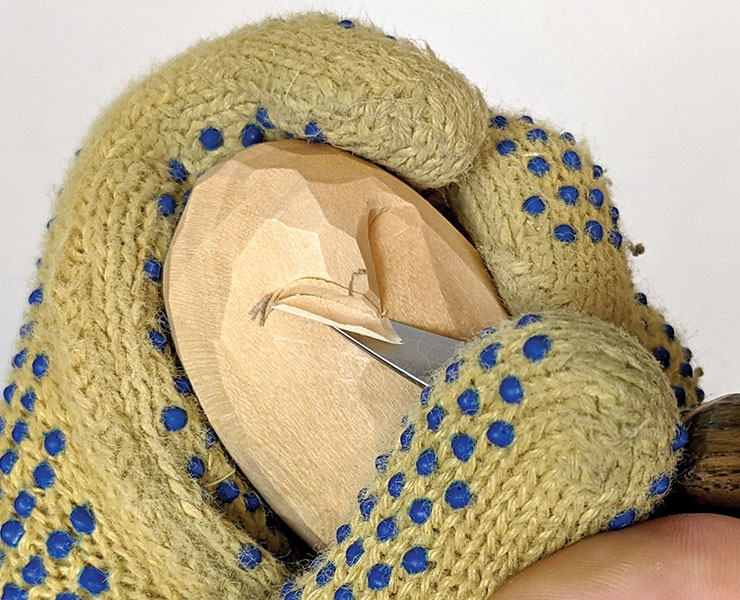
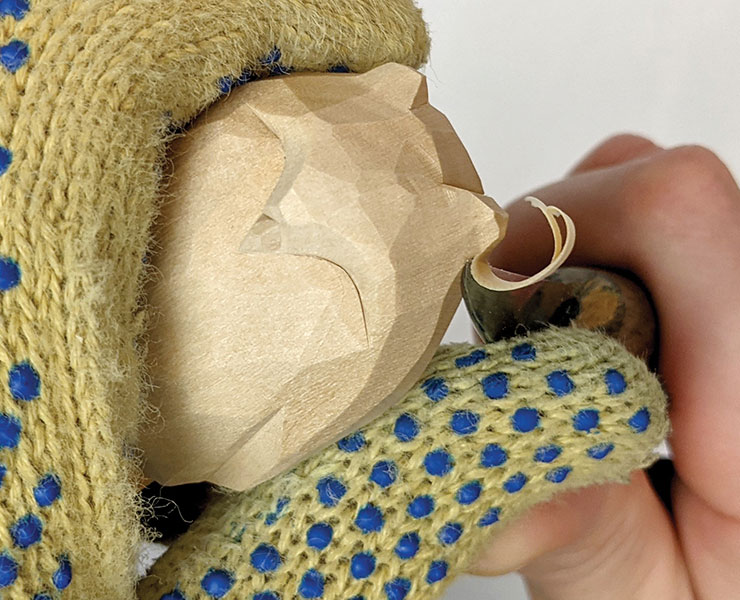
Step 5Define the face. Use the tip of your knife to incise a curved line from the corners of where the eyes will be down to the tip of the beak on both sides. Then remove some wood underneath those incisions by slicing upward to meet them. If the face appears completely flat from the side, round its edges a bit. |
 |
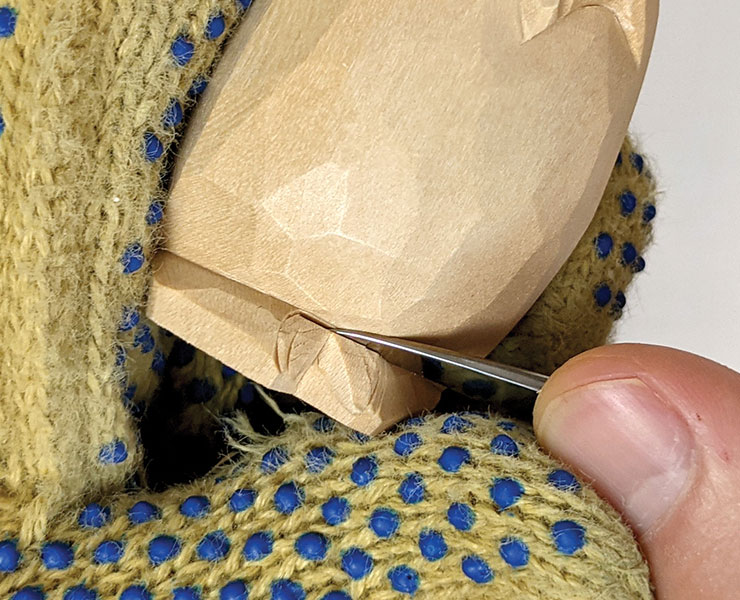
Step 6Bring out the beak. Make a series of small stop cuts to separate the beak from the surrounding feathers. After this step, the outline of the beak will appear diamond-shaped. |
 |
Step 7Separate the feet from each other. Stop-cut between the feet, slicing across the grain and removing the V-shaped section that results. Then take off the inner corners of the feet with another two pairs of stop cuts. |
 |
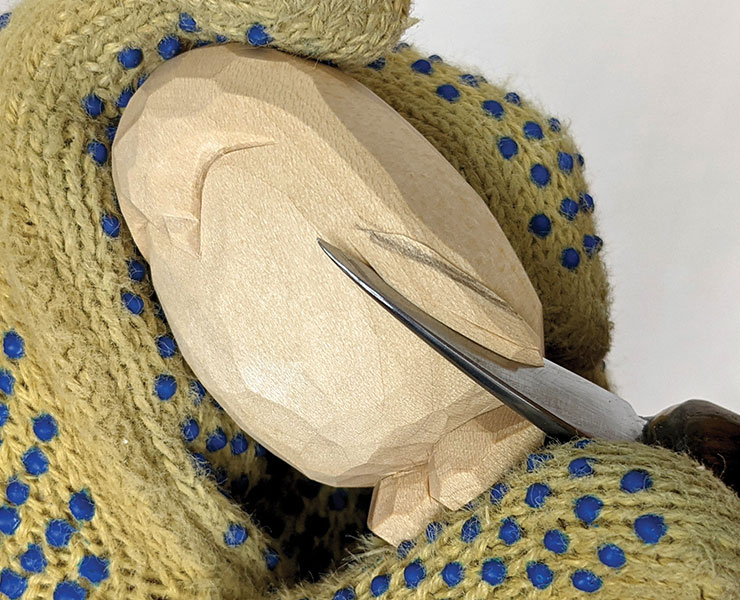
Step 8Suggest the wings. Slice straight into the wood from the side of the owl with nearly the full edge of your knife. Then remove a V-shaped section of wood between the wing and belly by slicing in to meet that cut from the belly. Repeat on the other side. |
 |
Step 9Cut between the ear tufts. Make two stop cuts on top of the head to denote the inward faces of the ear tufts. Then slice across the end grain to remove the wood between them. |
 |
Step 10Shape the sides of the ear tufts. To complete the look of the ear tufts, make the sides of them concave. Slice in from the side of the top of the head and curve the knife back out of the wood to achieve this. Repeat on both sides. Perform similar cuts in front of the ear tufts to make them stand straight up. |
 |
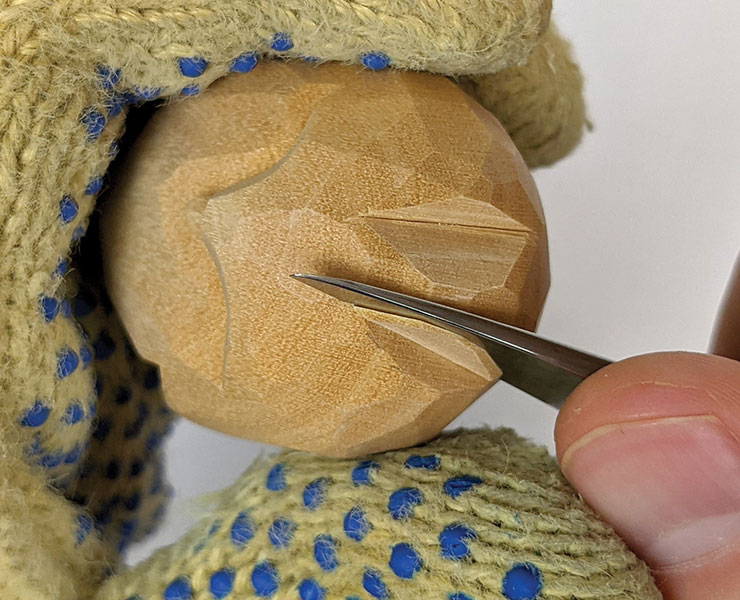
Step 11Ruffle the belly feathers. Texture the belly with some small and systematic sweeping cuts. I orchestrated these cuts to all have about the same angle, slanted down toward the center, on both sides so that they are placed somewhat symmetrical overall. This angle also helps these cuts stay clean and not tear out the grain. |
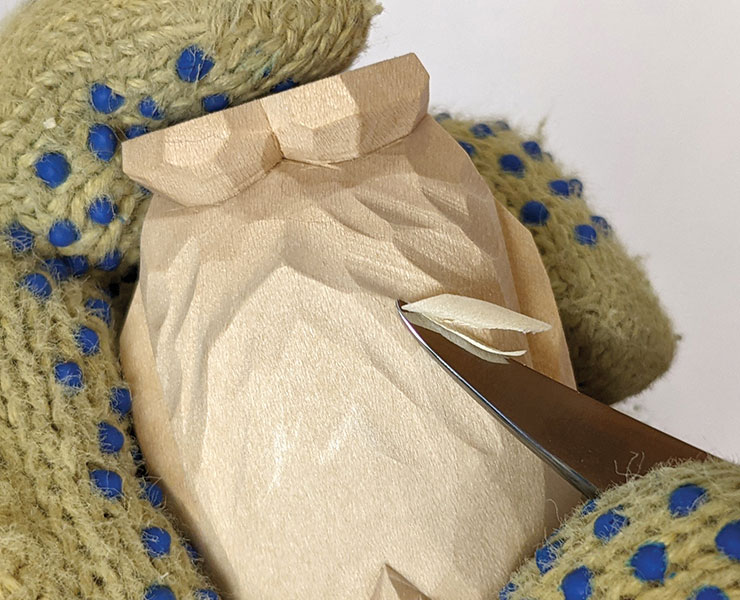 |
Step 12Add the finishing touches. Work around the owl and make final adjustments to remove unwanted bumps and ensure everything is in order. Some owls have a clear distinction between the head and the body, and I represented that here via a V-shaped cut that arcs under the face. Brush with an oil finish and let dry. |
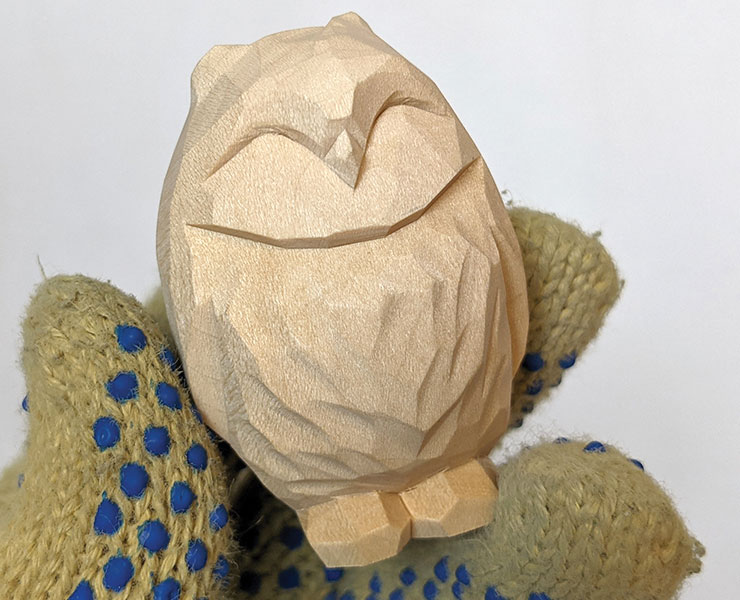 |
|
MATERIALS • Basswood: 2-1/2″ (6.4cm) thick: 1-1/4″ (3.2cm) square • Pencil • Finish, such as Danish oil |
TOOLS • Whittling knife • Paintbrush |
| About the Author |
|
James Ray Miller started carving at the age of 11 after being inspired by family members who dabbled in woodworking. A software developer by trade, James enjoys the creative challenge of simplifying and abstracting forms in unique ways. For more of his work, visit Facebook.com/jrm.woodcarving. |
 |
Get the Summer 2024 Issue Purchase the IssueFor more articles like this, subscribe to Woodcarving Illustrated magazine. Magazine SubscriptionPlus! Get digital mini magazines in your e-mail between printed issues.
|