Turn your breakfast nook into a winter wonderland with these easy-to-make creations
By Minisa Robinson
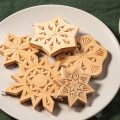
These simple snowflake coasters are a perfect beginner project for woodburning on end grain. Birch rounds may be harder than basswood, but they don’t contain a ton of sap like pine, so they are a great middle-of-the-road wood to try. Add paint and coat them with epoxy for a striking, wintry effect.
Getting StartedPre-sand the wood blanks. Start with a rougher-grit sandpaper, such as 120, and work your way up to 400- or 600-grit. Note: Be sure to wear a respirator and eye protection while sanding. Gently wipe the dust off the wood, or remove it with a can of compressed air. Photocopy the patterns, trim them to the size of the wood, and then place in position over the surface of each round. Slip a small piece of graphite paper under the pattern (graphite side down), and tape the pattern and graphite paper to the wood round with some blue painter’s tape. Trace over the pattern guidelines with a red ballpoint pen to transfer the image onto the wood. (A red pen can be easier to see on a black-and-white pattern, so you don’t miss any areas.) As you trace, occasionally lift the pattern and paper to make sure the lines are transferring properly. Remove the patterns and tape. Preheat your woodburning tool. If you’re using a solid-tip burner, use high or maximum heat. If you’re using a wire-tip burner, use a medium heat setting. |
BurningUsing a woodburner with a fine writing nib, focus on the basic structure of each snowflake and burn the simple lines. Be sure to use a light, even pressure while “floating” the point across the surface of the wood. It helps to hold the burner at a slight angle for smoother lines. If you hold the burner perfectly vertical, the point is more prone to sinking into the wood instead of floating across the surface. Add embellishments to each simple design, such as teardrop shapes on the outer edges and dots where points come together. Feel free to get creative! |
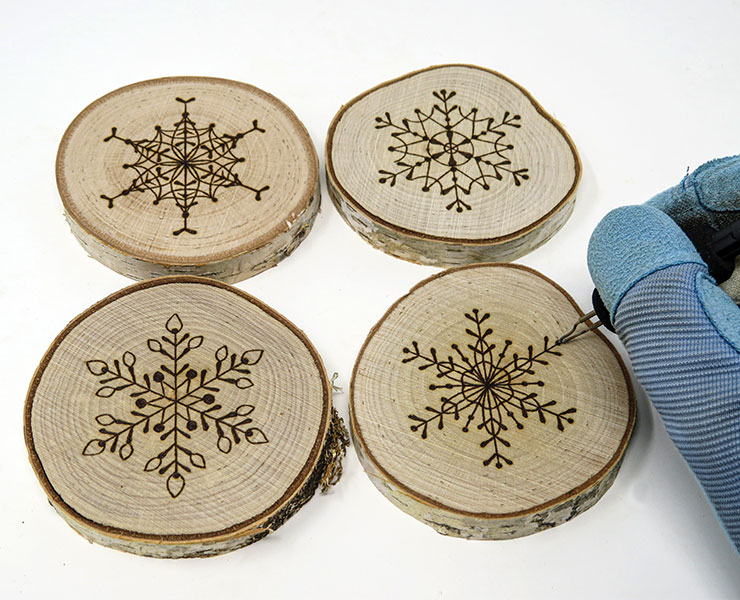
Hold the burner at an angle. |
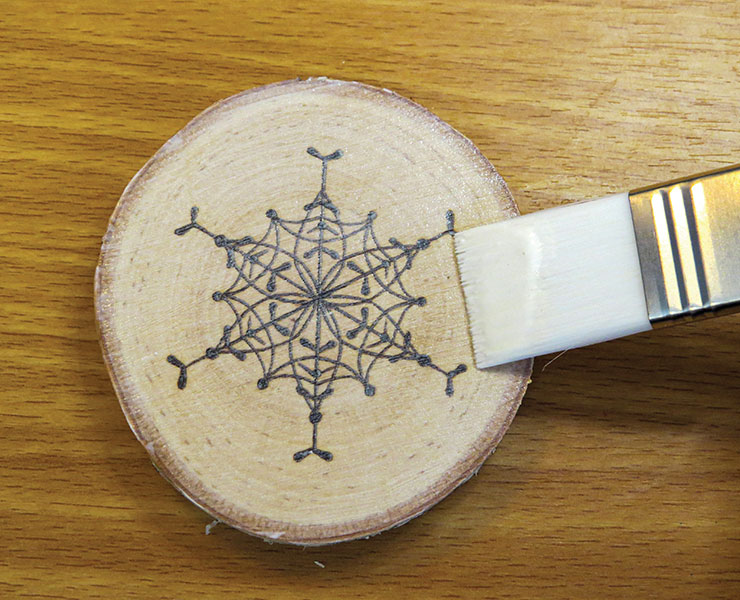
Adding PaintIf you’d like to add watercolor paint to the coasters, it’s important to pre-treat them with clear gesso. Apply a small amount of clear gesso on each coaster, and then spread it around with a smooth paintbrush. Allow the gesso to dry for at least 24 hours. Add paint. For this project, I wanted the woodburning to stand out, so I kept the paint on the outer edges of the rounds. Apply water across the surface of each coaster with a smooth paintbrush. While the coaster is still wet, use a small brush to “drop” blue paint along the outer edge and allow the paint to bleed toward the center. Feel free to pick up the coaster and tip it from side to side to help the paint to flow. Keep in mind that the paint will dry lighter than it appears when wet. |
 |
Adding ResinAllow the painted coasters to dry for a few days. Then prop each coaster up on a paper cup, mix a small amount of resin according to the manufacturer’s instructions, and pour it over the top to protect the coasters. Use a wooden stick or gloved fingers to spread the resin on the outer edges for a smooth finish. Note: If using these coasters consistently with hot beverages, opt for a heat-resistant epoxy. Always follow the directions and safety precautions that come with your choice of resin. After the resin has cured, sand any drips from the bottom, and then apply glue-on felt pads to protect counters and other surfaces. |
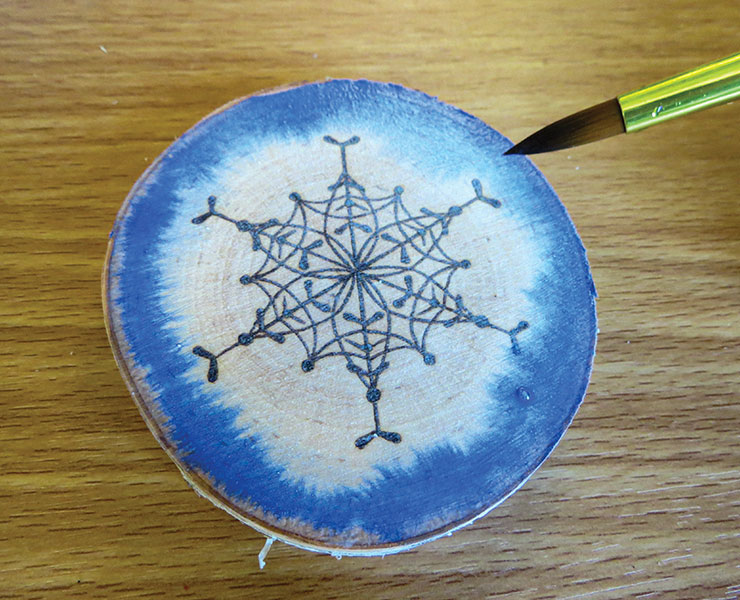
Tip the coaster to allow the paint to bleed toward the center. |
TIPSTrim Your TreeInstead of coasters, attach a metal screw-eye into the top of each piece, and then tie on a ribbon to create festive ornaments. No Pressure!If you press too hard when burning lines, the point can dig into the wood, causing uneven lines or overburn. The burner can sink down in between softer areas of the grain and then rise back up again. This makes lines look narrow in one area but wider in another. |
|
MATERIALS • Unfinished birch rounds, 3-1/2″ (8.9cm)-dia. • Graphite transfer paper • Red pen • Tape: masking or blue painter’s • Sandpaper: assorted grits to 600 • Tack cloth or can of compressed air • Clear gesso • Watercolor paints of choice (optional) • 2-part epoxy (optional) • Paper cups • Glue-on felt pads • Screw eye (optional) • Decorative ribbon (optional) • Wooden sticks |
TOOLS • Woodburner with nib: writing • Paintbrushes • Scissors • Sander: orbital (optional) |
| About the Author |
|
Minisa Robinson, of Rifle, Colo., stumbled across pyrography by accident in 2009 while exploring the art of woodcarving. Since then, she has taught herself to create highly detailed woodburnings, instructional DVDs, books, and instant downloads to teach others the craft as well. Minisa’s goal is to push the limits of pyrography, and she encourages others to view the art in a new light. For more of her work, visit minisapyrography.com or patreon.com/minisa. Her book, Burning Realistic Animals, is available at foxchapelpublishing.com. |
 |
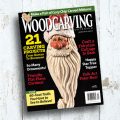
Get the Winter 2023 Issue Purchase the IssueFor more articles like this, subscribe to Woodcarving Illustrated magazine. Magazine SubscriptionPlus! Get digital mini magazines in your e-mail between printed issues.
|